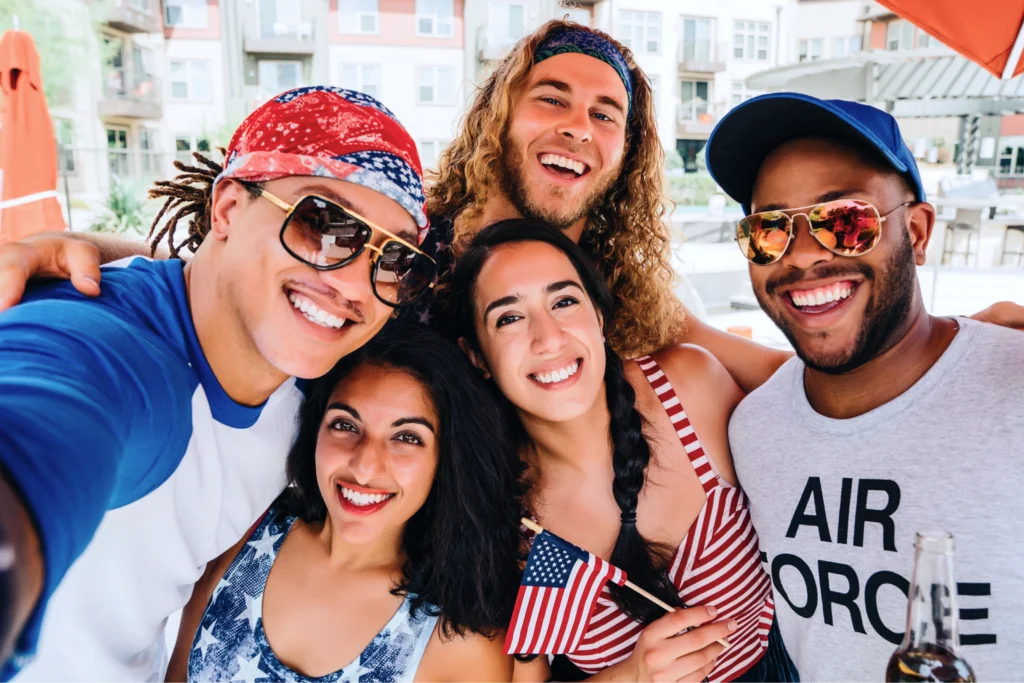

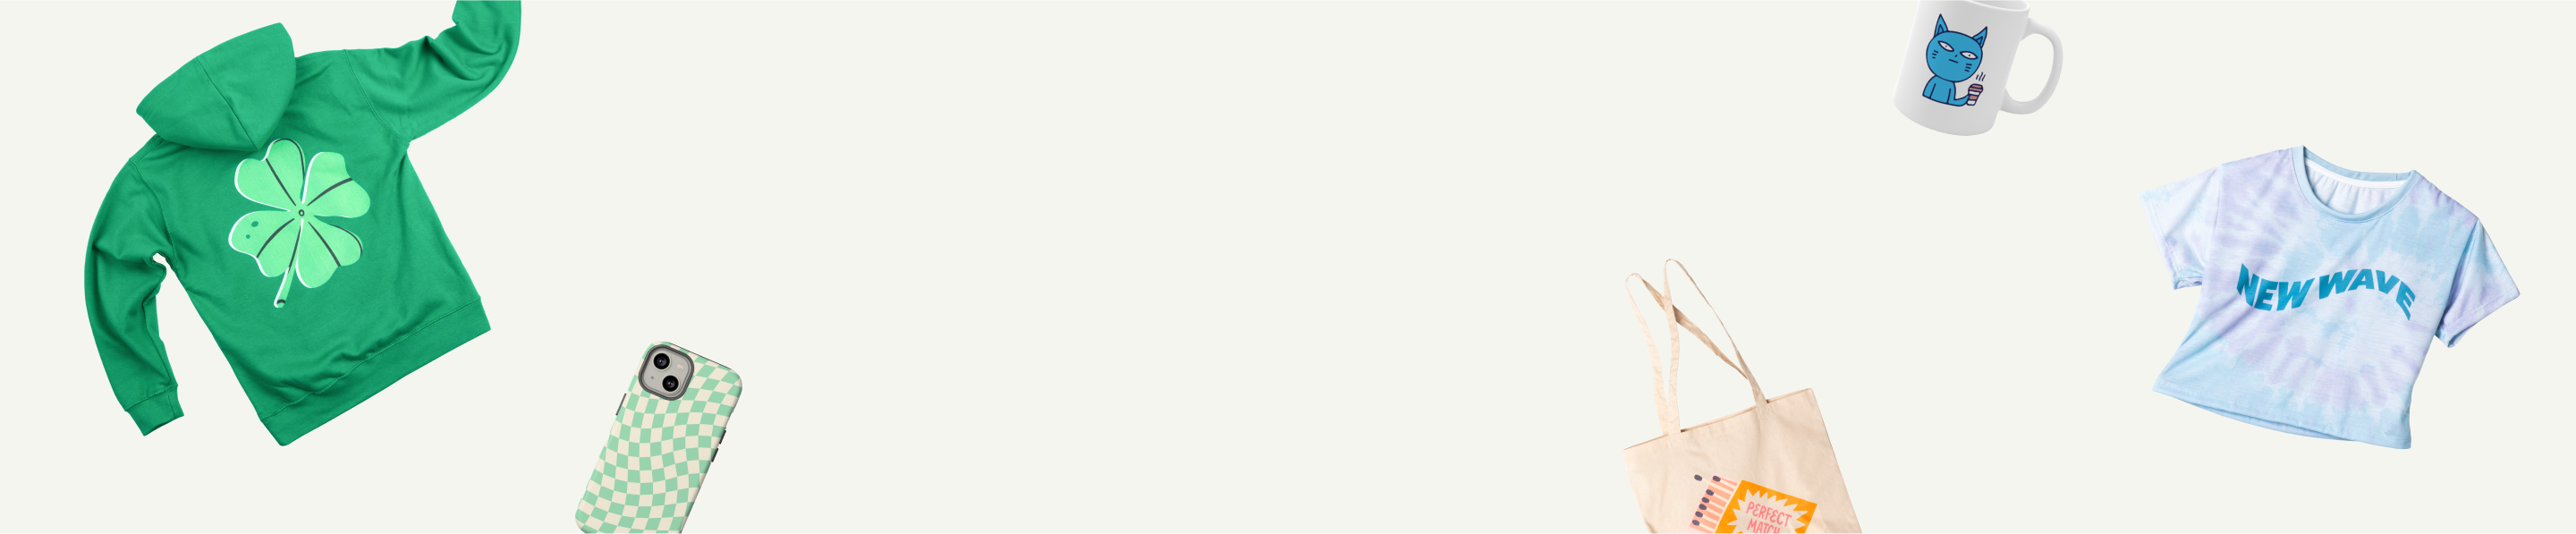


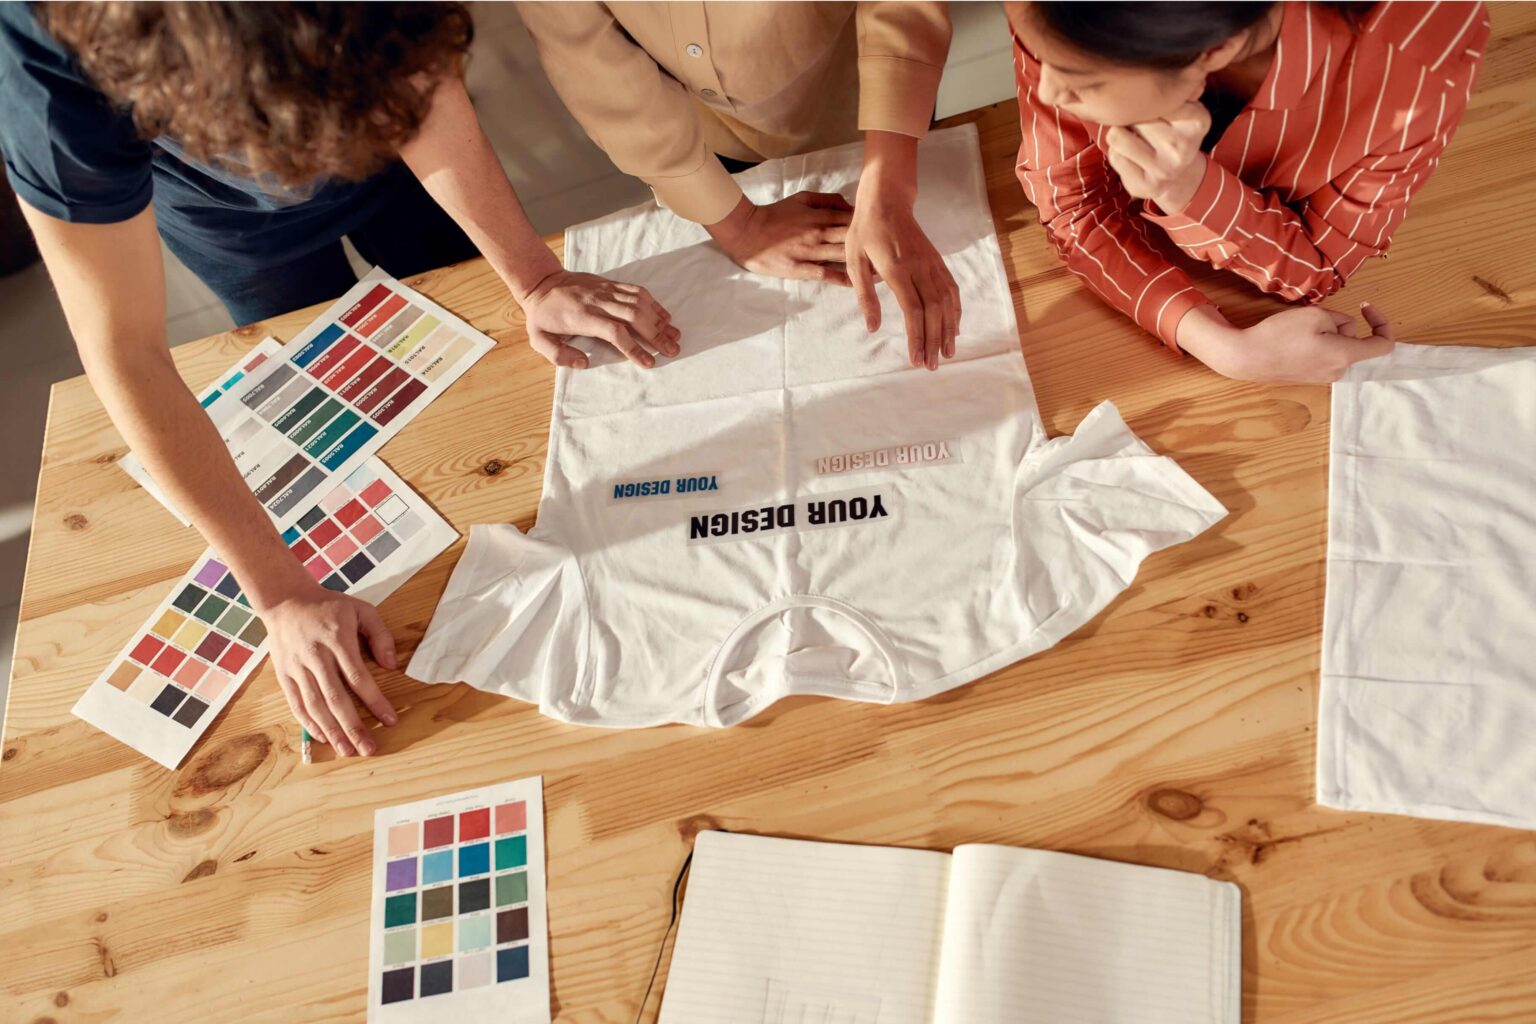
Create a custom shirt with Printify
Making custom t-shirts isn’t that hard. Some methods involve professional equipment and bulk production, while others are as simple as uploading a design and ordering in a few clicks.
This guide breaks down how to make custom t-shirts in eight different ways – from budget-friendly DIY to Print on Demand – so you can pick the method that fits your goals, budget, and skill level.
Key takeaways
- DIY t-shirt printing techniques like iron-on transfers and heat transfer vinyl are best for hands-on experimentation at home.
- Digital printing methods like direct-to-garment and dye sublimation deliver detailed, professional-quality results.
- Screen printing is best for bulk custom shirt orders with simple, bold designs.
- Print on Demand is a low-risk way to design and sell custom shirts with no upfront costs, order minimums, or equipment.
How to make custom shirts: 8 Methods for printing tees
If you’re exploring how to make custom t-shirts, the first step is choosing the right printing method. The best option depends on your budget, design, fabric choice, and quantity of shirts.
Here are eight ways to make custom t-shirts at home and through professional services.
1. Print on Demand

Best for: Starting a brand from scratch and selling your own designs without managing equipment or fulfillment.
Difficulty: Easy.
Tools and materials: A computer and internet access.
Upfront cost: No fees and no minimum order requirements. Your custom t-shirt cost covers the base garment and print, and you only pay when a sale happens.
Design flexibility: Ideal for detailed artwork, photos, gradients, and multi-color t-shirt designs.
Durability: Varies depending on the decoration method and fabric, but most professional digital printing methods are designed for long-term wear.
Print on Demand (POD) is one of the easiest ways to make custom t-shirts without buying equipment or storing inventory. Instead of printing the shirt yourself, you create the design, and a POD partner handles the production and shipping.
There are no order minimums, so you can order one custom-printed t-shirt for yourself or sell them around the world as demand grows.
While the overall process is similar across platforms, choosing the right POD company makes a big difference in quality, cost, and flexibility. With Printify, you get competitive pricing, multiple print methods, and access to one of the largest Product Catalogs in the industry – over 2,000 products.
Here’s how it works:
- Create your artwork using an online design tool, draw it by hand and scan it, or use your own photo. Make sure the final file is high resolution for sharp details and strong print quality.
- Sign up for a free Printify account and choose a shirt from our Catalog based on fabric, fit, and available print areas – whether you want just the front print or multiple placements on the same garment.
- Start designing by uploading your artwork, logo, or photos to the Product Creator, then adjust their placement. If you’re still on the fence about your design, you can always save your t-shirt design template for later.
- Order print samples to check quality, or connect your online store and start selling immediately.
Once customers order t-shirts, our Print Providers handle production, packaging, and shipping, while you focus on designing and building your brand.


Make a custom t-shirt today
2. Iron-on transfer paper

Best for: Beginners learning how to make shirts at home in small batches.
Difficulty: Easy.
Tools and materials: Inkjet printer, transfer paper, iron, scissors, and a cotton t-shirt.
Upfront cost: $20-$300 for the equipment.
Design flexibility: Works best for simple graphics and medium-sized prints.
Durability: Moderate. Designs can last through multiple wash cycles, but are generally less durable than screen- or digitally-printed artwork. That’s because the transfer layer sits on top of the fabric rather than bonding with the fibers.
Iron-on transfer paper is one of the most accessible ways to print custom t-shirts at home. The process is beginner-friendly as long as you follow instructions and pay attention to heat and pressure.
How iron-on transfers work:
- Print your custom t-shirt design or logo onto transfer paper using an inkjet printer.
- Trim the design close to the edges to reduce excess film around the artwork.
- Place the transfer onto your cotton shirt and press with a hot iron, applying firm, even pressure for 30-60 seconds per section.
- Let it cool, then carefully peel away the backing sheet.
To protect the design for longer, turn the shirt inside out when washing it.
3. Direct-to-garment (DTG) printing

Best for: Small businesses printing custom t-shirts regularly.
Difficulty: Advanced.
Tools and materials: DTG printer, pre-treatment solution or machine, heat press, inks, and blank garments.
Upfront cost: $3,000–$15,000 for the equipment, depending on print quality and speed.
Design flexibility: Excellent for detailed artwork, photos, and gradients.
Durability: Long-lasting when heat-cured correctly and washed in cold water.
DTG is a t-shirt printing method where a specialized printer applies ink directly to the custom t-shirt, allowing the design to soak into the fabric for a soft feel and detailed finish.
While the printer is usable at home, it’s not very practical for most hobbyists because it’s expensive and requires regular maintenance.
Here’s how DTG works:
- Apply a pre-treatment solution to the blank shirt so the ink bonds properly to the fabric.
- Place the shirt onto the printer and upload your design file to print.
- Let the printer spray ink directly onto the shirt.
- Use a heat press to cure the ink and lock the design into the fabric.
For selling custom t-shirts, DTG can deliver professional-quality tees that customers will feel confident wearing.
4. Heat transfer vinyl (HTV)

Best for: Bold graphics and logos on small batches of custom t-shirts.
Difficulty: Easy to moderate. Compared to iron-on transfer paper, HTV has a slightly steeper learning curve because you need to cut and weed the design correctly.
Tools and materials: Cutting machine, heat transfer vinyl sheets, cutting mat, weeding tools, heat press or household iron, and blank shirts.
Upfront cost:$250–$400 for the equipment.
Design flexibility: Best for bold text, logos, and clean shapes. HTV can handle full-color prints, but standard vinyl is single-color per layer.
Durability: Strong. The vinyl uses heat-activated adhesive to bond to the fabric, creating a more resilient layer than standard iron-on transfer paper.
HTV is a popular way to print your own custom t-shirts at home using pre-colored vinyl sheets.
How HTV works:
- Create your custom t-shirt design in compatible software and send it to a cutting machine such as a Cricut or Silhouette.
- Let the machine cut your graphic design from a sheet of vinyl.
- Weed away the excess vinyl using a small hook tool, leaving only the final design.
- Place the vinyl onto the shirt and apply heat with a press or firm, even pressure from a household iron.
5. Dye sublimation

Best for: Bright custom t-shirt designs on a polyester garment like fitness clothing.
Difficulty: Moderate.
Tools and materials: Sublimation printer, ink and paper, heat press, polyester garments, and pressing accessories.
Upfront cost: $500-$2,000, depending on the printer and heat press quality.
Design flexibility: Excellent for vibrant colors, gradients, and detailed artwork on light-colored polyester fabric. Sublimation doesn’t work on cotton because the dye can’t bond with natural fibers.
Durability: Strong, since the dye bonds directly with the fibers and won’t crack or peel.
Sublimation is a printing method that uses heat to turn dye-based ink into gas, allowing it to be absorbed by the polyester fabric. The finished look feels smooth to the touch – there’s no raised layer as you’d get with vinyl or screen ink.
Sublimation requires specialized equipment and only works on polyester materials, making it less beginner-friendly than iron-on transfer paper or heat transfer vinyl.
How to make shirts with dye sublimation:
- Create your design and mirror the image before printing.
- Print it onto sublimation paper using a specialized printer.
- Position the printed sheet onto a sublimation-ready shirt.
- Press it at high heat so the ink vaporizes and embeds in the fabric.
Sublimation is also used for all-over print shirts, where designs cover the entire garment from edge to edge before the pieces are sewn together.
Explore our full Catalog of all-over print options to create your own custom t-shirts without managing production yourself.
6. Embroidery

Best for: Premium-looking custom t-shirts with a textured finish.
Difficulty: Moderate.
Tools and materials:
- Machine – An embroidery machine, stabilizers, threads, and digitizing software.
- Hand – Hoop, needles, embroidery thread, water-soluble stabilizer, and scissors.
Upfront cost: Under $20 for basic hand setup. $500–$1,500+ for machine embroidery.
Design flexibility: Best for small logos, monograms, and simple shirt design details like chest or sleeve placements.
Durability: Very high, since stitched threads hold up well through frequent wear and wash cycles.
Embroidery stitches thread directly into the fabric. The result feels raised and textured, giving custom t-shirts a more premium, long-lasting finish.
You can create embroidered designs by hand or with a digital machine. Hand stitching is affordable and a great starting point for small chest or sleeve details.
Machine embroidery automates the process and lets you upload digital files for consistent results. It requires a higher upfront investment but makes sense if you plan to sell custom embroidered shirts regularly.
Browse our full Catalog of embroidery-ready products and start designing without any stitching skills.
7. Screen printing

Best for: Printing custom t-shirt designs in bulk.
Difficulty: Advanced.
Tools and materials: Screens, squeegee, emulsion, exposure light source, inks, curing setup, and workspace for washing and drying.
Upfront cost: $250–$1,000 for a minimal home setup.
Design flexibility: Ideal for artwork with up to four solid colors.
Durability: Strong, thanks to thick, heat-cured ink layers that withstand frequent washing.
Screen printing is one of the oldest and most reliable methods for making custom t-shirts. This technique pushes ink through a mesh screen onto a shirt using a stencil. Each color requires a separate screen, making setup more involved than other DIY techniques.
How screen printing works:
- Coat the screen with emulsion and let it dry.
- Expose your design onto the screen using light to create a stencil.
- Wash out the unexposed areas.
- Place the t-shirt under the screen and pull ink across it with a squeegee.
- Cure the ink with heat to lock in the custom t-shirt design.
Because screen printing requires preparation for each design and color, it’s not ideal for small runs. However, once the screens are ready, you can print dozens or hundreds of custom t-shirts efficiently.
8. Fabric paint

Best for: Artsy, handmade-looking custom t-shirts.
Difficulty: Easy.
Tools and materials: Fabric paint, brushes or sponges, cardboard insert, optional stencils or masking tape, and a blank shirt.
Upfront cost: $10–$30 for basic supplies.
Design flexibility: Great for freehand artwork, abstract patterns, and expressive designs.
Durability: Moderate when properly heat-set, but less durable than other t-shirt printing techniques on the list.
Fabric painting is one of the simplest and cheapest ways to create custom shirts, and it works on any fabric type. You don’t need machines, software, or special equipment – just textile paint and a steady hand.
How to make custom t-shirts at home with fabric paints:
- Pre-wash your shirt to remove any coating or residue, then let it dry.
- Insert a piece of cardboard inside the shirt to prevent paint from bleeding through.
- Sketch your custom t-shirt design lightly with a pencil.
- Apply fabric paint using brushes, sponges, or stencils.
- Let the paint dry completely, then heat-set it with an iron to make it washable.
Choosing your t-shirt printing method: A comparative guide
Here’s a side-by-side comparison of t-shirt printing techniques to help you decide.
| Method | Difficulty | Upfront cost | Type of design | Durability | Best for |
|---|---|---|---|---|---|
| Print on Demand | Easy | $0 – you’ll pay for the base t-shirt cost and shipping when ordering | Detailed artwork, photos, gradients, and multi-color designs | Varies by print method and fabric | Selling custom t-shirts without managing production |
| Iron-on transfer paper | Easy | $20–$300+ | Simple graphics and medium-sized prints | Moderate | Beginners making small batches at home |
| Direct-to-garment (DTG) | Advanced | $3,000–$15,000+ | Photo-quality and complex designs | Strong | Small businesses printing regularly |
| Heat transfer vinyl (HTV) | Easy to moderate | $250–$400 | Bold text, logos, and clean shapes | Strong | Personalized shirts and small runs |
| Dye sublimation | Moderate | $500–$2,000+ | Vibrant polyester prints and gradients | Strong | Sportswear and all-over print designs |
| Embroidery | Moderate | $20 by hand or $500–$1,500with a machine | Small logos and simple stitched elements | Strong | Premium logos and branded apparel |
| Screen printing | Advanced | $250–$1,000 | Bold designs with up to four solid colors | Strong | Bulk orders and event merchandise |
| Fabric paint | Easy | $10–$30 | Freehand and artistic designs | Moderate | One-off handmade shirts |
What are the latest custom t-shirt design trends?
Here are five major trends shaping t-shirt design right now – and how to apply them to your tees.
Minimalist typography and clean graphics
Minimalist t-shirt designs focus on readable fonts and simple graphics, often placed on just the front, left chest, or sleeves. This style is excellent for brand-driven custom shirts that still feel versatile and easy to wear on any occasion.
To create this look:
- Choose one or twoclean, easy-to-read fonts.
- Limit your color paletteto one or two shades.
- Use grid and alignment guides to place your design elements proportionally.
DTG printing handles thin strokes and small details well, making it ideal for minimalist custom-printed t-shirts.
Retro and nostalgia revival
Vintage-inspired shirt design still dominates custom tees. Think faded colors, distressed artwork, chunky fonts, and graphics inspired by past decades, from retro surf culture to old-school sports logos.
To customize a retro t-shirt design:
- Use textured overlays to mimic worn-in prints.
- Lower the saturation slightly and add a subtle grain effect.
- Look for inspiration in old concert tees, vintage travel shirts, thrifted sports merch, or classic soda and automotive logos.
Heavyweight cotton tees and mineral wash t-shirts enhance the vintage feel. The slightly faded fabric complements distressed artwork and holds up well through repeated washes.
AI-generated and futuristic art
From surreal landscapes to hyper-detailed portraits, creators are using AI art prompts and tools to generate original illustrations.
When working with AI-generated images:
- Make sure you have the right to print the AI artwork, especially if you plan to sell your own custom t-shirts.
- Review the artwork for common AI artifacts – distorted hands, uneven edges, or unnatural textures. Clean these up in your t-shirt design software.
- Always export in high resolution, ideally 300 DPI at full print size.
For this trend, DTG is usually the best fit because it reproduces gradients, shadows, and complex color blends accurately on cotton fabric.
Screen printing can work if you simplify the artwork into solid color layers. Dye sublimation is also great for all-over coverage.
Hand-drawn prints
Whether you sketch by hand or draw digitally, this style adds a human touch to your custom t-shirt design.
To make hand-drawn t-shirt designs print-ready:
- Scan or export your artwork at 300 DPI or higher.
- Increase contrast and remove stray marks to clean up the final design.
- Convert your drawing into a vector file if you plan to resize it for different shirt placements.
This style pairs well with relaxed-fit cotton tees, oversized streetwear shirts, and small-batch releases.
Sustainable and eco-friendly messaging
When you create custom t-shirts aligned with sustainability values, you attract customers who care about quality, materials, and long-term wear – not just a quick trend.
Reflect this movement by:
- Choosing organic cotton or recycled fabric options with earthy tones that reinforce a sustainable aesthetic.
- Designing around environmental themes such as nature illustrations, minimal logos, or short sustainability-focused statements.
- Creating embroidered designs because they’re durable, premium-looking, and often last longer than surface-level print.
Make sure to highlight durability and eco-friendliness in your product descriptions so customers understand the value behind the shirt.
How to make your own t-shirts with Printify

Ready to skip the equipment and start designing and selling print-on-demand t-shirts? With Printify, you can turn your idea into a product people can buy instantly.
1. Create a free Printify account
Sign up for a Printify account in a few clicks. There are no upfront costs and no minimum order requirements – making it easy to sell custom t-shirt designs without financial risk.
2. Choose a t-shirt from the Catalog
Go to our Catalog and select the T-shirts category. To narrow down the full catalog of tees, filter your options by fabric, thickness, color, decoration method, price, and more.
When selecting a shirt, review:
- Fabric composition
- Available print areas
- Base cost
- Shipping options
- Print Provider location
Choosing the right garment affects your final product and the custom t-shirt cost.
3. Start designing in the Product Creator
Open the Product Creator and upload your own photos, logo, or artwork. Use the built-in t-shirt design template to position your design exactly where you want it. You can also:
- Add ready-made graphics from the library.
- Write catchy slogans using our built-in fonts.
- Create new images from scratch with our AI Image Generator.
- Design repeating patterns in one click.
- Preview realistic mockups of your custom t-shirt.
4. Set up your product listing
Next, finalize your t-shirt listing. Printify provides an AI-generated product description you can edit to match your brand voice. If you want to let customers personalize the design, enable the personalization feature in one click. Then set your retail price based on your target profit margin. Printify shows you the base cost upfront and provides pricing insights so you can see what similar products typically sell for.
5. Connect your store and start selling
Finally, integrate Printify with Shopify, Etsy, TikTok Shop, WooCommerce, or other online selling platforms. When customers order t-shirts, our global Print Providers handle printing and shipping anywhere in the world, while you focus on growing your brand and creating new designs.
FAQ: How to make a custom t-shirt
What you need depends on the method you choose. For example, an iron-on transfer requires an inkjet printer, transfer paper, and a heat press. Screen printing requires screens, ink, a squeegee, and curing space.
With Print on Demand, you only need a digital design and internet access since Printify handles the production and shipping.
Make your own t-shirt designs using graphic design tools, drawing by hand and scanning your artwork, generating images with AI, or hiring a designer to bring your idea to life.
Yes, making custom t-shirts can be profitable. T-shirts are suitable for various occasions and aesthetics, making them an evergreen product with consistent demand.
Your earning potential depends on your print method, design quality, and marketing effort.
For example, with Print on Demand, new sellers can expect to earn up to $100 per month while testing designs and validating their niche. Established brands with strong customer loyalty can generate $10,000–$80,000+ per month.
For a deeper breakdown, check out our guide on how profitable Print on Demand is.
With Print on Demand, the t-shirt printing cost breakdown can be as little as $9-$14 per shirt, including printing, fulfillment, and packaging, with $0 setup costs and no minimum order.
Screen printing in bulk can reduce the base cost to $4-$7 per shirt, but typically requires an upfront investment of $500-$1,000 or more and minimum quantities of 25-100 units.
Read our guide for more information on how much it costs to make shirts.
The easiest way to print t-shirts at home is with iron-on transfer paper, which requires minimal equipment and works well for small batches. Fabric paint is another beginner-friendly option if you want a handmade look.
If you want professional-quality results without buying tools, digital printing with Print on Demand is the simplest way to create custom t-shirts online.
How long custom t-shirt prints last depends on the method and care. The most durable options are direct-to-garment printing and dye-sublimation, as they bond the ink with the fabric fibers rather than layering it on the surface.
DIY methods like iron-on transfer paper, basic heat transfer vinyl, and fabric paint are more likely to fade or crack over time because the design forms a surface layer rather than bonding with the fibers.
What are the best fabrics for custom t-shirts?
Cotton is one of the best fabrics for custom t-shirts because it works well with direct-to-garment, heat transfer vinyl, and screen printing, which produce vibrant, durable results.
Cotton blends add stretch and wrinkle resistance and are a go-to for comfortable, easy-care tees. Polyester is best for dye-sublimation and activewear shirts that require moisture-wicking.
To make a t-shirt logo, use tools like Canva, Adobe Express, or Wix Logo Maker to access professional templates.
For an integrated experience, use Printify’s Product Creator. Its built-in AI Image Generator creates unique graphics from text prompts, while the background removal tool gives you a clean, print-ready finish instantly.
To summarize
If you’re figuring out how to make custom t-shirts, start by matching the printing method to your goals, budget, and how much time you want to invest.
DIY techniques like iron-on transfers, HTV, and fabric paint are great if you enjoy getting hands-on. Meanwhile, screen printing, DTG, sublimation, and embroidery offer higher durability and professional-quality results.Print on Demand lets you launch with professional printing quality from day one – and it scales as your demand grows. Sign up for Printify today to design, sell, and grow your custom t-shirt brand.