


Make your own shirt today
So you’re feeling crafty and found yourself searching “What do I need to print t-shirts at home”? Good news – you’re in the right place! This article covers the best methods for t-shirt printing, essential equipment, and alternatives to help you create custom designs and explore the t-shirt printing industry.
This post may contain affiliate links, which means we may earn a commission if you make a purchase through those links. This comes at no additional cost to you.
Key takeaways
- A heat press machine simplifies at-home t-shirt printing, offering professional-quality results.
- Heat transfer paper or vinyl are simple and effective methods for making t-shirts at home.
- Techniques using screen printing ink are ideal for bulk orders but require more setup.
- Blank shirts made of cotton or polyester yield the best printing results.
- Print-on-demand (POD) services offer an easy alternative to design shirts and skip the hassle of manual t-shirt printing.
Best methods for printing your own custom t-shirt at home
While there are several different printing techniques, heat press printing is undoubtedly the best and easiest for making custom t-shirts at home.
There are two main methods for using a heat press to add designs to blank t-shirts: heat transfer paper or vinyl.
Heat transfer paper printing
Heat transfer paper printing is a simple, low-cost option with minimal setup.
It’s ideal for images, letters, or abstract graphics.
Iron-on transfer paper
Clothing iron or a heat-press machine
Plain t-shirt (preferably 100% cotton, but also works with cotton blend shirts)
Cotton pillowcase
Inkjet printer
High-resolution image file
Image editing program
Scissors
Craft knife
Flat surface that can withstand heat
How to print t-shirts with heat transfer paper at home
Grab all the above-listed supplies, and let’s get to work!
Step 1: Prepare the t-shirt design

To achieve top-quality t-shirt designs, you’ll need professional software, such as Photoshopor Adobe Illustrator. Add different elements, texts, and patterns, or print and press your own photos.
Use a high-quality image or save it as a vector file to avoid a pixelated print. If you plan to start an online t-shirt business, only print original artwork to avoid copyright infringement.
If you only have your artwork in physical form, scan or photograph it to turn it into a digital file.
Step 2: Print your design
Before you start printing, ensure you’re using transfer paper – regular printer paper won’t do the job here.
You’ll also need to adjust your paper and printer settings depending on which type of transfer paper you use and what shade of fabric you’re printing on. Read the transfer paper’s instructions to avoid any mishaps or confusion.
- Light transfer paper. The transfer paper for light shirts creates a mirror image, meaning you must flip the design before printing it. Look for a mirror setting in the Print Options window or flip the image using design software.
- Dark transfer paper. This paper applies the transferred image onto dark-colored fabrics exactly as it appears on the screen – do not mirror the image for dark shirts.
Step 3: Prepare the workspace
While your printed ink takes a moment to dry, prepare the shirt and space for transferring the design.
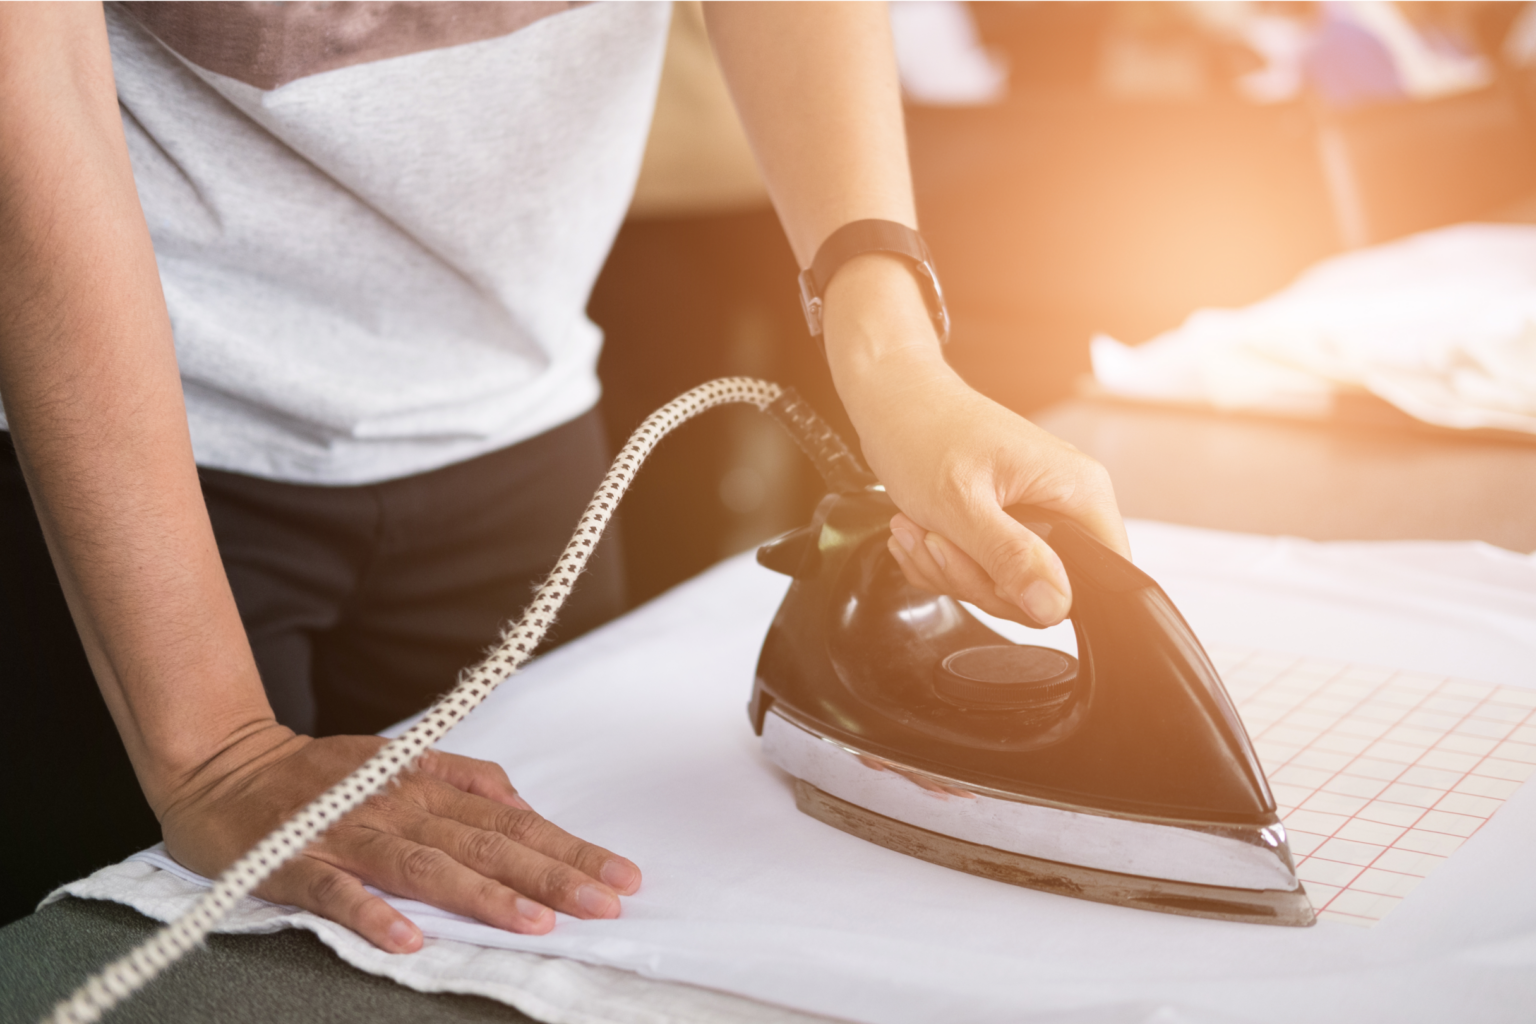
Pre-wash the t-shirtto avoid shrinking after applying the design, and give it a quick ironing to remove wrinkles, providing a smooth surface for the design to stick to.
Iron on a flat, hard, heat-resistant surface, like a table, countertop, or ironing board.
Lay down a cotton pillowcase, spread the t-shirt over it, and heat the iron according to the transfer paper’s instructions. If those aren’t specific enough, use the high or cotton setting on your iron and avoid using steam.
Cut out your artwork as neatly as possible to avoid unwanted thin film layers on your finished shirts. Use a craft knife or extra sharp scissors for your design’s more complex edges and parts.
Step 4: Iron on your custom design

Place the transfer paper on the t-shirt – face down for light-colored shirts and face up for dark-colored shirts. Use the iron as a heat press to transfer your design onto the shirt. Press it down for the time indicated on your transfer paper instructions.
Let the paper cool for a few minutes, peel it off, and voila – you’ve got your first home-printed shirt!
Make it happen today!
Printify eliminates the need for printers and special paper at home. Focus on designing and promoting your shirt printing business while our network covers printing and shipping.
Heat transfer vinyl printing (HTV)
Vinyl printing is an advanced yet manageable technique for printing shirts at home. It works on various fabrics, not just cotton t-shirts, and looks great on both colored and white shirts.
Heat transfer vinyl
Clothing iron or a heat press machine
Vinyl cutting machine (for example, Cricut)
Wide-format printer (a laser or an inkjet printer will not work)
Weeding hook
Parchment paper
Cutting mat
T-shirt
Image editing software
How to print shirts with heat transfer vinyl at home
Step 1: Prepare your t-shirt design

Use editing software like Cricut Design Space to create the perfect t-shirt design. For the best printing quality, use SVG vector format and scale the image to fit your t-shirt size. Approximately 10” will work well for a medium-sized t-shirt.
Don’t forget to mirror the print. Images need to be cut backward, as in heat press paper printing. Flip the design before cutting it.
Step 2: Cut the design
Adjust the cutting machine settings according to your base material. Each type of vinyl requires a different setting, so pick the right ones for your particular type.
Place your heat transfer vinyl (HTC) on the cutting mat, glossy side down. The shiny side is called the carrier sheet, which transfers your design to the shirt.
Put the mat in the cutter and let the machine do its job. In a few seconds, your design will be ready for the heat-press process.
Step 3: Weed the excess vinyl

Weeding means clearing away any unwanted bits of vinyl around the edges of your cut design on the carrier sheet.
- Peel the vinyl off the mat.
- Put the glossy carrier side down.
- Grab tweezers, a pen, or any other weeding tool.
- Peel off the first vinyl layer.
- Remove all unnecessary parts that don’t belong to your design.
Step 4: Prepare the shirt and workspace
Like with transfer paper printing, you’ll need a flat, sturdy surface, a wrinkle-free t-shirt, and an iron – or a heat press once your t-shirt printing business takes off.
Avoid using an ironing board. The applied pressure can cause it to bend or fold, resulting in a disastrous experience and print. Use the floor, table, counter, or a piece of wood instead.
Step 5: Iron on your cut design
This step will require heat and pressure.
Put your iron on a high or cotton setting and place your design on the shirt.
Cover the HTV with parchment paper to protect your iron from getting vinyl on it. This will also help with layering and repeated heating.
Then, put the iron straight on the design – one spot at a time – and press it down for 10-15 seconds per section. Pick it up and move to the next part of your design – don’t slide it over, as it can cause the HTV to wrinkle.
Finally, peel off the carrier sheet and check the final result. There is cold-peel and hot-peel vinyl, meaning that some designs need to cool down before removing the sheet. Check the vinyl instructions to avoid mistakes.
And there you have it – you’ve just made custom-print t-shirts at home!
What you need to make custom shirts at home: Tips and tricks
Now that you know how to print on shirts at home using different techniques, here are some helpful tips to improve your overall t-shirt printing experience. These are useful whether you want to start t-shirt printing for personal or business use.
- Do a small test print or cut before making the whole design.
- Keep your workspace clean and well-organized.
- Ensure good lighting for your workspace.
- Use original designs to avoid legal issues when selling custom-print t-shirts.
- Iron or heat press the shirts before applying the design.
- Do proper research on trends, processes, and design tips.
- Read all of the instructions on the vinyl or transfer paper package.
- Consider investing in proper tools and machines if planning to create custom t-shirts for sale.
- Consider creating custom shirts with Print on Demand (POD) to skip all the printing and go straight to an awesome t-shirt.
Other t-shirt printing methods worth knowing
There are a few other printing techniques for making your own t-shirts.
Screen printing

Screen printing requires thick inks that ensure long-lasting and vibrant designs and a mesh screen to apply your artwork. You first create a stencil on the mesh screen and press it down to imprint your design on the shirt.
This method is ideal for large-quantity orders and designs with fewer colors.
Pros:
- Speedy printing process for bulk orders
- Works on most fabric types
- Stunning and sturdy prints that last
Cons:
- Limited print area
- Messy process for printing at home
- Few color options
Direct-to-garment printing

This technique uses a direct-to-garment (DTG) printer to spray ink directly on a pretreated shirt, making the ink stick better. It is a wallet-friendly solution for smaller orders and one of the most popular printing methods.
Pros:
- Fast process – shirt is done within minutes
- Available for multicolored designs
- The print bonds to the fabric
Cons:
- Shirts need to be pre-treated
- Fabric limitations – best for cotton shirts
- Limited print area
Sublimation printing

Dye sublimation printing, also called all-over-print (AOP), is a great way to create exquisitely unique designs.
The design is first printed with liquid inks on heat transfer paper. It’s then placed in a heat press machine, where the fabric paint turns into gas. The garment soaks up the ink and becomes one with the design. The applied pressure solidifies the gas ink, ensuring a vibrant, permanent image.
Pros:
- Bright, crisp, long-lasting designs
- Seam-to-seam coverage
- Unlimited color scope
- Quick process for any order size
Cons:
- Requires light, synthetic fabrics
- More costly than other printing methods
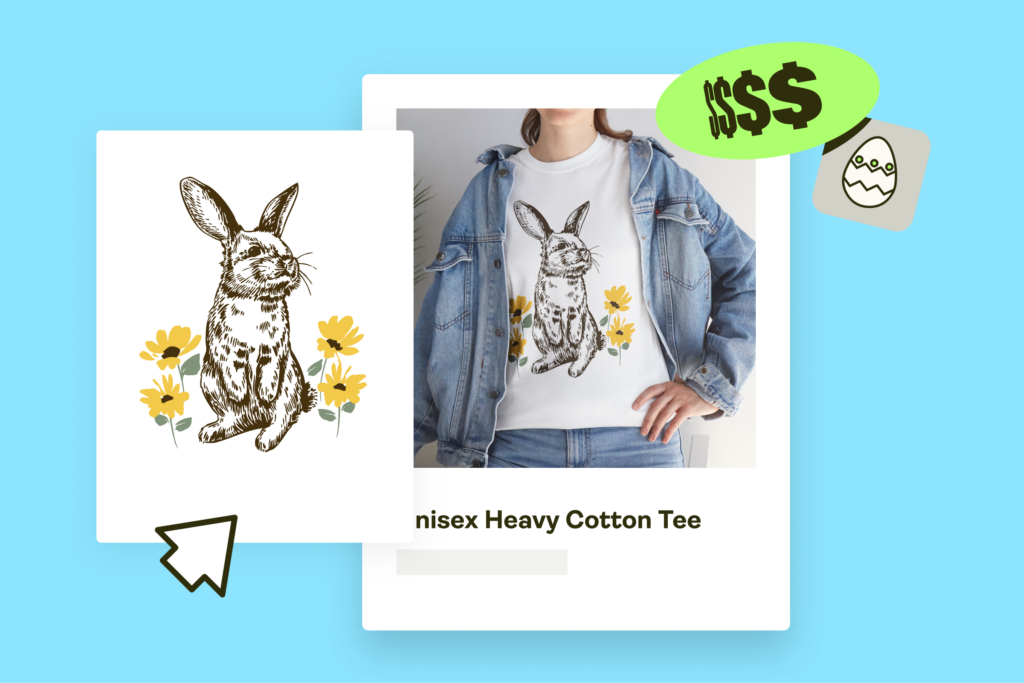
How to make your own t-shirts with Print on Demand
Wondering what you need to make graphic tees at home without equipment and making a mess? Print on Demand is the cleanest, easiest option. All you need is a computer and a dash of creativity.
How it works
- Create a free Printify account to access our design tools, sales channel integrations, and huge product selection.
- Browse our Catalog of over 1,000 products and choose one of many shirts – from eco-friendly to all-over print and different styles and fabrics.
- Create a stellar design using our free and user-friendly Product Creator (formerly known as Mockup Generator). Add images, text, colors, patterns, and other elements to make your custom t-shirt really pop.
- List your custom shirts for sale, or order some for yourself. Our global Print Providers handle the production, packaging, and shipping directly to your or your customer’s doorstep.
Printify t-shirt printing methods
Our Print Providers print custom products using the following printing techniques:
- Direct-to-garment (DTG)
- Sublimation or all-over-print (AOP)
- Direct-to-film (DTF)
How to make custom t-shirts at home: FAQ
The easiest method is heat transfer printing with paper or vinyl. Necessary supplies include an iron or heat press, image editing software, a printer or cutter, a shirt, scissors, heat transfer paper or vinyl, a cutting mat, and a design.
Not necessarily – an inkjet printer and household iron work for heat transfer paper. Just make sure you buy the right paper for your printer type.
If you decide to amp up your operations and start a custom t-shirt business, consider investing in a heat press for faster production.
When printing shirts with vinyl, you’ll need a cutting machine for your design stencils.
First, you must install the Cricut Design Space software to edit and prepare your artwork. Then, buy a cutting mat and machine to cut out your custom design. And finally, invest in weeding tools to perfect your design down to the last detail.
You typically don’t need a specific license to sell t-shirts, but requirements vary by location. Check your local regulations for a business license or seller’s permit.
If using copyrighted designs, get a commercial license first. For an online custom t-shirt business, follow platform guidelines and comply with tax obligations for smooth operations.
Wrapping up
Learning how to print shirts at home opens up endless possibilities for creativity and customization. This guide covered everything from essential tools to step-by-step techniques.
Now that you know what you need to print t-shirts at home, you’re ready to create your own unique designs for personal or business use.