


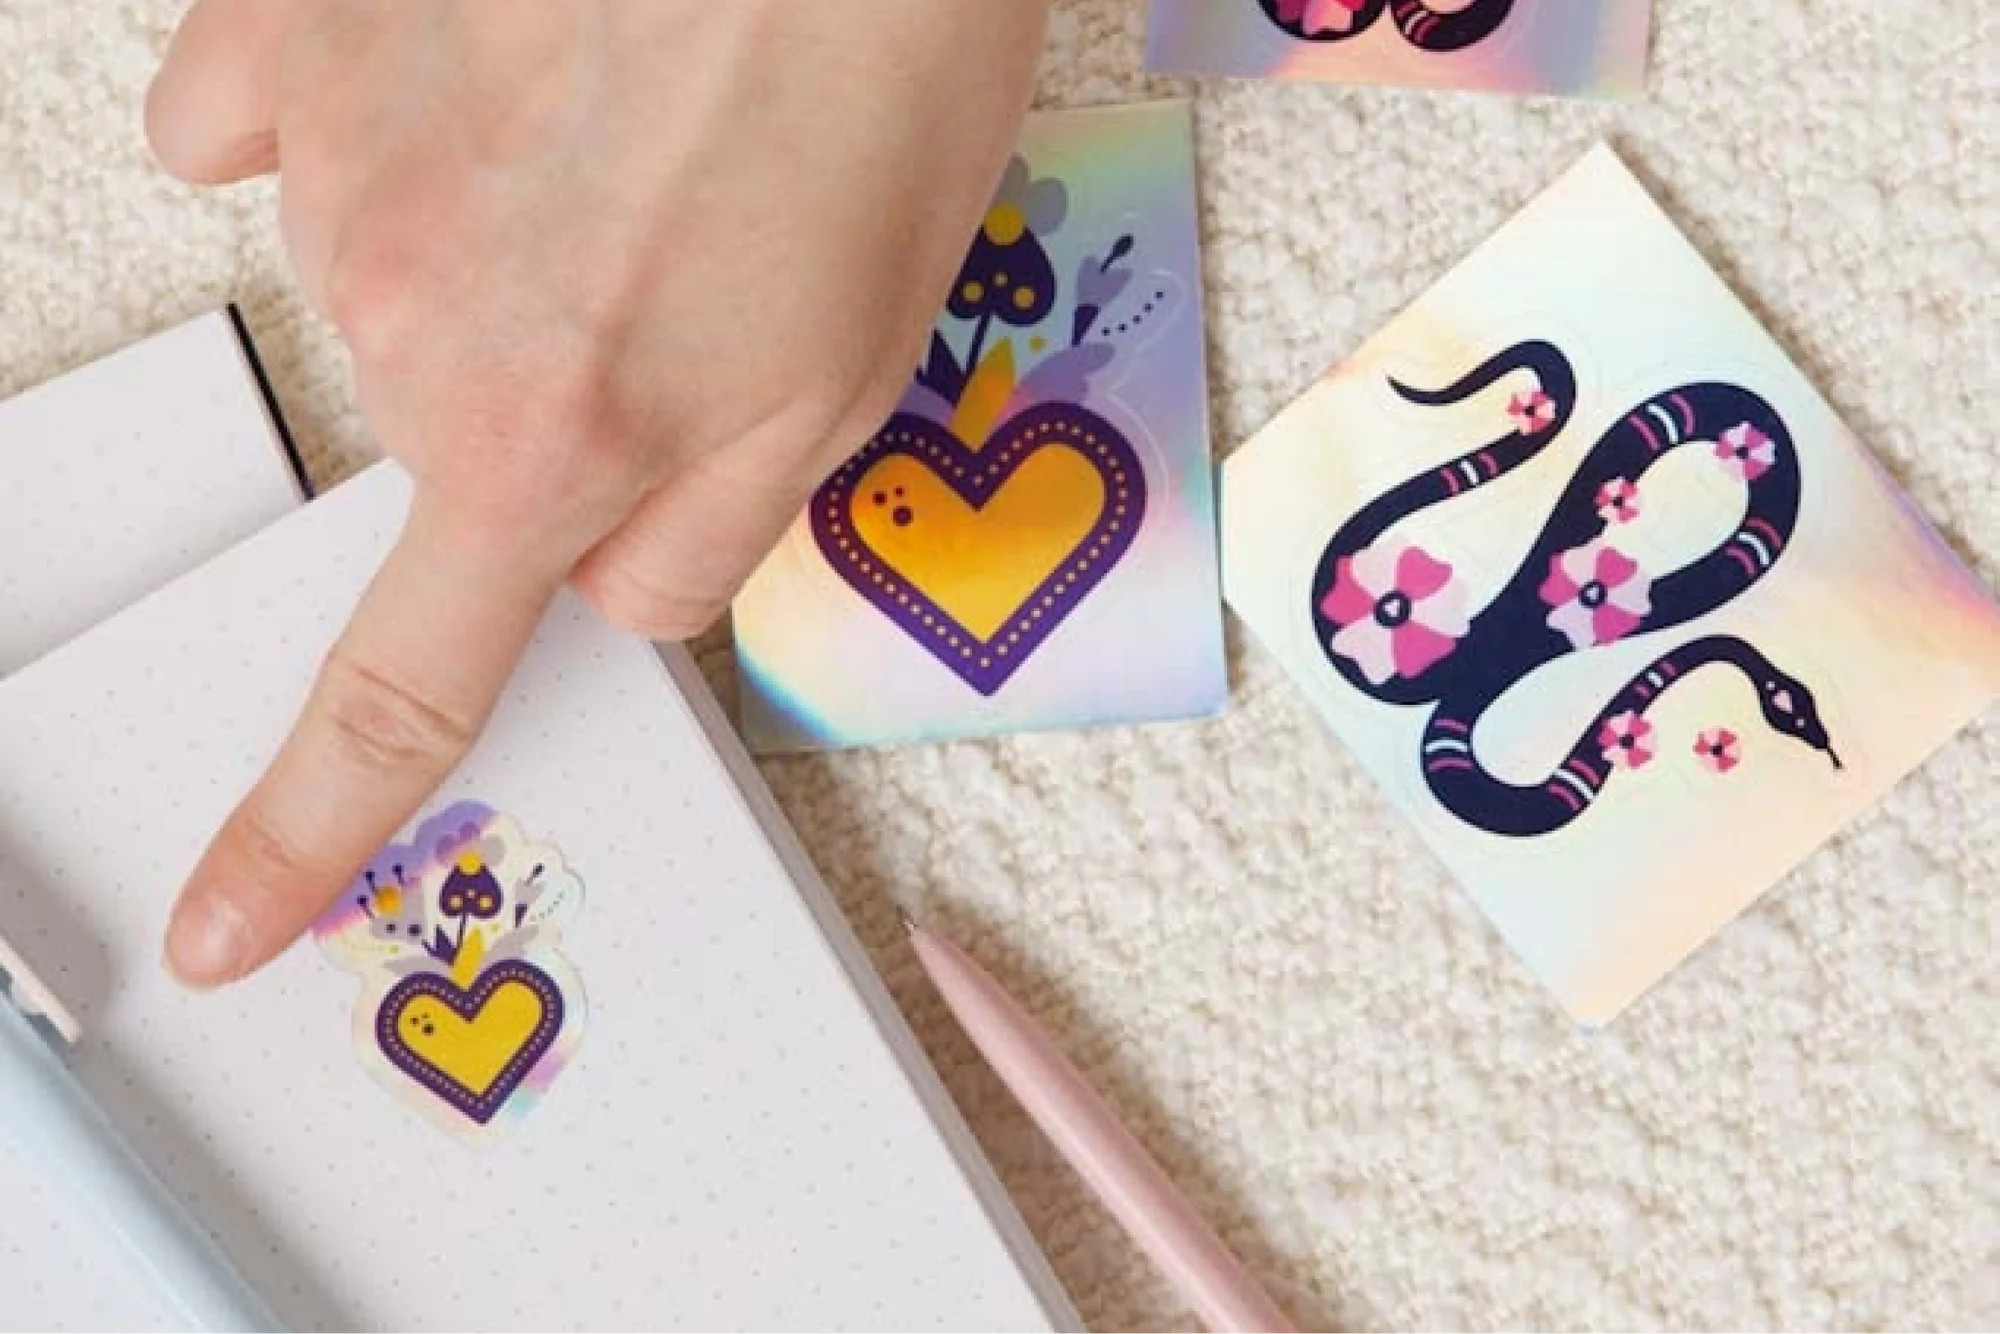
Learning how to make custom stickers is one of the easiest ways to turn a fun hobby into a real business, or simply add a fun, personal touch to gifts, laptops, and packaging. This guide covers every affordable method, tool, and material for creating custom stickers – the DIY route first, then an easier way to create stickers with print-on-demand.
Whether you're figuring out how to make your own stickers or how to create a sticker, you'll find design tools, sticker types, mistakes to avoid, a few design ideas, and answers to the questions merchants ask most.
Designing and selling custom stickers (Quick answer)
To make custom stickers, create your artwork or logo with a sticker-making tool or graphics software, upload your file, choose your material, and finish. Then print and cut your stickers to the final shape. You can print at home with a regular inkjet printer, or use a print-on-demand service like Printify to create custom stickers without buying any equipment or a cutting machine.
How to make custom stickers: The DIY way
If you enjoy hands-on projects, making your own stickers at home gives you full creative control over every step, from artwork to finish. Here's how to create custom stickers from scratch, or see how print-on-demand works instead.
Step 1: Design your sticker

Start by sketching an idea or browsing design ideas for inspiration, then open a design program to create custom artwork. Keep the design simple enough for a small scale, and if you're designing for a business, stay consistent with your branding – reuse the same colors, fonts, and logo across your stickers, labels, and packaging.
Free templates are a great shortcut if you're not confident designing from a blank page. Many design tools include free graphics and text editors, so you can create a logo without hiring a designer, then personalize the layout – handy for personal projects and small business branding alike.
Step 2: Choose sticker type and material
Once you create your design, pick materials like paper or vinyl and a cut style that fits your project.
- Paper vs vinyl. Paper stickers are affordable and work well indoors, but vinyl holds up outdoors and survives water, sun, and everyday wear. Vinyl is also the better pick for dishwasher-safe labels on mugs and water bottles, and it's a more durable option for logos.
- Matte vs glossy. Matte finishes have a soft, low-reflection surface, while glossy finishes are shinier and make colors and logos pop. Neither affects durability, so choose whichever suits your brand and personal style.
If you plan to sell in packs, look for a backing sheet that peels away easily, since a stiff backing makes it harder for customers to remove stickers cleanly.
Step 3: Prepare your file for printing
Before you print, save your final design as a high-resolution file – ideally 300 DPI or higher – in a format like PNG or PDF with a transparent background if your logo or artwork has a custom shape. This prevents the white box around printed images.
Double-check your file for bleed and margins so nothing gets cropped when cutting. If you're uploading photos or detailed graphics alongside text, confirm the resolution holds up at final print size, since a design that looks sharp on a computer screen doesn't always print the same way.
Step 4: Print your stickers

At home, a home inkjet printer with the right paper works fine for personal projects, gift tags, or one-off signs. For a business printing in higher quantities, professional printing delivers sharper colors, more consistent quality, and materials built to last. Keep a spare roll of paper on hand, since print quality depends as much on your file as on your printer.
Screen printing and other commercial methods can handle a large quantity of stickers, but they usually require a bigger upfront investment than most beginners want to make.
Step 5: Cut and finish your stickers
Once printed, cut each sticker to its final shape. Scissors work fine for a handful of unique shapes, but a cutting machine gives cleaner, more precise edges – especially useful for kiss-cut stickers, where only the top layer is cut, and the backing sheet stays intact, or die-cut stickers, which are cut fully through for a bolder look.
How to make stickers online: The easiest method

If cutting machines and printer settings sound like more hassle than you signed up for, skip straight to creating and selling. Print-on-demand (POD) services like Printify let you create custom stickers and have them printed, cut, and shipped for you, in any quantity you need – an affordable way to test new designs before committing to a bulk order.
Create a Printify account
Sign up for a free Printify account to access the Product Creator, our sticker maker tool, and hundreds of custom sticker options beyond stickers alone – handy if you want to extend your logo and branding to mugs, apparel, or packaging later. You can upload artwork right away or start from a template.
Design and choose your sticker type

Upload your own artwork or create a design from scratch using free graphics, templates, and a text editor. Customize the size, shape, and quantity, choose from die-cut, kiss-cut, sticker sheets, or labels, then preview your final design on a realistic mockup before ordering.
Order for yourself or sell
Once you're happy with the proof, order a sample for personal use or connect your store to sell online on Etsy, Shopify, TikTok Shop, and other marketplaces – all without holding inventory or handling fulfillment yourself.
Best tools to design your own stickers
You don't need expensive software to create custom designs. Here are a few options for building consistent branding:
Printify's Product Creator: A free, browser-based sticker maker tool where you can upload your own art, customize colors and fonts, use an AI image generator, and remove backgrounds for a clean transparent background – no design experience required, and you can personalize templates in minutes.
Adobe Photoshop or Illustrator: Industry-standard programs for merchants who want full creative control over layers, shapes, and file formats on their own computer.
Canva: A beginner-friendly option with free templates for quick logo and sticker design work, useful if you prefer a simple drag-and-drop page over complex software.
Freelance designers: Sites like Fiverr connect you with artists who can turn your idea, photos, or drawing into a finished logo or sticker design if you'd rather outsource the artwork or craft something entirely custom.
Types of custom stickers you can create

Different projects call for different materials and cuts – from die-cut stickers with a sharp shape, to kiss-cut sheets, a matte finish for a subtle logo, and simple labels that reinforce your branding. Here's a quick breakdown:
Die-cut stickers. Cut precisely along the edge of your artwork for a bold, custom shape, so every outline stands out exactly as designed. Great for logos, illustrations, or any design that needs a shape all its own – a favorite for branding, packaging, and bulk quantity orders alike.
Kiss-cut stickers. Only the top layer is cut, leaving the backing whole so the sheet stays easy to handle. Easier to peel and more affordable to produce, making them ideal for logo sticker packs and sheets sold in bulk quantities for everyday branding and giveaways.
Vinyl stickers. Durable, waterproof, and dishwasher safe – a strong choice for water bottles, laptops, or any surface exposed to the elements over its shelf life, without fading or peeling at the edges.
Transparent stickers and labels. Printed with a clear film so only your logo or artwork shows, giving product labels a clean, professional finish on glass, plastic, or packaging – perfect for a polished, branded look on any surface.
Mistakes to avoid when designing stickers
Even a great sticker idea can fall flat with a few avoidable errors:
- Low-resolution designs. Blurry or pixelated artwork looks unprofessional once printed at full size, especially on die-cut or kiss-cut edges where every detail shows. Always design at print resolution, not computer screen resolution.
- Choosing the wrong material. Paper won't hold up outdoors, and glossy finishes can look cheap on certain branding. Match your material to how the stickers, labels, or sheets will actually be used, and keep your logo simple enough to reproduce sharply at any size.
- Overcomplicated designs. Too much text, too many images, or too much detail gets lost at a small scale. Keep the final design bold and simple, pick a shape that's easy to cut, and add text sparingly so the artwork still reads clearly.
- Not testing prints. Skip a sample order or proof and you risk color shifts, sizing issues, or cropping problems – small errors that are much cheaper to catch before a bulk print run.
- Ignoring quantity and cost. Ordering a huge quantity upfront without testing demand can leave you with unsold stock and tie up money you'd rather put back into your business, especially when a smaller trial batch would show what actually sells.
Sell custom stickers online with Printify

Once you know how to create custom stickers you're proud of, turning that skill into income is the next step. With Printify, you can create custom stickers, sticker sheets, and labels, then sell them on your own store or a marketplace without touching a printer or cutting machine. We handle production, packaging, and shipping in any quantity, so you can focus on artwork, branding, and growing your business.
FAQ
Conclusion
Whether you print stickers at home with a basic printer and cutting machine, or create custom stickers through a print-on-demand stickers service, the process comes down to the same basics: a strong logo, consistent branding, the right material, and a clean final file ready for print. If you'd rather skip the equipment and get straight to designing, Printify's free Product Creator makes it easy to create custom stickers, personalize your branding, and sell them as you grow a business around your own artwork.
