


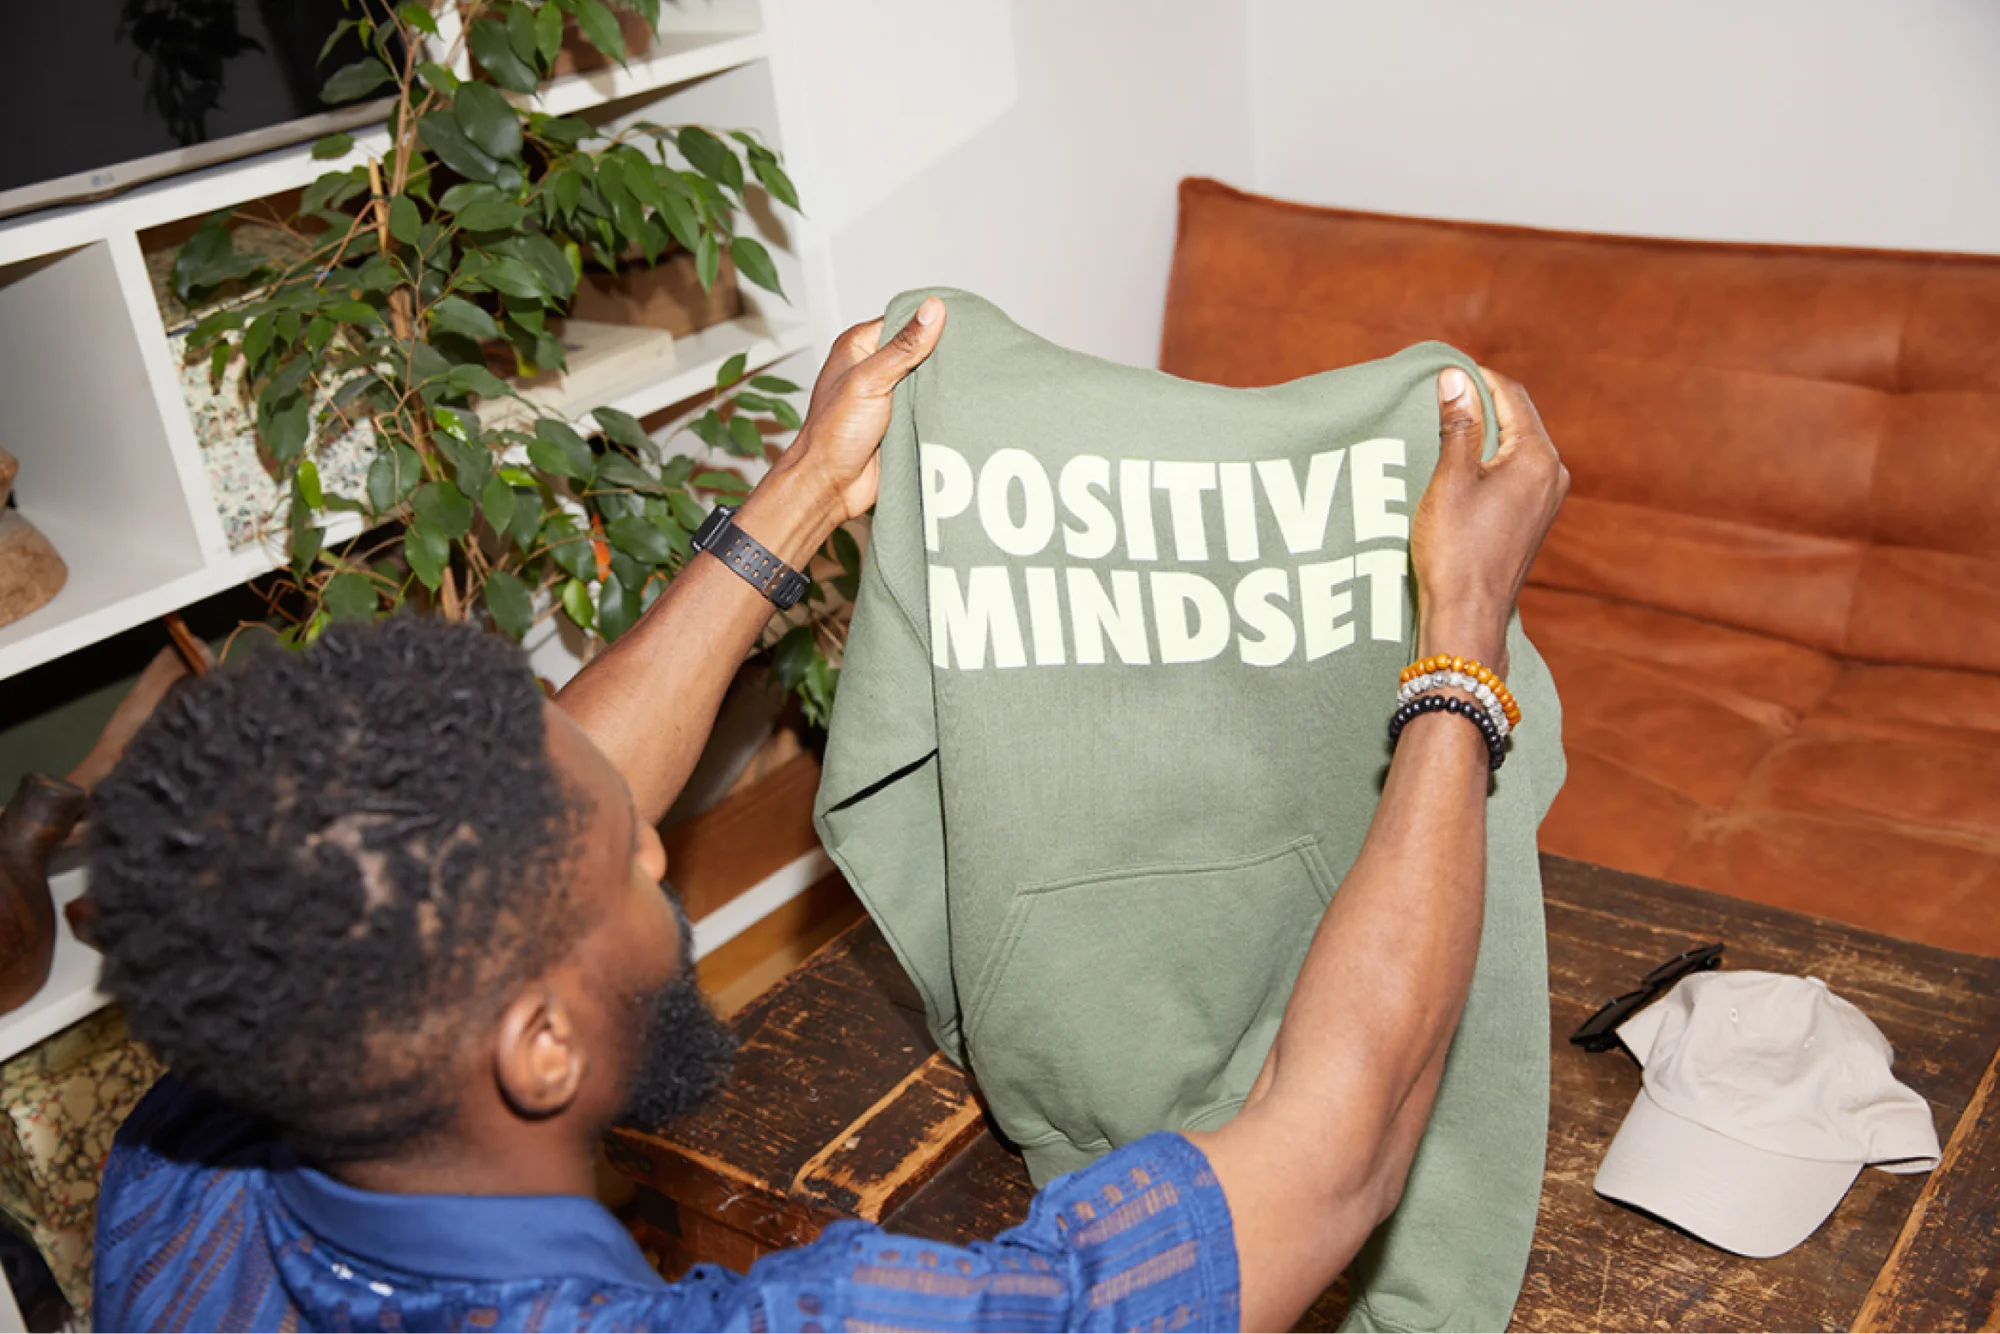
Want to learn how to design a product but don't know where to start? Good news – you don't need a fashion degree or a warehouse full of inventory.
Whether it's a physical product design for your brand or something you’re making for yourself, the same product design process applies – understand your goal, shape a concept, design it, sample it, then get it made.
This guide covers the full product design process, including user research, concept development, prototyping, usability testing, and how to manufacture a product idea. We’ll also share the fastest, lowest-risk route to get your product made with Print on Demand.
1. Research your market and understand your users
Every product design process starts with research. Skipping straight to the fun part of product design is the fastest way to build something nobody wants.
Before you open a design tool, spend time on user and market research, look at market trends, and see what your competitors are already doing – it'll save you months of guesswork later.
Define your target audience
You can't design for everyone, so get specific about your target audience, their age range, their interests, the problems they're trying to solve, and where they spend their time online.
A product designer who understands user needs from day one will outperform one who's guessing, and this is true whether you're designing digital or physical products.
Building simple user personas – short, realistic profiles of your ideal buyers – helps keep your target audience in focus throughout the entire product design process. User interviews are a fast way to build these personas. Ask real shoppers what they actually want, and note any recurring pain points along the way.
Check out the competition first
Once you know who you're designing for, conduct market research. Competitor analysis doesn't have to be complicated. Look at what similar products already exist, read their reviews, and note user reactions and complaints. They’re often your best source of new product ideas and a clear signal of unmet user needs.
Look for market positioning gaps – a niche, a price point, or an aesthetic nobody else is serving well. That gap, backed by solid market analysis, is where your successful product lives.
Check demand before you start designing
Before you invest time in a full design, confirm that end users actually want it. Search volume, social engagement, and test listings using Print on Demand can confirm interest without spending a dime on production.
This initial research, grounded in actual data rather than assumptions, prevents wasted effort in the product design process.
2. Turn your idea into something sellable

With your research findings in hand, it's time to generate ideas. This is where design thinking comes into play – it's a structured process for turning user research into innovative ideas that serve your business objectives.
Get creative, but stay realistic
Innovative products rarely happen by accident. They come from creative thinking, plus a few real business constraints to work within – your budget, how you'll make it, your timeline, and your bigger business goals.
Bigger companies typically run design workshops and bring in people from marketing, design, and operations for that cross-functional collaboration. While you're working through idea generation, keep your business goals and objectives in mind, and let your business strategy guide your decisions.
Sum up your idea in one sentence
Before moving forward, write your product's core concept in a single sentence – who it's for, what user problems it solves, and how it's different from what's already on the market. If you can't do that in one sentence, the concept isn't ready.
This step protects your product design process from scope creep later, and it gives product managers a simple way to prioritize features when time or budget runs short.
3. Create your product design

This stage of the design process blends visual design with a lot of practical, structured decision-making. It's usually when a dedicated product designer or design team gets involved, though plenty of sellers handle it themselves from start to finish.
However you split the work, product success here comes down to the same thing – turning a validated concept into something people actually want to buy.
Choose your design tool
Your options range from simple to advanced.
For beginners, free tools like Canva cover most basic design needs. If you’re using Print on Demand, Printify has a built-in design tool called the Product Creator, so you don't need to install any extra software.
Want more control? Apps like Adobe Illustrator and Photoshop give professional product designers and UI designers more say over detail and scale.
Not a designer yourself? Hiring a freelance product designer on Fiverr or Upwork is an affordable way to get solid visual design without learning new software.
Whichever route you pick, this stage of the design process should end the same way – create products that look intentional and match a clear brand identity.
Design with the real product in mind
This is where many first-time designers stumble. There’s a key difference between digital UX design and physical product design.
A user interface on a screen and a physical item behave very differently. Colors shift under different lighting, fine text can blur when printed, and seams or stitching can interrupt visual elements in ways a flat mockup never shows.
Always design with the actual product's shape, material, and print area in mind, not just how it looks on your monitor. Shoppers interact with physical products through touch, weight, and texture, not just sight, so keep that in mind throughout the design process.
Use mockups as your prototype
Rapid prototyping doesn't have to mean physical samples right away. Digital mockups let you preview how key features of your design will look on the finished product before you commit to anything.
Printify's free Product Creator lets you drag and drop your artwork onto more than 2,000 products, switch colors, and preview realistic mockups instantly. It’s a fast, free way to prototype ideas before ordering a sample, and a great way to focus on user-centered design.
4. Test your design before launch

Even a great-looking design can fail with real users if you skip this stage. Usability testing and honest user feedback catch problems before your customers do, which is exactly what quality assurance in the product design process is for.
Gather feedback from your actual audience
Show your design to people who match your target audience, not just friends who'll say it's great no matter what. Ask directly – would you buy this? What makes you hesitate? User testing helps catch repeat complaints worth noting, helping you adjust to user expectations.
Usability testing doesn't need a lab or a budget. A few honest conversations and design thinking workshops will surface problems worth fixing. It’s valuable on-the-job learning for any new product designer.
Order a physical sample before listing
No matter how confident you are in your mockup, order a real sample before your product goes live. Print colors, fabric texture, and sizing can all look slightly different in person, and it's much better to catch that yourself than in a customer review.
Sampling is the final, most important round of user testing before launch, and it functions as a quality assurance step for every physical product you plan to sell.
How to get your product made: Print on Demand vs manufacturing

Once your design passes testing, you need to decide how to manufacture your product idea. There are two realistic paths, and the right one depends on your budget, timeline, and risk tolerance – in other words, your own business objectives and business goals.
Print on Demand
Print on Demand (POD) means your product is made only after someone orders it. There’s no need to buy inventory upfront, rent storage space, or guess how many units you'll sell.
A platform like Printify connects you with a global network of more than 70 Print Providers, and each item is printed, packed, and shipped directly to your customer once they buy.
It's the lowest-risk way to turn a design into a real product and start selling quickly.
Traditional manufacturing
Traditional manufacturing usually means working with a factory directly, which typically requires a minimum order quantity, upfront payment, and a wait of several weeks or months before you have finished goods in hand.
It can lower your per-unit cost significantly once you're selling at real volume, and different companies handle minimums differently – but it also means carrying inventory risk and storage costs from day one.
Print on Demand and manufacturing compared
Here's how the two approaches stack up for a first-time seller:
Feature | Print on Demand | Traditional manufacturing |
Upfront costs | None, you pay per order | Often thousands, covering materials, equipment, and production |
Minimum order | None required | Usually hundreds or thousands of units |
Time to first sale | Can happen on the same day, once your store is live | Weeks to months, depending on production and shipping |
Best for | Testing ideas, low-risk launches, diverse catalogs | High-volume sellers with proven demand and lower per-unit costs |
For most people learning how to design a new product and get it made without a big upfront investment, Print on Demand is the more practical starting point. You can always move to traditional manufacturing later, once you know exactly what sells.
Did you know?
Printify fulfills orders of any size, including bulk orders, so you can grow your business your way.
How to design a product and sell it with Printify: Step-by-step

Ready to turn your idea into a real, sellable product? Here's exactly how to get a product made using Printify, from your first sketch to your first sale.
Step 1. Create a free Printify account
Sign up for free. There's no cost to create an account, browse the Catalog, or build product listings. You only pay once a customer places an order.
Step 2. Choose your product
Browse our Catalog of more than 2,000 products, from custom clothing to mugs, bags, and home decor. Pick something that fits your target audience and design concept.
Step 3. Create your design
Open the free Product Creator, upload your artwork, or build something from scratch using built-in fonts, clipart graphics, free t-shirt designs, and AI design tools. Preview your design across colors and sizes, and adjust placement until the mockup matches your vision.
No separate software, no product designer on retainer needed – just your artwork and a realistic mockup that turns into a real, physical product on demand.
Step 4. Order a sample
Before you publish anything, order a physical sample. This is your last chance to catch print quality issues, sizing discrepancies, or color shifts before a real customer sees them.
Step 5. Connect your store and start selling
Connect your Printify account to Etsy, Shopify, TikTok Shop, Amazon, or another supported sales channel, publish your product, and start selling. From there, Printify's Print Providers handle production, packing, and shipping every time you make a sale.
FAQ
Conclusion
Learning how to design a product doesn't have to be overwhelming. Break it into a structured process and then decide how to get it made.
Whether you're a solo seller or a trained product designer, the same product design process applies from start to finish, and your business goals should help guide every decision.
For first-time sellers, Print on Demand removes the biggest barriers. No upfront costs, no minimum orders, and no inventory sitting in a garage. Create a free Printify account, build your first design with the Product Creator, order a sample, and connect your store.
Your first sale – and your next successful product – is just a few clicks away.




