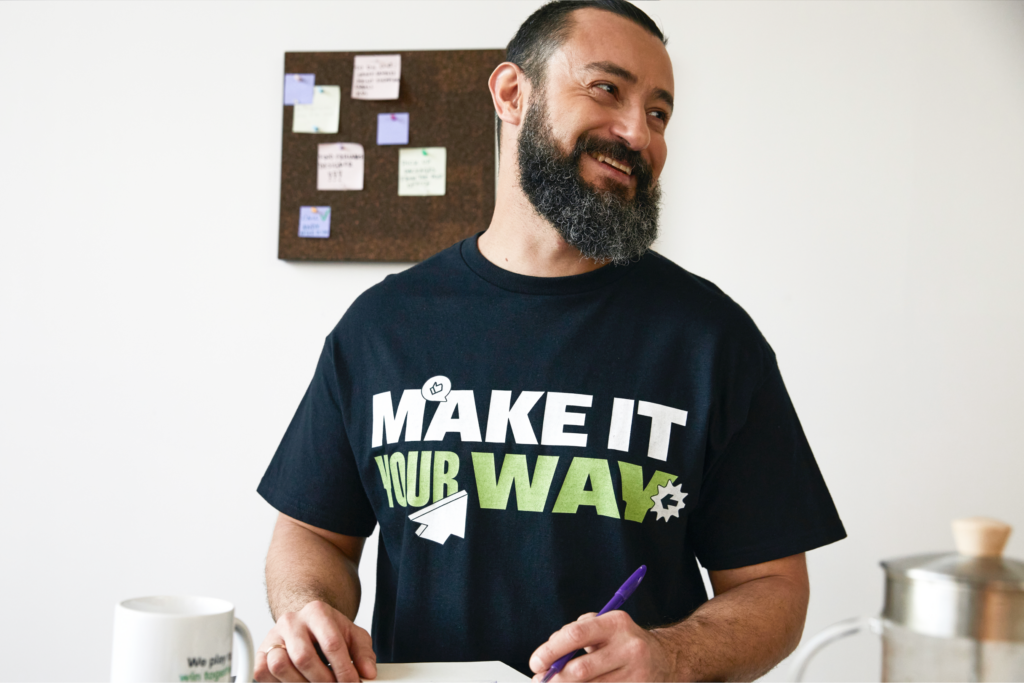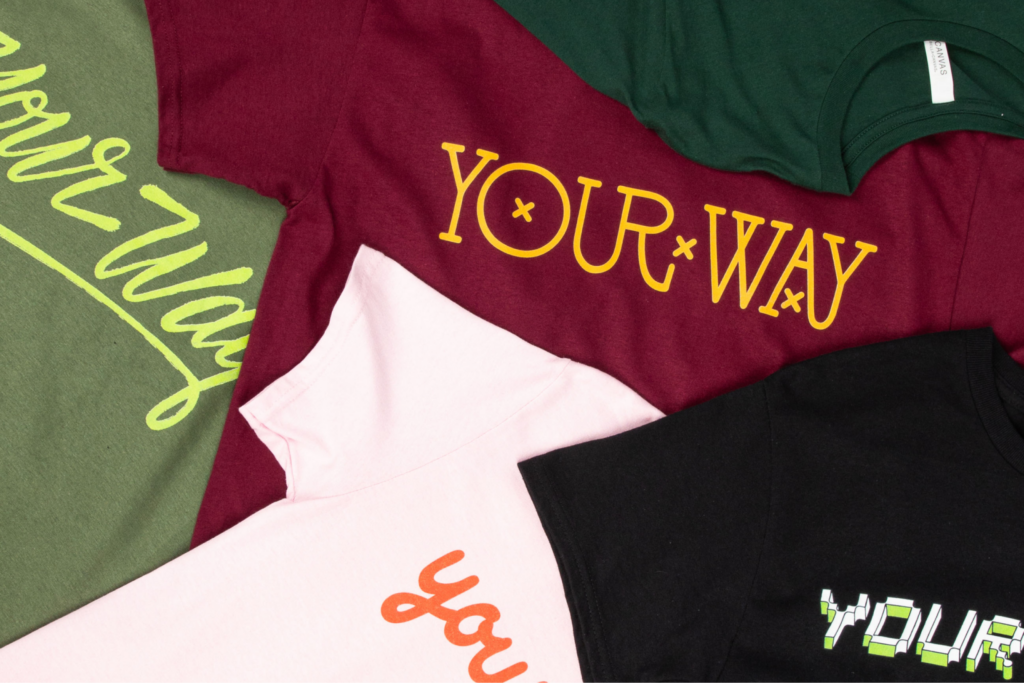


Bring your design ideas to life
Modern sellers use tie-dye patterns to capture a nostalgic yet trendy aesthetic that resonates across demographics. This guide covers simple and creative patterns – from basic spirals to complex geodes – along with professional prep tips.
We’ll also show how to design tie-dye pieces using Print on Demand (POD) to skip the messy chemical process while maintaining authentic, high-margin results for your online store.
The resurgence of tie-dye shirt patterns in eCommerce
Tie-dye has transitioned from a counterculture staple to a mainstream fashion powerhouse, driven by consumers seeking individuality and handmade aesthetics. Sellers tap into this trend by offering tie-dye shirts that blend retro vibes with modern graphic overlays, creating a high-value product that justifies premium pricing in a competitive market.
Why tie-dye is a top-performing niche for custom apparel
The tie-dye market thrives because no two items look the same, fulfilling the consumer desire for exclusivity. This niche performs exceptionally well for streetwear, loungewear, and festival-themed brands.
The global custom apparel market continues to grow, with niche aesthetics like tie-dye driving significant engagement. It fits perfectly by offering a canvas that feels more personal than a standard solid-color shirt.
Understanding the one-of-a-kind appeal for your customers
Customers buy tie-dye because it represents a break from mass-produced, sterile fashion. When you add these patterns to your catalog, you sell a wearable piece of art. For a merchant, this means lower return rates and higher perceived value.
The organic nature of the dyeing process masks minor imperfections and creates a premium, textured look that flatters different body types, making custom tie-dye shirts a versatile addition to any merch line.
4 Simple tie-dye patterns to jumpstart your collection

Starting your journey into tie-dyeing doesn’t require a degree in fine arts. These easy tie-dye patterns rely on basic folding techniques and rubber bands to create professional, repeatable results that look great on any garment.
The accordion fold: How to tie-dye clean, linear designs
The accordion fold produces crisp vertical or horizontal stripes, depending on the direction of your folds.
To achieve this, lay your shirt flat and fold the fabric back and forth in two-inch increments, similar to a paper fan. Secure the pleated strip with rubber bands spaced every few inches.
When you apply dye to the sections between the bands, the pigment stays on the outer edges of the folds, creating a sharp, rhythmic stripe pattern once you rinse and unfurl the piece.
Box folds and squares: Easy tie-dye patterns for a geometric look
Box folds create a sophisticated grid or tile effect.
Start with a damp garment and fold it into a long strip using the accordion method. Then, fold that strip into a square or triangle shape. Use bands or small clamps to hold the shape tight.
Applying dye colors to the corners of the folded stack ensures the pigment bleeds inward toward the center, resulting in a series of repeating geometric shapes that look strikingly modern compared to traditional swirls.
The marble effect: Why random scrunching creates the best tie-dye patterns
The marble effect is the ultimate technique for beginners because it thrives on chaos.
Simply scrunch the fabric into a tight, messy ball and secure it with a web of rubber bands. There’s no precise folding required here – just ensure the ball is compact. Apply different colors of liquid or powdered dye to different sections of the ball.
This randomness produces a cloud-like texture with more white areas, making it one of the best tie-dye patterns for a subtle, ethereal look.
Bullseye tie-dye pattern: Creating concentric circles with rubber bands
A bullseye design features a central focal point with radiating circles of color.
To create this, pinch the fabric where you want the center of the circle to be and pull it upward into a cone shape. Place rubber bands at various intervals down the length of the cone. Each section created by the bands will become a different ring of color.
Use a squirt bottle to saturate each section with a single color for a bold, high-contrast target effect that pops on t-shirts.
4 Unique tie-dye patterns that stand out on product pages

Once you master the basics, move toward more authentic patterns that command higher price points. These tie-dye projects require more precision but result in unique designs that stop the scroll on Etsy.
The V-shape: Creating a flattering, tapered silhouette
The V-shape involves folding the shirt in half vertically and drawing a diagonal line from the shoulder down to the center hem with a washable marker.
Fold along this line using an accordion pleat so the line stays straight. Bind it tightly with rubber bands and apply dye along the folded edge. This creates diagonal stripes that meet in the middle, forming a V-pattern that visually narrows the waist and broadens the shoulders for a flattering fit.
Double spirals: How to mix colors for high-impact visuals
Why settle for one spiral when you can have two?
Pinch the fabric at two separate points – usually the chest and the opposite hip – and twist both simultaneously until the shirt forms two flat discs. Secure the entire garment with rubber bands crossing in a grid pattern, like cutting a pizza into slices.
When you apply dye, use contrasting dye colors for each spiral to create a dynamic, high-energy look. This tie-dye technique is a fun way to experiment with color theory and visual balance.
Mirror imaging: Advanced folding for symmetrical art
Mirror imaging creates a Rorschach-like symmetry.
Fold your garment perfectly in half before applying any folding techniques. Whatever you do to one side will be perfectly mirrored on the other. Use rubber bands to create complex binds through both layers of fabric.
When you apply dye, the saturation bleeds through equally, resulting in a professional, balanced piece of art that looks like a high-end designer print rather than a DIY project.
Geode designs: How to tie-dye stone textures with ice and string
Geode patterns mimic the crystalline structure of halved stones.
Instead of rubber bands, use heavy thread or twine to tie off small, random sections of the fabric very tightly. For the most vibrant results, use ice tie-dye.
Cover the tied garment with ice cubes and sprinkle dye powder over the top. As the ice melts, it carries the dye into the fabric at different rates, creating organic, soft-edged gradients and crystalline textures that are impossible to replicate with liquid dye.
Going psychedelic: 4 Trippy cool tie-dye patterns

For those targeting the festival or streetwear markets, abstract and trippy dye patterns are essential. These techniques push the boundaries of traditional tie-dyeing to create mind-bending visuals.
Reverse tie dye: Using bleach for a dark, edgy aesthetic
Reverse tie-dye starts with a dark garment, typically a black or navy shirt. Instead of adding color, you remove it.
Use the same folding method – like a spiral or scrunch – and apply a bleach solution. Once the fabric lightens to a copper or white tone, rinse it thoroughly to stop the chemical reaction.
You can leave it as is or apply dye to the newly lightened areas for a high-contrast, neon-on-dark look that screams underground rave culture.
Gravity dyeing: Let the pigment flow for liquid-like effects
Gravity dyeing relies on verticality.
Hang your garment from a drying rack or clothesline and apply liquid dye to the top edge. Let the dye drip naturally down the fabric. This creates long, bleeding streaks and melting effects. It’s a fun activity that requires patience, as you need to let the excess dye travel downward without interfering.
The result is a fluid, watercolor-like aesthetic that works beautifully on oversized t-shirts and hoodies.
Fractal designs: How to tie-dye repetitive, mind-bending geometry
Fractal tie-dye patterns involve repetitive folding and binding to create intricate, star-like shapes. By folding the fabric into a series of smaller and smaller triangles and using rubber bands to create tight points, you can achieve a kaleidoscopic effect.
Applying different colors to the tips and bases of these folds creates a repeating pattern that looks like a digital fractal, offering a high-tech vibe to a low-tech technique.
Mandala pattern: Using precise binding for radial symmetry
The Mandala tie-dye technique is the peak of radial symmetry.
You fold the shirt into wedges – like a pizza – and use sinew to tie off sections at precise intervals. By using a single color or a rainbow tie-dye palette across these sections, you create a complex, circular flower or starburst.
It requires a steady hand and a plastic cover to catch the excess dye, but the results are mesmerizing and highly sought after by collectors.
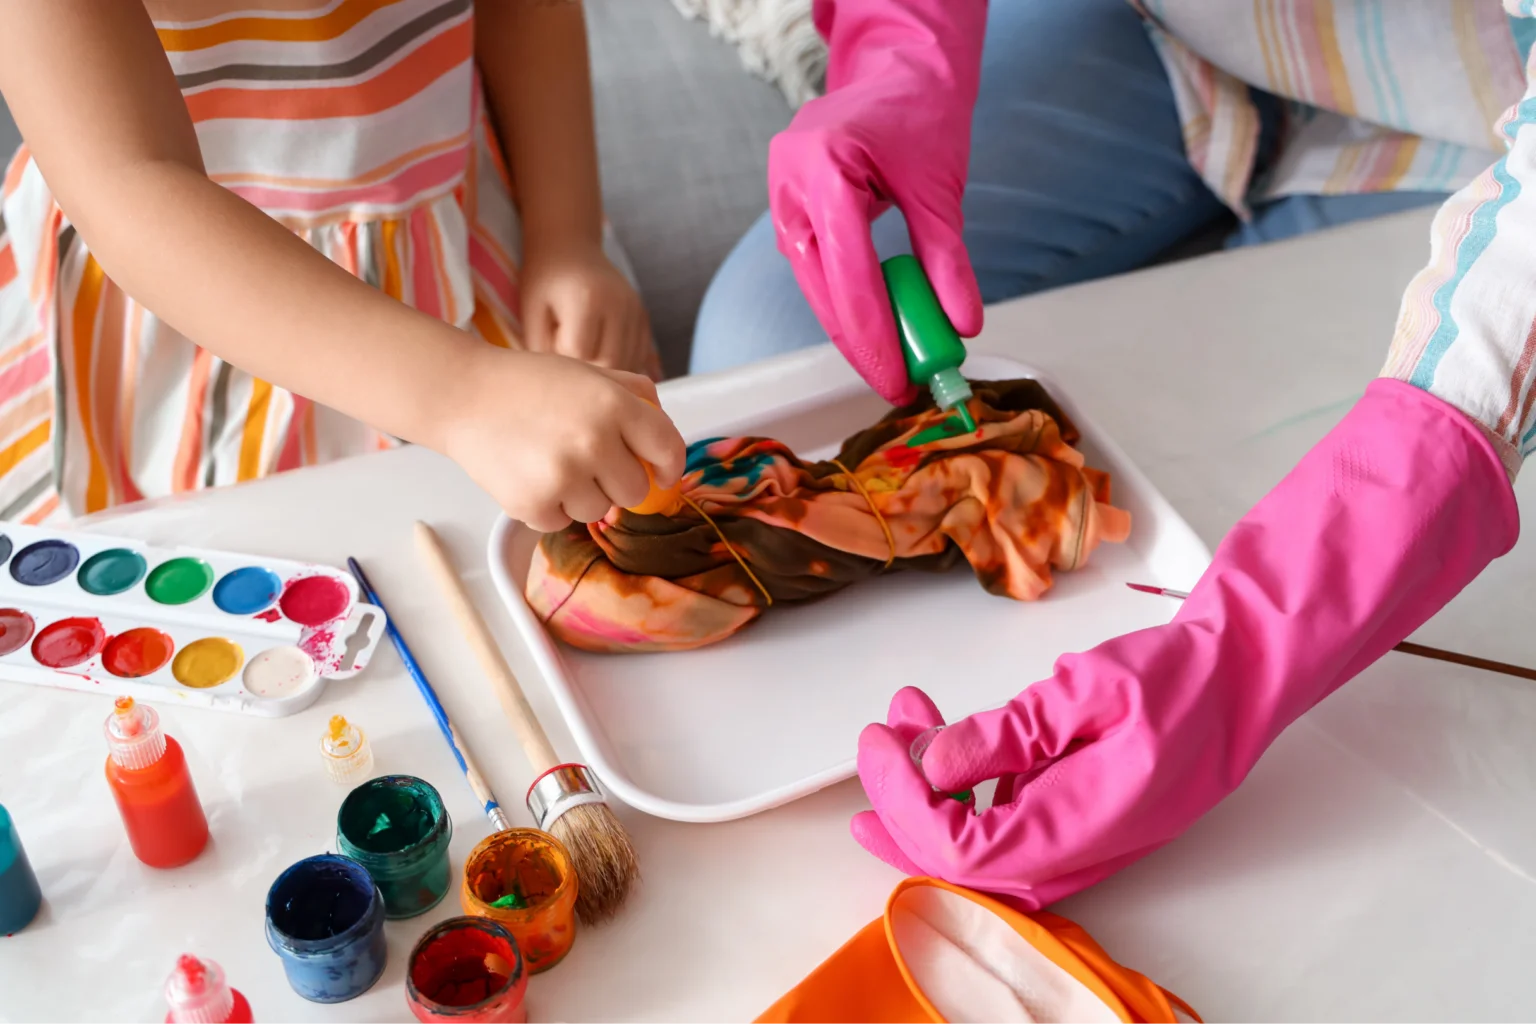
Prep and resources for DIY tie-dye designs
Success in tie-dyeing is 80% preparation. If you fail to prepare the fabric or the workspace, your vibrant results will quickly turn into a murky mess.
Master the fold using printable templates and folding diagrams
Precision starts with a plan. Many professional dyers use printable templates to mark their fabric with a washable marker before folding. These diagrams show exactly where to place rubber bands and where to apply dye.
You can find these resources at craft stores or online communities. Following a diagram ensures that your vertical stripes stay vertical and your spirals remain centered, which is vital if you plan to sell a standard design across multiple sizes.
Setting up the essentials: From soda ash solution to work surface
Before you start, cover your area with plastic wrap or a tablecloth. You’ll need rubber gloves to avoid staining your hands and a squirt bottle for precise dye application.
Most importantly, soak your natural fibers in sodium carbonate for 20 minutes. This raises the fabric’s pH, allowing the dye to bond permanently to the fibers. Without this step, your dye colors will wash out the first time they hit the spin cycle.
Building your tie-dye kit: Choosing the right fabric and tools
Not all t-shirts are created equal. You need to use natural fibers like 100% cotton, silk, or rayon. Polyester and synthetic blends won’t absorb the dye, resulting in faded, pastel colors.
Your kit should include:
- Fiber-reactive dyes: These provide the brightest results.
- Rubber or elastic bands: For creating your dye patterns.
- A cooling rack: To keep the garment off the plastic tablecloth so it doesn’t sit in a puddle of excess dye.
- Warm water: To mix your dye powder (never use hot water, as it causes the dye to activate and expire too quickly).
- Dish soap: A small drop of dish soap in your dye mix helps the liquid penetrate the fabric more evenly.
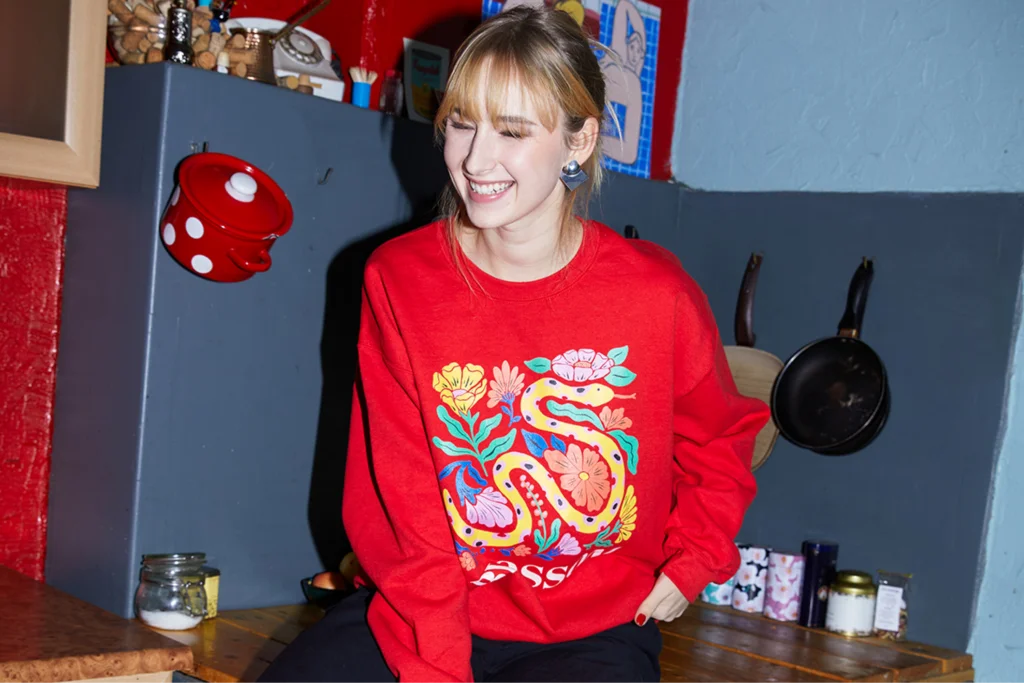
Create your own print-on-demand tie-dye merchandise!
If the thought of soda ash, gloves, and cold running water sounds like too much work, Printify has you covered. You can launch a full line of custom clothing using pre-dyed garments, allowing you to focus on the artwork while we handle the mess.
Find your favorite tie-dye patterns on high-quality blanks
We offer a diverse selection of pre-treated garments starting at just $11.72 – or $8.62 with Printify Premium.
Our Catalog includes industry favorites like the Gildan 5000 in spiral, cyclone, and crystal variations, alongside premium options like the Colortone mineral wash and Champion tie-dye hoodie. Each piece is dyed before printing to ensure your customers receive an authentic look.
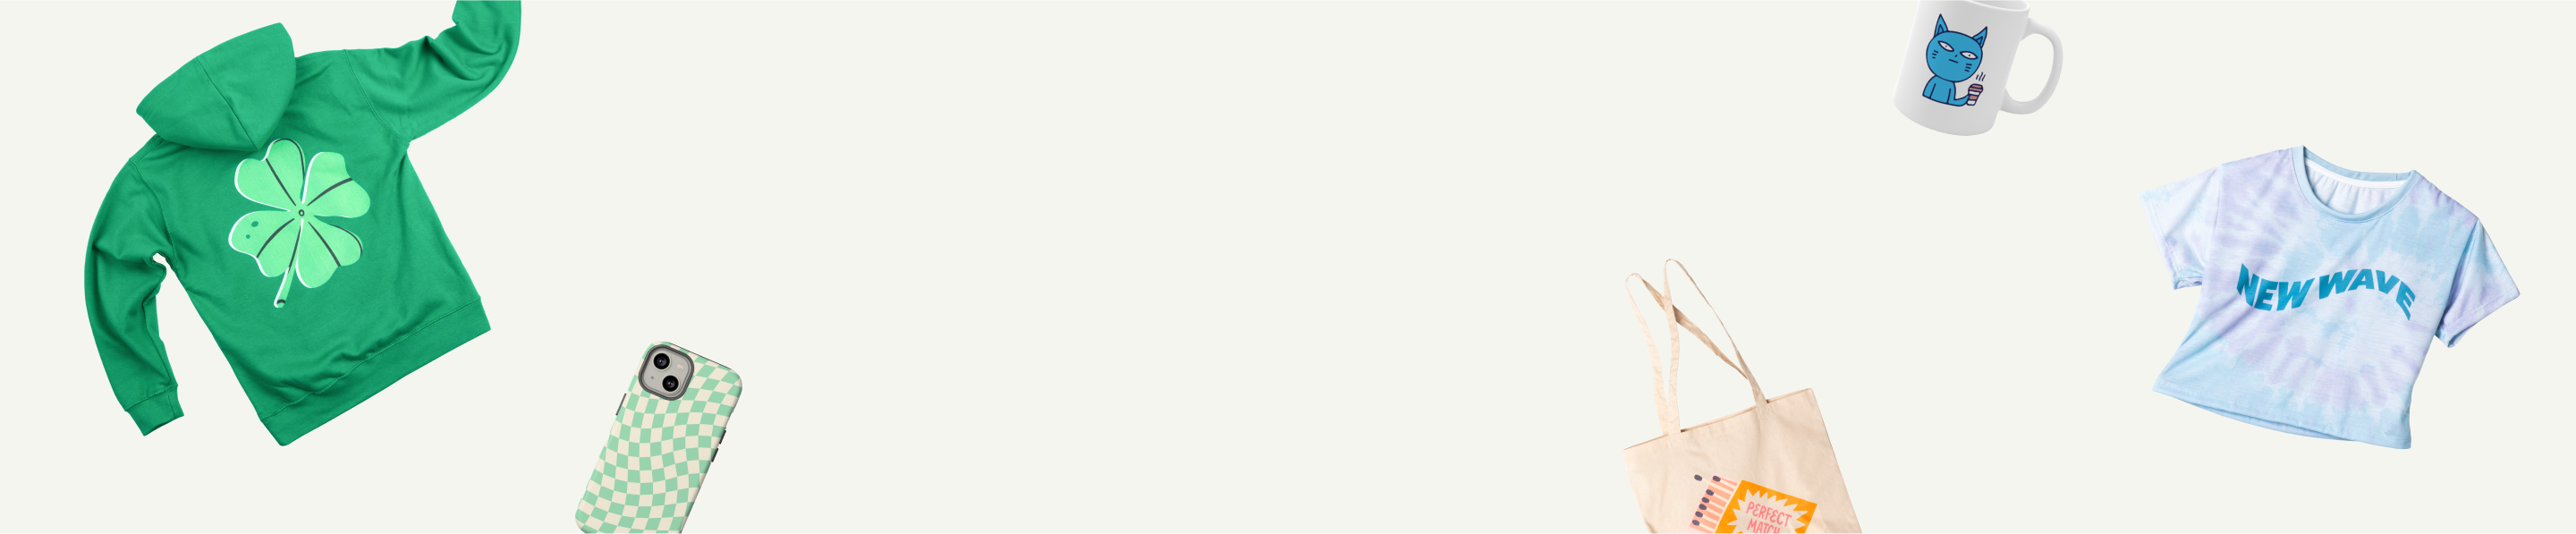
Apply your designs to a variety of styles:
- T-shirts
- Tank tops
- Crop tops
- Long-sleeve tees
- Youth t-shirts
- Hoodies
Free pro-grade design tools for customizing tie-dye shirts
Use our Product Creator to prepare your inventory with speed and precision. This suite provides technical features that ensure your artwork complements the organic movement of the dye:
- AI image generator: Produce psychedelic or retro graphics using text prompts to match the tie-dye aesthetic.
- Background remover: Strip away unwanted pixels to ensure logos sit cleanly against mottled fabric.
- Pattern tool: Create repeating elements that scale automatically across different garment sizes.
- Text editor: Add high-contrast typography with granular control over spacing and placement.
Professional printing techniques for tie-dye apparel
Tie-dye fabric creates visual noise that can swallow weak designs. We use three technologies to ensure your art remains the focal point:
- Direct-to-garment (DTG): Inks bond with cotton fibers for a vintage feel. To maintain visibility against dye patterns, use bold graphics with high-contrast colors.
- Direct-to-film (DTF): This method applies a physical layer on top of the shirt, providing 100% opacity. It’s the best technique for massive, vibrant designs that stay bright regardless of the background dye.
- Embroidery: For hoodies, heavy thread creates a premium, 3D contrast. Use solid-colored threads to provide a stable anchor point against the fluid, chaotic movement of the different patterns.
How to tie-dye design ideas with Printify
Make something truly one-of-a-kind by combining colorful swirls with other elements like text, photos, or custom artwork. Follow these steps to generate unique tie-dye designs:
- Sign up for a free Printify account.
- Find tie-dyed goods in the Catalog (search for tie dye).
- Click Start designing and use the Product Creator for full customization.
- Place an order for a sample or list them directly on your Shopify or Etsy store.
- That’s it – Printify’s Print Providers handle the rest.
The beauty of Print on Demand? Once someone buys, our Print Providers handle printing and shipping, so you never even have to touch a shirt.
Frequently asked questions
Yes. You can use design software like Photoshop to create digital tie-dye patterns and upload them to a standard white shirt using DTG or sublimation printing. This allows for impossible patterns that physical tie-dyeing can’t achieve, such as perfectly crisp borders between different colors or neon shades that don’t exist in traditional dye colors.
You have two professional paths for your store. First, select pre-dyed t-shirts and hoodies from our Catalog – they arrive with established patterns, so you can simply add text or graphics on top.
Alternatively, choose white polyester t-shirts for all-over printing (AOP). This lets you upload a custom digital file that covers the piece from seam to seam. Because AOP uses sublimation, the patterns stay vibrant and won’t fade in the wash – customers can wear your fun creations for years. Whether you want a single color spiral or a complex mandala, both methods skip the mess of tie-dyeing by hand.
Absolutely. Modern DTG and sublimation printers can handle the complex gradients of tie-dye patterns with ease. When you design for a pre-dyed shirt, the printer applies a white underbase first, ensuring your graphic remains vibrant and doesn’t get lost in the background dye.
Use high-resolution files (at least 300 DPI) and ensure your colors are in CMYK format. If you’re designing for a pre-dyed garment, use high-contrast colors for your artwork. For example, use black dye-colored text on a rainbow tie-dye background or white graphics on a dark reverse-dye shirt to ensure readability.
If you create the pattern yourself or use Printify’s pre-dyed blanks, you don’t need a license. However, if you do tie-dye by downloading a texture from the internet, ensure it’s licensed for commercial use. Using the Printify AI image generator is a safe way to create original, royalty-free tie-dye designs to sell.
Tie-dye products typically command a higher retail price ($25-$45) due to their custom feel. With Printify’s base prices, merchants often see profit margins between 30% and 50%. By marketing them as limited-edition or artisan apparel, you can often justify even higher margins than standard printed t-shirts.
Got tie-dye designs to sell? Join Printify!
Mastering tie-dye patterns in 2026 is about blending the human touch of traditional folding techniques with the efficiency of modern eCommerce. Whether you want to get your hands dirty with soda ash and bands or prefer to design digitally using Printify’s pre-dyed Catalog, the opportunity for high-margin sales is immense.
Start creating fun tie-dye designs today and turn these psychedelic swirls into a profitable product line.