Custom shirts, endless possibilities
Enter the exciting world of custom apparel by learning how to make sublimation shirts and producing stunning designs that cover every inch of fabric.
Discover the secrets to crafting long-lasting, brilliant sublimation projects that showcase your creativity and uniqueness.
This guide will teach you how to sublimate a shirt, providing valuable insight into creating exceptional, high-quality designs that will set your brand apart.
What is sublimation?

Sublimation is a printing method that has revolutionized the world of custom apparel, creating vivid, long-lasting designs on products such as t-shirts, socks, and hoodies.
At the heart of the process is turning solid sublimation ink into a gas by applying heat and pressure. This gas permeates the polyester fibers, creating a molecular bond that produces an exceptionally high-quality, permanent print with colors that resist fading over time.
Unlike heat transfer vinyl or screen printing methods, sublimation or all-over print makes sure that your designs become a part of the material rather than merely sitting on the surface. The result is a smooth, seamless, and highly durable finish.
Sublimation printing is also an eco-friendly option, as it requires minimal water and produces less waste than other methods.
It is an environmentally responsible choice for people who want to minimize their impact on the planet while still creating show-stopping apparel and merchandise.
Equipment needed for t-shirt sublimation at home
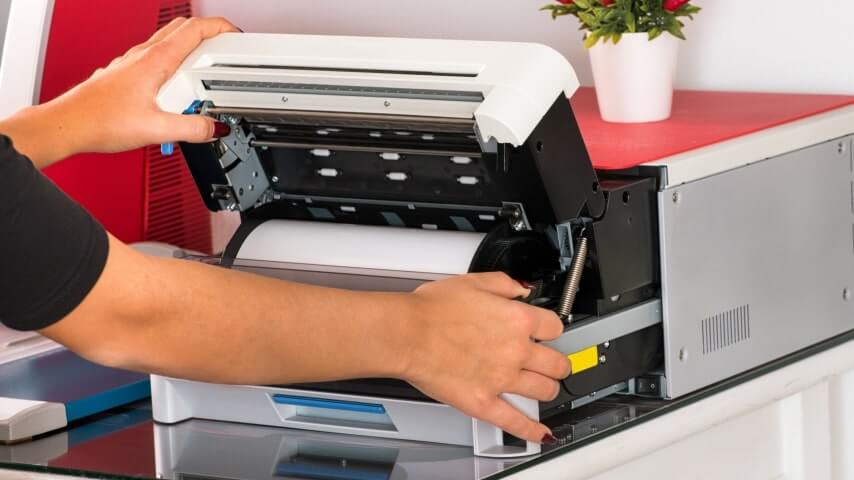
You need a few essential items to start creating your own custom t-shirts at home using sublimation printing.
Let’s explore the essential tools and supplies you’ll need to begin.
- Sublimation ink. Special sublimation ink is designed specifically for the sublimation process.
Some popular brands include Sawgrass, Epson, and Cosmos Ink.
It’s important to use a sublimation printer that has the appropriate ink tanks, as regular printer ink will not work.
- Sublimation paper. A heat-resistant paper that transfers the design onto your shirt.
A-Sub is considered the best brand of sublimation paper.
Regular printer paper won’t withstand the heat required for ink transfer.
- Protective paper. Protective paper is used to protect your heat press from any ink transfer during the printing process. This prevents ink from transferring onto your heat press.
Brands like Siser and Teflon offer great protective sheets.
- Heat-resistant tape. This tape secures the design in place during the sublimation process.
3M and Scor-Tape are common choices.
- Polyester shirt (preferably 100%). The higher the polyester content, the more vibrant the final print will be.
Pick lightweight polyester because sublimation isn’t suitable for natural fibers like silk or cotton due to their absorbent nature and inability to create permanent prints.
Sublimation works best with a pure polyester shirt or polyester blends containing at least 80% polyester. For a successful dye transfer, use a sublimation shirt with no less than 65% poly blend; otherwise, the design will turn out blurry.
- Computer. A computer is necessary to design your sublimation prints and send them to your printer.
Most sublimation printers come with software to design your prints, but you can also use other design software.
- Sublimation printer. An inkjet printer specifically designed for sublimation inks is used to print the desired design onto sublimation paper before transferring it onto the final product using heat and pressure.
Epson EcoTank or Sawgrass Virtuoso are some of the best sublimation printers.
- Heat press. A heat press is used to transfer your designs from the sublimation paper onto your shirt.
It’s important to use a heat press specifically designed for sublimation printing, as regular heat presses and home-use irons may not reach the high temperatures required for sublimation transfers.
Popular brands include Cricut EasyPress and PowerPress.
- Lint roller. Use to remove any debris from the shirt before printing.
- Scissors or a cutting machine. Scissors or a cutting machine are needed to cut your sublimation paper to the correct size for printing.
Cricut and Silhouette offer cutting machines, but standard scissors will suffice.
Make it happen today!
Step-by-step guide on sublimating shirts
Here’s a great video tutorial that details the different types of sublimation inks, transfer paper, and shirt materials best suited for sublimation printing at home.
The video also discusses the importance of using shirts with high polyester count for sublimation printing and the impact of the base color of the sublimation blank on the final print results. It’s helpful to see the steps in action, and the video provides useful tips and tricks to make a successful transfer.
The video shows how each type of paper produces different results and helps you decide which type is best for your specific needs. It also includes a section on washing your sublimation shirts, showing what happens to the print after washing them three times.
The following is a handy checklist with details, tips, and resources for making the perfect DIY sublimation shirts.
Prepare your sublimation images

Preparing your sublimation designs is a crucial step in sublimation printing. Starting with a high-quality image is essential for clear and vibrant final prints.
One option is making your own design using software such as Adobe Illustrator or Canva. These allow you to create custom designs from scratch or use high-quality templates.
When creating your design, it’s essential to keep in mind the shirt size and the design placement on the shirt.
Another option is to choose an existing image. Use your own photos or find ideas online – services like Pexels and Unsplash offer thousands of royalty-free photos and illustrations.
Printify comes with an integration with the stock photo giant Shutterstock. Choose from millions of photos and illustrations starting from just $1.
NB!
If you’re using an existing image, make sure that it’s high-quality and has a resolution of 300 DPI (dots per inch – the number of dots printed in one inch). The higher the DPI, the sharper, clearer, and more detailed the image.
Print the design onto transfer paper

Once you have your high-quality sublimation image prepared, the next step is to print it onto transfer paper using your sublimation printer.
- Load your sublimation printer with sublimation ink and paper. Always use the correct ink and paper specifically designed for sublimation printing. Follow the manufacturer’s instructions to load the ink and paper correctly.
- Adjust the printer settings for sublimation printing. You may need to adjust the paper type, print quality, and other settings, depending on your printer and your specific sublimation paper. Consult the printer manual or online resources for guidance.
- Print your design. Make sure the design is centered and fits the size of the transfer paper.
Remember that the design will be mirrored when transferred onto the shirt, so adjust your design accordingly, if necessary. Some sublimation software programs have a “mirror image” option that you can select to flip the image automatically.
- Allow the transfer paper to dry. Once the design is printed, allow the transfer paper to dry completely. Depending on the printer and paper, this may take a few minutes or longer.
- Trim the transfer paper. Use scissors or a cutting machine to trim the transfer paper to the desired size and shape for the shirt.
Prepare the shirt for the sublimation process
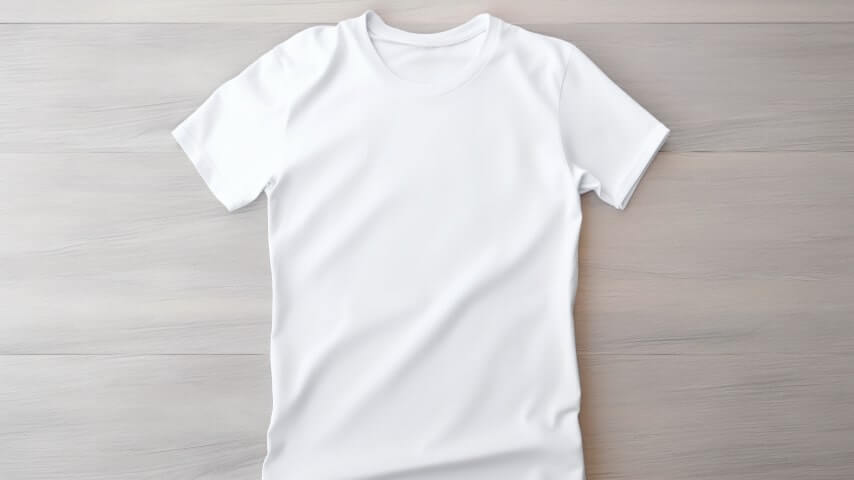
- Preheat the heat press. Follow the manufacturer’s instructions for preheating and using the heat press to secure a successful sublimation transfer.
- Use a lint roller to remove any debris from the shirt. Lint, hair, or other debris can affect the quality of the sublimation print.
- Place the t-shirt on the heat press. Make sure the t-shirt is flat and smooth on the heat press.
- Pre-press the shirt for a few seconds. This removes any wrinkles and moisture from the shirt so that the final print is smooth and even.
Pre-pressing the shirt also helps to make sure that the ink is absorbed evenly into the t-shirt fibers during the sublimation transfer.
Press the shirt with the design using a heat press
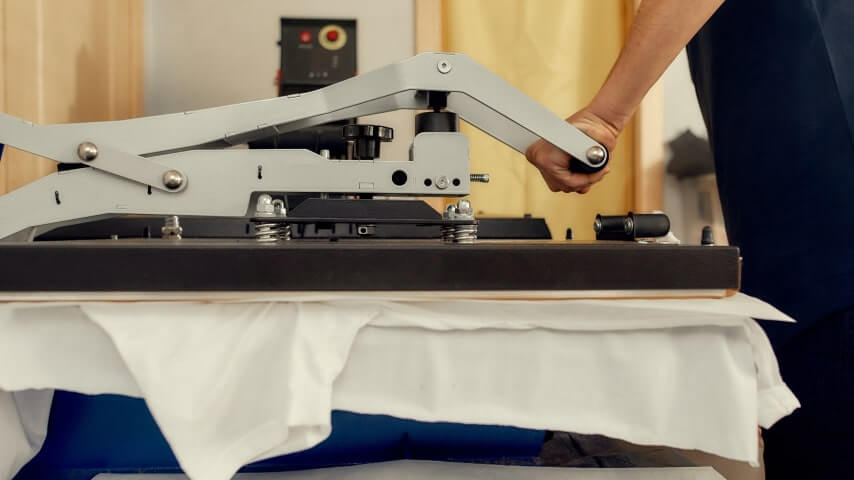
Once you’ve prepared your shirt and printed your design onto sublimation paper, the next step in the process is to transfer the design onto the shirt using a heat press.
- Position your printed design. Place it face down on the t-shirt, securing it with heat-resistant tape. Make sure the design is centered and aligned correctly on the shirt.
- Place a piece of protective paper on top of the design. This prevents any ink from transferring to the heat press. This will also protect your heat press from any ink residue.
You can use butcher paper or parchment paper as a substitute for protective paper when sublimating a t-shirt, as it can also prevent ink transfer to the heat press surface.
It’s important to note that parchment paper is not as durable as protective paper and may not provide the same level of protection.
- Close the heat press and apply pressure. The recommended settings will depend on the type of heat press and sublimation transfer paper you’re using, but a typical range is around 385 °F for 45–60 seconds.
It’s important to follow the manufacturer’s instructions for heat press settings and adjust them as needed for the best results.
Let it cool and remove the transfer paper

The cooling process typically takes just a few minutes, and it’s wise to refrain from touching or handling the t-shirt until it has cooled completely.
Once the sublimation t-shirt has cooled, you can carefully remove the transfer paper. Be gentle to avoid damaging the print or the fabric.
Start by peeling off one corner of the transfer paper and gradually working your way toward the other corner.
How to do sublimation on dark shirts
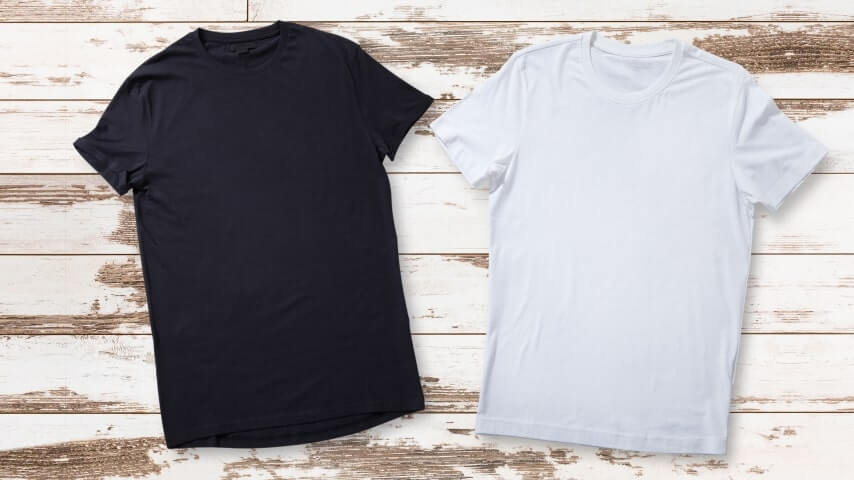
Achieving vibrant and clear designs on dark shirts can be challenging but not impossible.
To create stunning sublimation prints on dark-colored garments, always use specialized sublimation transfer papers designed for dark fabrics. This makes sure that your design will pop against the darker background.
Another important consideration when sublimating on dark shirts is the use of white ink. Unlike traditional inkjet or laser printers, sublimation printers do not have white ink. This means that any white areas in your design will not show up on the final product.
Print on Demand sublimation printing
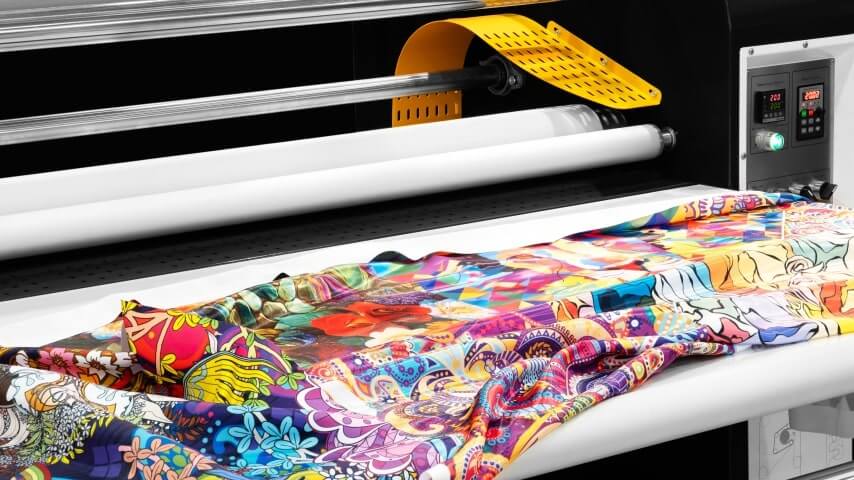
Printify offers a range of printing methods, from direct-to-garment to all-over-print or dye sublimation, to help you easily create great-looking custom apparel and other items like socks, mugs, or phone cases.
With Printify’s streamlined process, you can effortlessly design, print, and ship products directly to your customers without needing inventory or significant financial investment.
How to do sublimation shirts with Printify?
Printify is the perfect partner when it comes to sublimation printing for beginners and seasoned designers alike.
The platform is easy to use and allows for quick product creation to start selling all-over-print products online. Here are five steps that will get you there in no time:
- Create a Printify account. It’s free to sign up, and once you’re logged in, you can access Printify’s Catalog of over 900 products.
- Printify offers a wide range of sublimation blanks, including t-shirts, hoodies, sublimation mugs, or phone cases. Choose the AOP product that best suits your design and style preferences.
- Use the Product Creator (formerly known as Mockup Generator) to upload your designs and customize the product. Upload your design and preview how it will look, and receive high-quality photorealistic product mockups to use in your eCommerce store.
In the Product Creator, you can customize the product color, size, and placement of your design. - Once you’ve customized your product, choose a Print Provider who will handle the printing and shipping. Create product descriptions and set your pricing to start selling your sublimated shirts and other products online.
- Finally, add your sublimated product to your online store and start selling to customers. Printify handles printing and shipping of the product, so all you need to do is focus on marketing and promoting your products.
FAQ: How to make sublimation shirts
Sublimation t-shirts are made by printing a design with sublimation ink onto special transfer paper. The design is then heat-pressed onto a polyester or poly-blend shirt, causing the ink to turn into a gas and bond with the shirt’s fibers, creating a permanent, vivid print.
Yes, it is possible to create sublimation shirts with a Cricut cutting machine.
Create your design in design software and print it onto sublimation paper. Then, use your Cricut cutting machine to cut out the design and heat press it onto a polyester or poly-blend shirt.
It’s important to note that sublimation ink will only transfer onto polyester or poly-blend fabrics, so make sure to use the correct type of shirt.
Cricut Infusible Ink is similar to sublimation, as both processes involve transferring ink directly into the fabric. However, Infusible Ink uses pre-printed sheets or markers instead of a sublimation printer and ink.
While 100% polyester shirts yield the best results, poly blend shirts with a minimum of 65% polyester content can also be used for a successful sublimation print.
The polyester coating is essential to achieving the best results, as the ink can only bond with polyester fibers. The lower polyester count may result in the design washing out after the first wash and also cause bleeding when the designs appear less crisp.
Unfortunately, sublimation colors on a cotton shirt will look like a washed-out rag.
Try dye sublimation printing with Printify today
Sublimation printing is a fabulous way to create stunning, long-lasting designs on custom apparel and other products.
Whether you’re a DIY enthusiast wanting to create your own sublimation shirts at home or prefer an expert print-on-demand service like Printify, the process is easy to master and offers endless creative possibilities.
With the right equipment, design software, and high-quality sublimation blanks, you can produce vibrant, professional-quality sublimation shirts that showcase your unique style, brand, and creativity, from seam to seam.
Dive into the world of dye sublimation printing and start creating your own custom masterpieces today.


