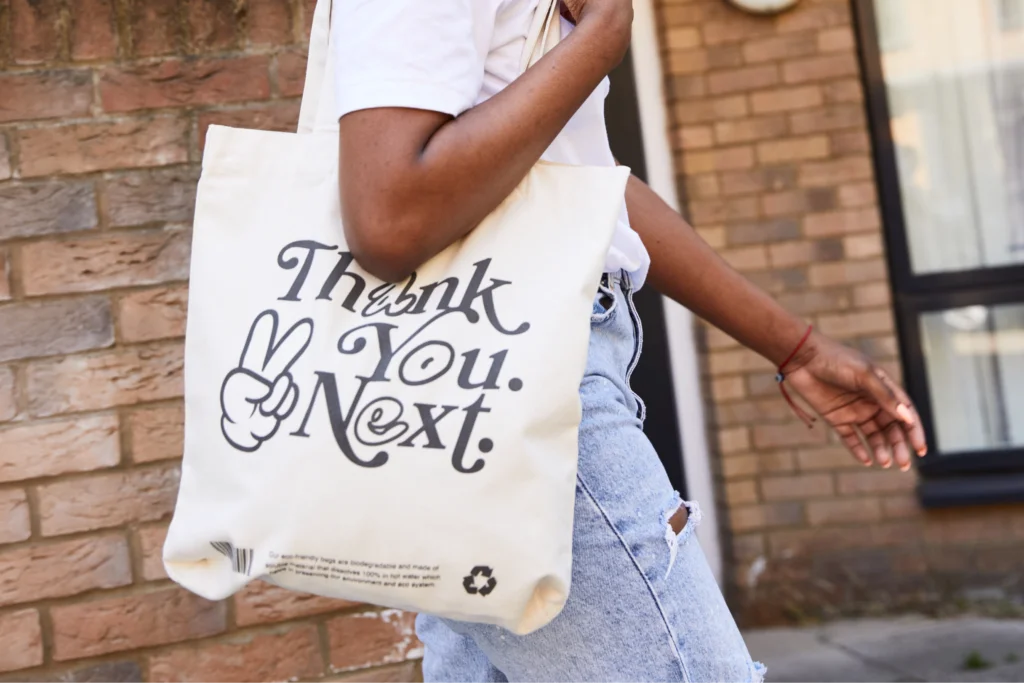


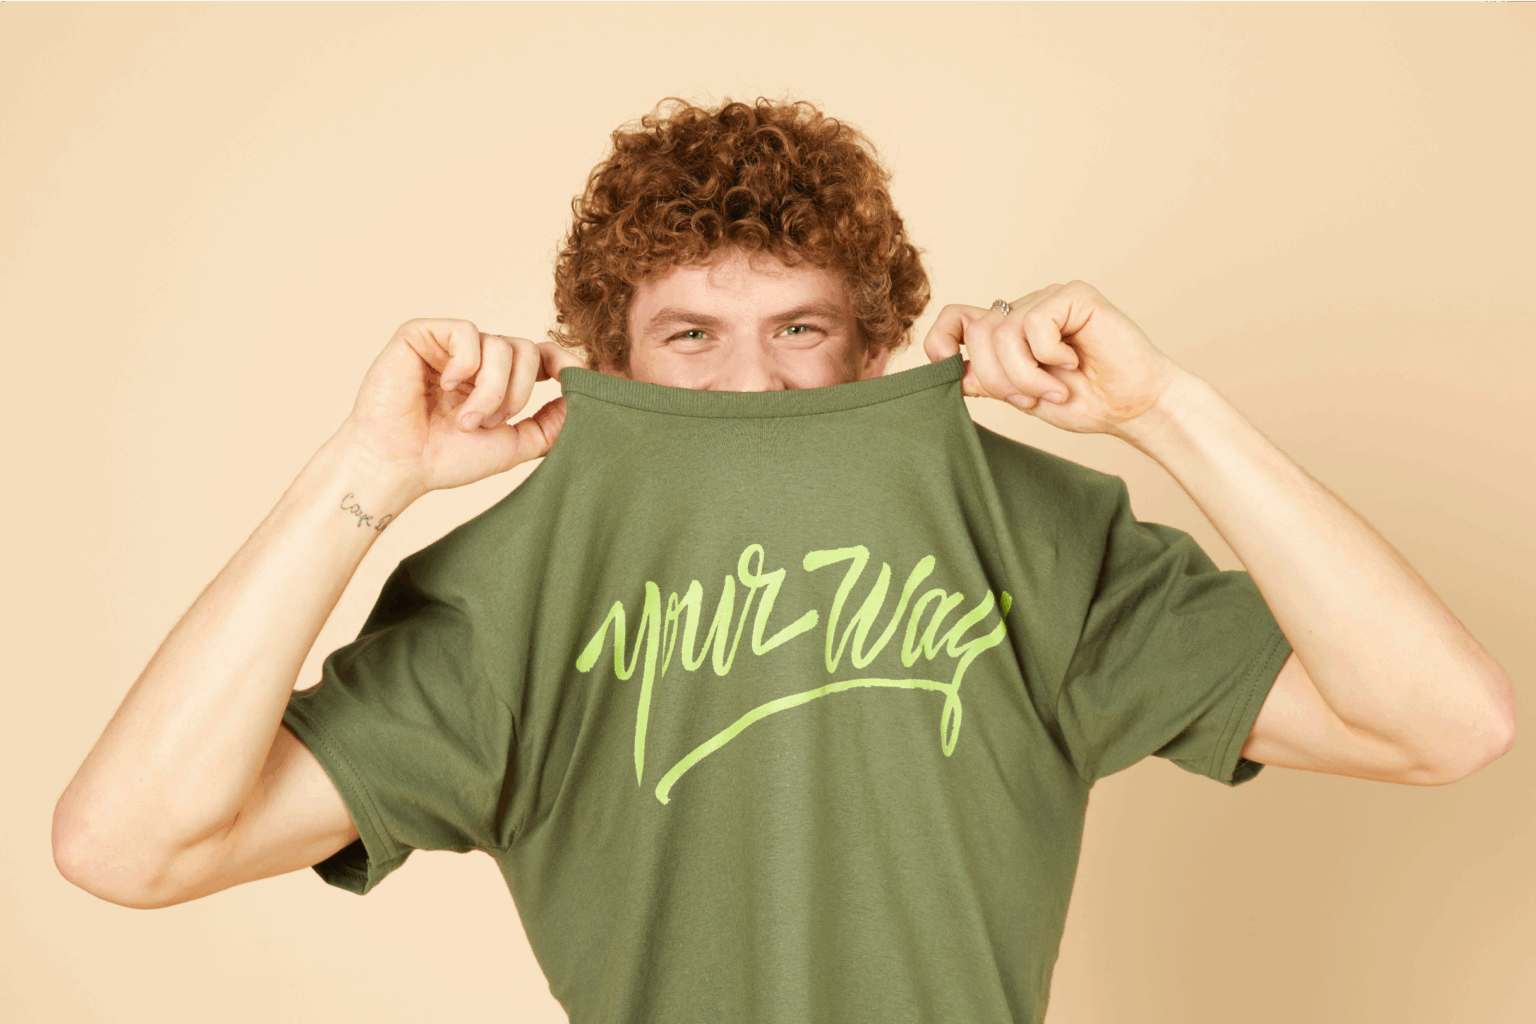
Make your own shirt today
Wondering how to put a picture on a shirt? Whether you’re launching a t-shirt business or just jazzing up your wardrobe, it’s easier than you think. From DIY hacks to print-on-demand tools that do the heavy lifting, we’ve got the steps and methods you need to bring your design to life.
This post may contain affiliate links, which means we may earn a commission if you make a purchase through those links. This comes at no additional cost to you.
How to put a picture on a shirt at home with no equipment
No printer or heat press? No problem. The easiest way to put a picture on a shirt, without any equipment, is through Print on Demand (POD).
With POD platforms like Printify, you can design your shirt online, and we handle printing, packing, and shipping. It’s perfect for personal projects or kickstarting your t-shirt printing business with zero upfront costs.
So, how do you get your custom t-shirt printed from your couch?
Step 1: Pick the right shirt

The shirt type, material, color, and printing method you choose will have a massive impact on how the transferred image turns out.
Material matters
Your t-shirt fabric plays a big role in the print’s durability.
- Cotton shirts are breathable and perfect for direct-to-garment (DTG) printing.
- Blends or polyester are ideal for sublimation printing and direct-to-film (DTF).
- For high-stretch or activewear, go with fabrics that can handle movement without cracking the photo on the shirt.
Read our t-shirt fabric guide for a detailed breakdown.
T-shirt color: Light, dark, or in between?
Your image should pop, so choose colors wisely.
- For vibrant or dark images, go with light-colored shirts like white or pastels.
- Subtle, soft-toned images? Try dark-colored shirts with the right printing method, like DTF or screen printing.
- Contrast is key, so make sure your image stands out and does not fade.
Printing method: Which one fits your vision?
Each printing method gives a different look and feel to your printed t-shirt.
- DTG printing: Best for cotton. Perfect for complex, detailed designs.
- DTF printing: Works on more fabrics, including synthetics. Great for durable prints with bold color.
- Sublimation printing: Only for polyester or poly blends. Creates all-over designs that won’t crack or peel.
Screen printing: Ideal for bulk orders and simple designs. It adds a textured, classic touch.
Use Printify’s Catalog filters to sort by t-shirt style, fabric, color, and printing method so you can find the perfect match for your design.
Step 2: Prepare your t-shirt design file

To make your t-shirt design pop on fabric, start with a high-quality image. Most POD platforms (including Printify) accept PNG, JPEG, and SVG files.
Here’s how to create a great design:
- Create your own using tools like Adobe, Pixlr, GIMP, or Fotor. These image editing programs are easy to use, even if you’re a total beginner.
- Digitize your doodles. Scan your original artwork or turn a sketch into digital form using your phone and a little editing magic.
- Hire a pro. Find a freelance designer on Fiverr or Upwork to turn your ideas into print-ready gold.
- Use free designs from Printify’s library or remix one to make your own custom t-shirt.
Read our shirt design size guide to ensure the best result.
Want your design to work well on light colored shirts, dark fabrics, or white or pastel shirts? Adjust the contrast, remove the background, and always save the image file in the highest resolution possible.
Step 3: Apply your photo to the shirt
Now comes the fun part: putting your photo on the actual shirt. With Printify’s powerful (and totally beginner-friendly) Product Creator, you don’t need fancy tools or a degree in design to do it.
Here’s how to add your picture:
- Drag and drop your image into place on your chosen tee.
- Add text in hundreds of fonts, including support for emojis and multiple languages.
- Access a free graphics library full of icons, clipart, and design extras if you want to add a little flair.
- Create repeating photo backgrounds with the pattern tool.
- Generate fresh ideas using the built-in AI image generator.
- Preview your shirt in 3D to see exactly how it’ll look once printed.
It’s the easiest way to create and mockup your custom t-shirt without any design software – or sweat. You’ll see exactly how your image fits your t-shirt fabric, size, and style before you move on to the next step.
Step 4: Order for yourself

Time to see your creation in physical form – because nothing beats unboxing your very first custom t-shirt.
Thinking of selling online instead of just making them for yourself? Before launching a full-blown online t-shirt printing business, order a sample. This lets you check print quality, shirt softness, and how your design holds up after a few washes, because even the boldest designs can fade if you don’t choose the right fabric and printing method combo.
Here’s how to get your tee from screen to doorstep:
- Go to My Products in your Printify dashboard.
- Find your custom tee and click on the little basket icon that says Create order.
- Enter your shipping info.
- Hit Order and do a little happy dance.
Your printed t-shirt will arrive in just a few days, ready to wear, gift, or photograph for your store. It’s also a great moment to test out different t-shirt styles, fabric blends, or printing methods before ordering in bulk or selling online.
Step 5: Publish and start selling
Want to start an online business selling t-shirts? Printify makes it ridiculously easy to launch your store without ever touching a heat press, inkjet printer, or transfer paper.
Just connect your Printify account to popular platforms like:
- Etsy
- eBay
- Amazon
- Shopify
- WooCommerce
- Wix
- BigCommerce
- Squarespace
- Prestashop
From there, choose some photos for your listings, write some snappy product descriptions, set your prices, and hit Publish. Your store goes live, your customers order, and Printify handles the rest – from printing to shipping straight to their door.
Which t-shirt printing method to choose

Depending on your design, fabric choice, and whether you’re making a one-off tee for your dog or launching a full-on business, you’ll want to pick the right type of shirt printing. Let’s break down the most popular options so you can make your t-shirt dreams come true.
Direct-to-garment (DTG) printing
Think of DTG like an inkjet printer for clothes. Your design is printed directly onto the fabric – no transfer paper, no heat press gymnastics. It’s best for 100% cotton t-shirts or high-cotton blends, and ideal for super detailed or colorful designs.
The result? Vibrant prints that feel soft, not plasticky.
DTG excels for small batches or one-off orders, but isn’t the cheapest for bulk. That said, there’s no setup cost, so it’s a solid choice if you’re just starting your t-shirt business or testing out new designs.
Direct-to-film (DTF) printing
DTF is DTG’s cool cousin. Instead of printing directly on the t-shirt, your design gets printed onto a special heat transfer paper and then heat-pressed onto the fabric. This method is great for cotton, polyester,blends, and even dark fabrics – talk about versatility.
DTF works well for both small and large orders. The colors pop, and the texture is slightly more raised than DTG, but still comfy. If you’re after a flexible, heat transfer-based method with crisp, detailed artwork, DTF is a win.
Embroidery
Want your shirts to scream premium? Embroidery’s got you. This method uses thread – yup, actual stitching – to sew your design onto the fabric. It’s not used for photo prints but is a favorite for textured logos and minimalist art.
It works best on heavier t-shirt fabric like cotton or cotton blends. It’s more expensive, especially for complex designs, but fantastic for high-end branding or matching uniforms. The design is ultra-durable and won’t fade after a few washes – plus, it adds major style points.
All-over (AOP) or sublimation printing
Go big or go home! Sublimation printing (aka AOP) lets you cover the entire t-shirt – front, back, sleeves, seams – with your pictures. The artwork is heat-transferred onto the fabric using special ink that becomes part of the material.
It works best on polyester and white shirts, think pure or pastel tones. It’s a favorite for bright, all-over patterns and popular t-shirt designs that look seamless. It doesn’t work on cotton or darkershirts.
Screen printing
Screen printing is the classic cool kid of t-shirt printing – think ink pushed through a mesh screen, layering each color by hand for that bold, vibrant look. It’s handy for bright, graphic-heavy designs with limited colors and looks lovely on both dark and light shirts.
While setup can be pricey, screen printing is ultra cost-effective for bulk orders. The colors are bright, the prints last ages, and the feel is smooth with a slight ink texture. If you want to print just a photo, maybe skip this one, but for graphic designs? Chef’s kiss.
How to get a picture on a shirt: DIY methods

Want to print a picture on a shirt at home without fancy machines or a full-blown studio setup? These DIY tricks let you whip up a custom t-shirt right from your kitchen table.
Iron-on transfers with transfer paper
The classic DIY method. Iron-on transfers are simple, beginner-friendly, and work well for making your own shirts using just a regular inkjet printer and specific transfer paper.
Grab light for pastel or white shirts, or dark paper for – you guessed it – dark fabrics.
Your design will look bold and opaque, with a slightly plastic-y texture that softens after a couple of washes. It’s great for logos, text, or printing full-color photos.
- Best for: Cotton or poly-blend t-shirts, light or dark.
- Finish: Slightly glossy, with a smooth texture.
- Vibe: Classic DIY charm.
Quick steps:
- Prepare your design using simple software and mirror it.
- Print it onto dark or light transfer paper with an inkjet printer.
- Place the transfer on your t-shirt – ensure you have a flat surface for this.
- Use a regular clothing iron or heat press to apply.
- Once the paper reaches room temperature, peel the backing to reveal the image underneath.
Parchment paper transfer with plastic wrap
Yup – plastic wrap. This viral hack is weirdly genius. It’s a zero-special-equipment way to put your image on a t-shirt using things already in your kitchen drawer.
The result is a soft and faded vintage effect. Think indie band tee vibes, not HD print. It’s best for light or white shirts and simple, smaller images.
- Best for: Light cotton t-shirts and artsy home projects.
- Finish: Light, semi-translucent, soft feel.
- Vibe: Pinterest-core vintage.
Quick steps:
- Set a neatly-ironed t-shirt on a hard surface.
- Print your image onto ordinary paper and cut it out as precisely as possible.
- Wrap it tightly in plastic wrap.
- Place it face down on the shirt with parchment paper on top.
- Use a heat press or iron to melt the wrap and stick it down.
- Let it cool, peel off the parchment, and flex your DIY skills.
Cricut™ machine transfers
Got a Cricut™ at home? It’s a t-shirt printing powerhouse. Using heat transfer vinyl (HTV), you can cut out crisp designs, letters, or custom art and iron them right onto your shirt.
This gives you a clean, professional finish, especially for text, logos, or layered t-shirt designs. The result is smooth, durable, and survives many washes like a champ.
- Best for: Cotton and cotton/poly t-shirts.
- Finish: Bold, matte, or glossy (depending on vinyl).
- Vibe: Sharp, stylish, boutique-worthy.
Quick steps:
- Upload or create your t-shirt design in Cricut Design Space.
- Cut it out of the heat transfer vinyl.
- Weed out the excess vinyl (a.k.a. the fiddly bits).
- Place the design on your t-shirt, vinyl side down.
- Push down with a heat press or iron until bonded. Boom – your t-shirt is ready to wear.
How to print on a t-shirt – DIY vs print-on-demand

So, what’s better – getting your hands a little inky with DIY printing, or sitting back and letting the pros handle your picture t-shirts through Print on Demand (POD)?
DIY t-shirt printing
Pros:
- Instant results. No waiting for shipping.
- Budget-friendly with transfer paper, heat transfer vinyl, or even parchment paper hacks.
- Full creative control from start to finish.
- Perfect for one-offs, gifts, or trying out new designs.
Cons:
- You need the gear: Inkjet printer, iron or heat press, flat surface, and the right transfer paper.
- Learning curve: Think mirror images, iron-on transfers, and the occasional ink bleed.
- Time-consuming if you’re printing a bunch of shirts.
Print-on-demand t-shirt printing
Pros:
- Zero hassle. Just upload your t-shirt design and let Printify handle everything.
- Professional quality with methods like direct-to-garment or sublimation printing.
- Easy to scale if you’re starting your own t-shirt business.
- No inventory, equipment, or mess.
Cons:
- Shipping takes a few days.
- Less hands-on control
So, which is better?
If you love crafting and want a printed t-shirt now, DIY is your jam. But if you’d rather skip the ironing and build a brand while someone else does the printing, POD wins. Either way, your shirt will be custom, awesome, and very you.
Choose Printify for printing images on shirts

Ready to bring your vision to life without ironing your soul out? With Printify, you get pro-quality prints, zero hassle, and so many shirt styles to play with. Whether you’re designing for a birthday bash, a charity run, or your own brand, we’ve got your back (and front!)
- So. Many. Shirts. From classic crewnecks to cropped tees, tank tops, polos, Hawaiian shirts, and even t-shirt dresses – we’ve got tons of styles in different fabrics, fits, and t-shirt colors.
- Decoration methods for any vision. Need vibrant all-over prints, crisp direct-to-film (DTF) detail, soft DTG (direct-to-garment) finishes, or high-end embroidery? We offer multiple decoration methods to match your vibe.
- Free design tools. Add text, graphics, or upload a photo – our Product Creator makes it easy to customize your t-shirt right in your browser.
- No order minimum. Print one shirt or one hundred. Perfect for events, fundraisers, or just because you want your cat’s face on a tee.
- We ship worldwide. No matter where you, your employees, customers, or teammates live, we’ve got global shipping covered.
- Sell or wear. Want to start a t-shirt business? Sell your shirts on Etsy, Shopify, or Amazon, and let Printify do the printing and shipping for you.
How to start a print-on-demand business and sell t-shirts online.
Ready to make your custom t-shirts? Start with Printify today
FAQ
You’ve got options! The easiest way is using transfer paper and an inkjet printer, then applying it to a t-shirt with a regular iron or heat press. You can also try the parchment paper and plastic wrap hack – great for beginners, no fancy tools needed. Just use regular printer paper to print your photo, wrap it in a plastic frame, press it with a hot iron, peel, and wear.
You can also go with Print on Demand and avoid all the hassle yourself. Join a platform like Printify, pick a shirt, upload your image, and place an order. Our Print Providers will handle the printing and shipping.
Iron-on transfer paper is the classic go-to choice. Print your photo, press it on your t-shirt, and you’re done. For no-special-paper-needed DIY, try the plastic wrap and parchment paper trick. Wrap the printed image, iron it flat, and the ink transfer will cling right to your shirt. Easy, affordable, fun.
Scan or photograph your drawing and print it on transfer paper. Light-colored paper creates quality designs for light materials, while dark paper is a better option for more intense fabrics. Then, apply the design with a heat press or iron. The iron-on sheet binds the design with the shirt, leaving the print intact.
DIY t-shirt printing can cost as little as $1 to $5 using transfer paper or parchment methods with household supplies. Using heat transfer vinyl or a Cricut™ may bump that price up. Professional screen printing, direct-to-garment, or sublimation printing ranges from $10 to $25+ per printed t-shirt, depending on size and color.
Yes. Direct-to-garment (DTG) printing prints the design right onto your t-shirt – no transfers needed. At home, you’ll need workarounds like transfer paper, Cricut™ vinyl, or parchment paper methods since regular printers can’t print directly on fabric. DTG is pro-level, but DIY has some solid tricks too.