DTG vs screen printing: What you need to know
Learn the pros, cons, quality, cost, and durability of DTG vs screen printing and discover which solution is best for Print on Demand.
Design it. Sell it. We print it.
Turn your creativity into cash with Printify’s powerful design tools and pro-quality printing.

Share article:


Custom shirts, endless possibilities
A major challenge for merchants is choosing the right t-shirt design size to ensure high-quality results. Incorrect image resolution or size can result in unbalanced layouts and dissatisfied customers.
In this detailed guide, you’ll find a list of measurements, practical advice, and clear guidance on t-shirt design size and placement, so you can prep files with more confidence.

To start things off, here’s a t-shirt design size chart you can scan before you open the Product Creator.
| Placement | Recommended size | Best use |
|---|---|---|
| Left chest | 2.5-5″ × 2.5-5″ | Small logos, badges, and cute pocket designs |
| Center chest | 6-10″ wide × 6-8″ high | Minimal graphics and slogans |
| Full front | 10-12″ wide × 10-14″ high | Main artwork, bold graphics |
| Oversized front | 12-15″ wide × 14-16″ high | For large statement graphics |
| Full back | 10-14″ wide × 6-15″ high | Names, numbers, sponsors, and large back prints |
| Outer back neck | 1-3″ × 1-3″ | Makes your brand visible subtly near the collar |
| Inner neck label | 2.5″ × 2.5″ | Branding, care details, and sizing info |
| Short sleeve | 1-3″ × 1-3″ | Small graphics, logos, and secondary branding |
| Long sleeve | 2-4″ wide × 4-5″ high | Vertical text, symbols, and graphics |
The measurements in the t-shirt design size chart and the following values may vary depending on the blanks, manufacturers, and Print Providers. However, printing requirements are generally consistent.
Our custom t-shirts offer many design-placement options, but the same-sized image won’t give the best result on every print area. Let’s look at all possible placements and the image requirements for top-notch printing.
If you want to cover the entire front with large designs or just the chest with a graphic or logo, one of these sizes will give you the best result for your garment.
Full-front shirts are excellent for personal expression:
Center chest placement is the go-to for company logos or minimalist designs. It keeps the focus on the brand – and gives you a cleaner visual balance than a design pushed too high or too low.
So, how big should a design be on a shirt? Start with the ranges above and check the design width against the actual print area.
For adult shirts, use a logo size of 6-8 inches wide and place it 3 inches below the collar for a balanced look.
Printing requirements:
Left-chest placement is classic for cute pocket designs, school or team uniforms, and provides the best logo size for shirts.
A popular choice for branding and promotional use, it adds a polished, professional, yet personalized look to a simple garment.
This placement is great for both children and adult sizes. The left-chest design fits well on polo shirts and button-down tees, displaying small illustrations and text without overpowering the chest.
It sits near the left chest area, roughly 4-6 inches below the collarand a few inches in from the center, depending on the shirt size and cut.
For adult sizes, keep the left chest logo small. A design that feels polished on a medium shirt can look oversized on smaller sizes if you ignore the available chest width or print area.
Printing requirements:
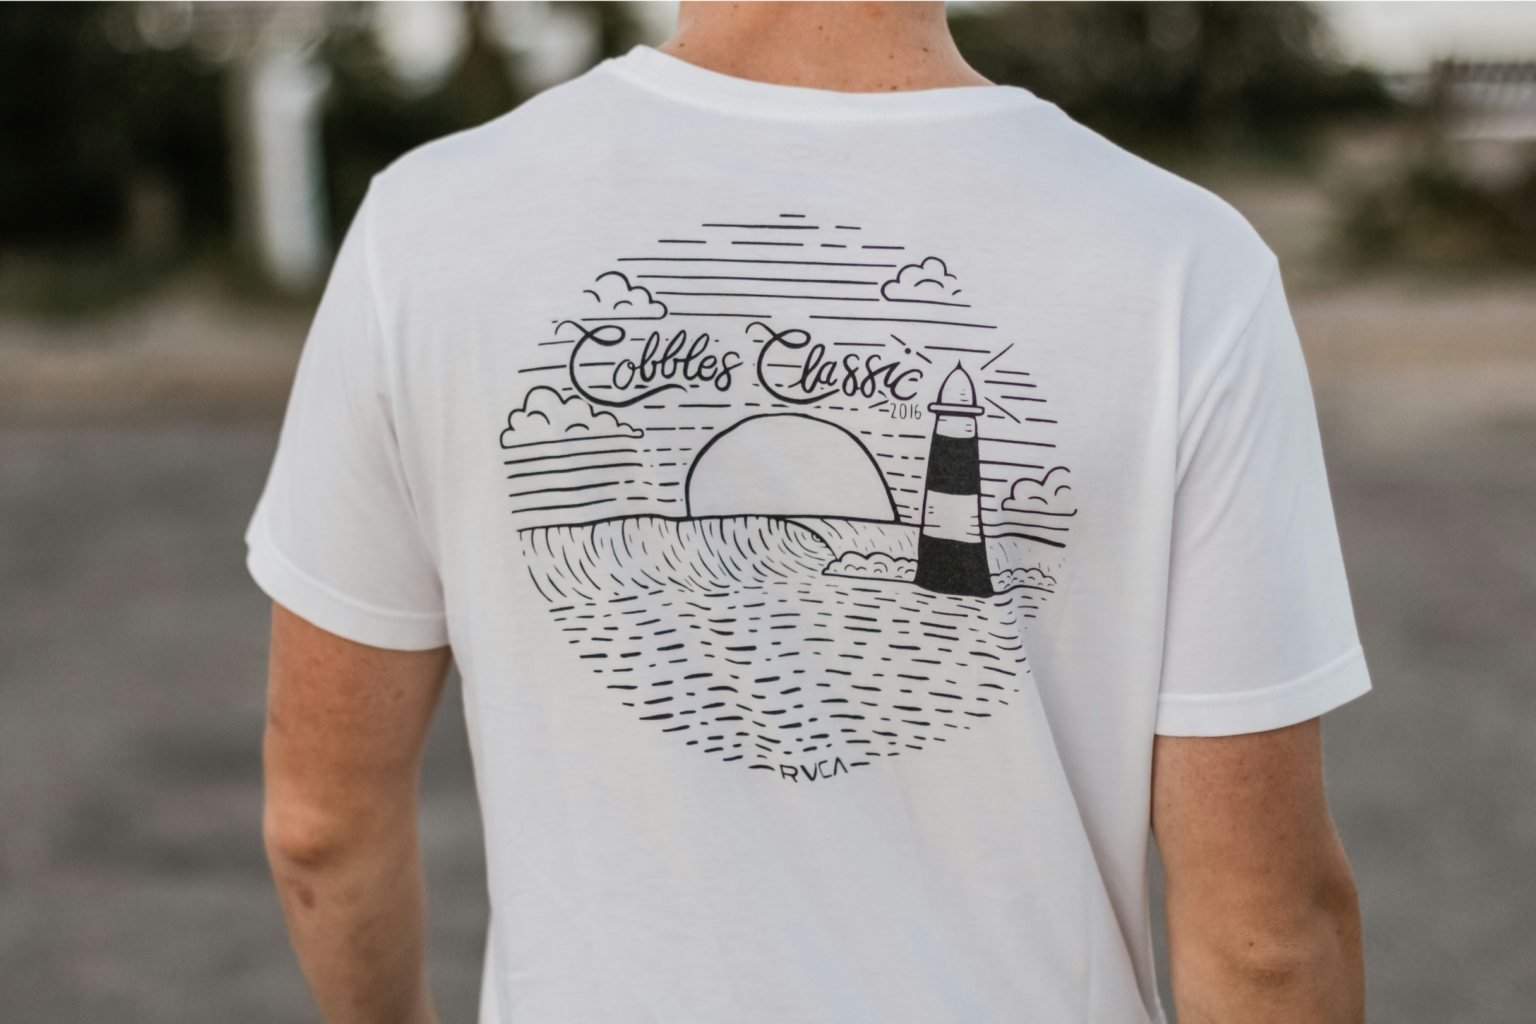
Full-back placement opens up room for creativity. A large print on the back is much easier to read than a stretched-out front design. It also pairs nicely with a small left-chest print up front.
This versatile placement works especially well when the message needs more room than the front can offer. Think sports teams, event merch, and custom apparel with larger text blocks.
For a clean result, keep the artwork centered between the shoulder blades and mind the overall print size.
Printing requirements:
Placing a design on the outer back collar is a low-key but effective way to get your brand noticed. Positioned just below the neckline, it works like a wearable business card – subtle, but there.
Don’t go overboard, though – make sure the label is big enough to make your brand visible, but small enough so it doesn’t overshadow the actual shirt design or interfere with the fit.
Popular fashion brands and sports teams often use collar designs in their apparel to advertise themselves or partnerships without being too flashy.
Printing requirements:
This print location works best when the mark is simple, readable, and scaled to the collar area.
The inner neck label is the smallest print area on a shirt – but one of the most underused. It’s a natural spot for promotional branding, care instructions, sizing info, or a short brand message.
It sits as a small square right below the collar on the inside of the shirt.
Keep the design file simple and bold – fine details and small text break down fast in the final print at this scale. Logos work well here; dense copy doesn’t.
Printing requirements:
Let’s forget about the standard width and placement for a second. AOP completely takes over the design space on a t-shirt, making the entire garment’s surface your print location. Create repeated patterns or upload a single large design from seam to seam. Just account for all the seams, zippers, buttons, and collars to guarantee the perfect placement of your design.
Printing requirements:
For all-over designs, check the garment type, seams, and construction before finalizing the file. Keep key elements away from seam lines and folding points, since the artwork wraps across the body, not a flat print area.
The sleeve is an eye-catching place on a t-shirt that you can customize with unique graphics or text designs. It’s an excellent spot for secondary branding, logos, and messages. Just remember to align your design with the sleeve’s center line for the cleanest results.
Long-sleeve placement gives your custom design a larger print area. This works great for brand names, slogans, or graphics that benefit from vertical space. Works well across youth and adult shirts.
Printing requirements:
Watch the sleeve length and keep the artwork aligned to the center line so the final print doesn’t twist around the arm.

From placement and print area dimensions to design width, a lot influences the graphics for shirts in various shapes, colors, and materials. Here’s how to ensure your shirt design size delivers the best possible outcome.
The best part about selling with Printify is that we support you every step of the way, including with your print files.
To help you design the best shirts for printing, our user-friendly Product Creator displays all the necessary requirements and information for each product.
These guidelines include:
Once you open a t-shirt in Edit mode, click Upload in the left-hand menu. That’s where you’ll see the print area and all your design file setup – t-shirt printing requirements included.
First, select a printing method that works for you. For most custom designs, that’s direct-to-garment (DTG) or all-over printing (AOP) – filter by print method while browsing the Catalog.
Direct-to-garment (DTG) printing holds strong color transitions and fine details, but only when the source file is prepared well. All-over printing (AOP) covers the entire garment, so file setup is different – designs need to account for seams, and the canvas dimensions are larger.
For simpler artwork or bulk orders, screen printing may come up – the print method affects the final result, so it’s worth understanding the difference.
Second, get to know your print area. Our Product Creator displays the specifics for every t-shirt – you’ll see them under Product and design guidelines.
Lastly, keep an eye on the t-shirt size. The general assumption is that a bigger shirt means bigger graphics – but that’s not how it works.
Our Product Creator shows your design and placement on a size L garment. Anything smaller is automatically adjusted and scaled down. Designs for sizes bigger than L won’t scale up – the design size will remain the same, only printed on a larger shirt.
The same design can feel tighter on an S and spacious on an XL. To see how your artwork reads for each t-shirt size, always check the mockup previews, especially if your layout includes text or fine details.
Don’t skip this step when planning your print-on-demand design sizes. A graphic that feels perfect in one size may look undersized or cramped on another.
Image quality starts with your file setup. The first step is knowing how to size t-shirt graphics for print: check the Product Creator requirements for your selected shirt, then match your artboard to the intended design size from the start.
This keeps details sharp, prevents pixelation, and saves you from resizing headaches at the end.
When creating your design image, pay attention to the color mode. Our Product Creator accepts CMYK color files; however, they’ll convert to RGB, so the final result might be slightly different from what you saw on the screen.
For Print on Demand, build in RGB from the start. It’s the most accurate way to preview vibrant colors on screen and reduces surprises in the final print.
This matters even more for gradients, neon-like tones, and intricate designs where color shifts are easier to notice.
Don’t use bright and bold colors as the main selling point of your designs. Read about print colors in detail in our design guide.
Printify supports JPEG, SVG, and PNG file formats. Each has its limitations and requirements:
For logos, icons, and other artwork with crisp edges, vector graphics are often the safest choice. For photo-based or textured artwork, use high-resolution images. If your file needs a transparent background, PNG is usually the most practical option.
For full details on image size, design areas, and file prep, read Printify’s design guide.
Get the resolution right, and the rest of your file prep gets easier. Get it wrong, and no amount of good design work will save the print.
T-shirt design resolution (DPI): how much detail your file holds for print. Higher resolution preserves edges, texture, and readability, resulting in perfect prints.
For t-shirt printing, 300 DPI is the standard recommendation. A file that looks sharp on screen at 72 DPI can print soft and blurry once it’s scaled up to a 10″-12″ front graphic.
Resolution affects how sharp the artwork looks at full scale. A file built at a small canvas size and scaled up will expose pixelation in thin lines, text edges, and detailed areas.
The fix is simple: build at the final output size, at 300 DPI, not at a smaller size you plan to scale up later.
A larger file doesn’t automatically mean a better one. The right design size still depends on placement, product specs, and file quality.
For optimal printing results, build the artwork at the final output size instead of stretching it later.
Most print problems don’t start on the shirt; they happen inside the design file. A clean setup makes production easier.
Match your t-shirt artboard size to the printable area for the product you’re designing. The best t-shirt design dimensions are the ones that fit that layout from the start, not a random oversized canvas you scale down later.
In Photoshop or Illustrator, set your document to the exact print dimensions (for example, 12″ × 14″ for a full-front) at 300 DPI. This keeps the artwork at the right scale throughout the design process.
Most t-shirt designs don’t need a bleed if they fit comfortably within the printable area. The bleed area matters when the artwork runs close to the edge of the print location.
In that case, extend the background or graphic slightly past the edge so small shifts during production don’t leave unwanted gaps.
Safe zones are the inner areas where key content should stay. They help protect text, logos, and important details from looking off-center, especially when working across various shirt styles.
Check out our tips for logo placement on shirts, guidelines for design, and other useful advice here.
Most sizing mistakes are avoidable. They usually come from weak files, bad proportions, or skipping product checks.
Low-resolution files lose sharpness fast. Thin lines, textures, and small details break down first, even when the artwork looks fine on screen.
Fix it: Start with a high-resolution source file and check the artwork at full print size before exporting.
A graphic set to a standard width can still look stretched or compressed after resizing, even when its width is technically correct.
Resize proportionally and lock the aspect ratio to keep the layout’s original shape.
Artwork doesn’t read the same way on all products. The same graphic can look balanced on one garment type and undersized on another, especially across different t-shirt sizes.
Fix it: Check the mockup previews across sizes. Watch the collar area, chest space, and the shoulder seam before you finalize anything.
Samples show you what the screen can’t. They confirm whether the artwork holds up in real life and whether the final scale still feels right once printed.
Fix it: Order a sample first to check the scale, placement, color accuracy, and overall print quality in person.
Browse our Catalog and use the search filters to find the perfect custom t-shirts. From location and printing methods to colors, Print Providers, sizes, and print areas – we have t-shirts in all styles and materials.
Choose your favorite, then click Start designing.
Our free, beginner-friendly Product Creator lets you create the most amazing graphic designs for your t-shirts. It has all the tools and features you need to customize and size your design with precision.
You’ll find the recommended image resolution displayed on the left side.
Switch to Preview mode to see the entire design in life-like settings. Switch back and forth to adjust the design, click Save, then order samples.
Pick a sales channel and integrate with Printify by clicking Add new store. Printify integrates with all the big eCommerce players, like Etsy, eBay, Shopify, and WooCommerce.
Pick the one that fits your setup, then set up your listings with just a few clicks.
List your print-on-demand t-shirts with relevant keywords, polished mockups, backgrounds, size charts, and product details that’ll give buyers the confidence to order.
Don’t overlook marketing and social media – promote your products and excel in t-shirt printing.
Order samples to take your own photos for social media and your storefront – real pictures speak louder than mockups.
To position a t-shirt design correctly, first choose the desired placement area (e.g., center-chest, full-front, left-chest). Then, measure the distance from the collar down to the top of the design. For a balanced look, place it about 2-3 inches below the neckline. Center the design horizontally across the intended print area.
A design on the back of a shirt is typically placed 4-6 inches below the collar. This positioning makes the design clearly visible and centered on the upper back area.
This common placement works well for most t-shirt design dimensions andgives the artwork room to breathe without crowding the neckline.
To measure for t-shirt logo placement, use a ruler or tape measure to find the center point of the desired print area.
For a left-chest logo, measure about 4-6 inches down from the shoulder seam and 3-4 inches in from the center line. This positions the logo correctly and consistently across various sizes.
For clean logos and text, vectors are best as they don’t lose quality when resized. Raster works fine for detailed artwork, as long as the file starts large enough.
For reference, a front graphic may be 10-12 inches wide, while a smaller chest graphic may be 3-4 inches wide.
Work in RGB from the start, avoid overly bright tones that often shift in print, and always check the product mockup before publishing. If color accuracy matters, order a sample – it’s the only reliable way to compare screen color with the printed result.
Yes. Fabric texture and weight affect how sharp the print looks. The design size for shirts may stay the same, but the result can look different across materials and adult sizes.
Not directly – Printify scales the design automatically based on the garment size. Sizes smaller than L are scaled down; sizes larger than L keep the same design size, just printed on a larger shirt.
So the design itself doesn’t change per size, but how it reads visually will. Check mockup previews across adult sizes to ensure the layout remains balanced across all variants.
Design sizes matter. A lot. Finding the appropriate proportions for your designs is key to achieving high-quality, visually appealing prints.
Follow this t-shirt print size guide and take note of our tips and requirements for the perfect placement, image size, and resolution to make the most amazing shirt designs.

Open your business today: Create and sell beautiful custom-products within minutes. Printify prints, and delivers 1,300+ products at the lowest prices around. No risk, all reward.
100% free · Easy to use · 1,300+ products