Create a custom shirt with Printify
Ready to level up your custom tees? This t-shirt design placement guide for 2025 covers everything you need to know about placing your artwork for maximum impact.
From showcasing your brand’s logo or slogan to spotlighting intricate artwork, discover the best print location for your own t-shirts to sell online.
This post may contain affiliate links, which means we may earn a commission if you make a purchase through those links. This comes at no additional cost to you.
Key takeaways
- Knowing the print dimensions, print size, and anchor points helps you position your designs accurately.
- Center chest and full-front placements are popular for showcasing logos, artwork, and detailed designs for maximum visibility.
- Upper-back and full-back placements offer plenty of space for larger designs, making them ideal for branding and event promotions.
- Sleeve designs are a great way to add subtle branding, particularly on polo shirts or open button-down shirts, enhancing the overall look.
- Optimize image resolution and placement using our beginner-friendly design tool, helping your custom t-shirts look their best.
T-shirt design terminology 101
To start this t-shirt design placement guide, we’ll explore key print file terminology to help you position your designs correctly.
Print dimensions
This refers to how your design fits on the t-shirt. Key terms include:
- Print location: The general area where you’ll add the design, such as a center chest placement, left chest placement, or upper back.
- Print placement: The exact positioning of the design within the print location, varying by garment size and style preference.
- Print area: The total surface the design covers, including shirt features like seams and buttons (if applicable).
- Print size: The specific measurement of the design on the fabric – necessary for maintaining print quality.
Size dimensions
Understanding the dimensions helps fine-tune your t-shirt design placement:
- Standard size: The default size set by Print Providers, often centered within the print area.
- Oversize print: A design larger than standard, ideal for making a bold statement.
- Maximum size: The largest dimensions a fabric printer can handle, requiring high-resolution designs.
Anchor point
An anchor point is the fixed center point for your design, which is important for maintaining consistency, especially with intricate or asymmetrical designs.
That way, your t-shirt design placement is positioned just right.
Consider your preferred printing method before placing an order or printing t-shirts at home. Whether you use screen printing, direct-to-garment printing (DTG), or sublimation impacts the final result.
Top print placement locations
Let’s cover key print locations for the front, back, and sleeves, along with average measurements for t-shirt designs.
We’ll also provide tips on maintaining symmetry and appropriate spacing from collars, seams, and hems for a balanced look.
The design and logo placement varies based on the t-shirt size and supplier. At Printify, most of our Print Providers offer a placement t-shirt design size chart to ease the process.
Start designing your custom t-shirts with Printify today
Front-of-shirt design placement
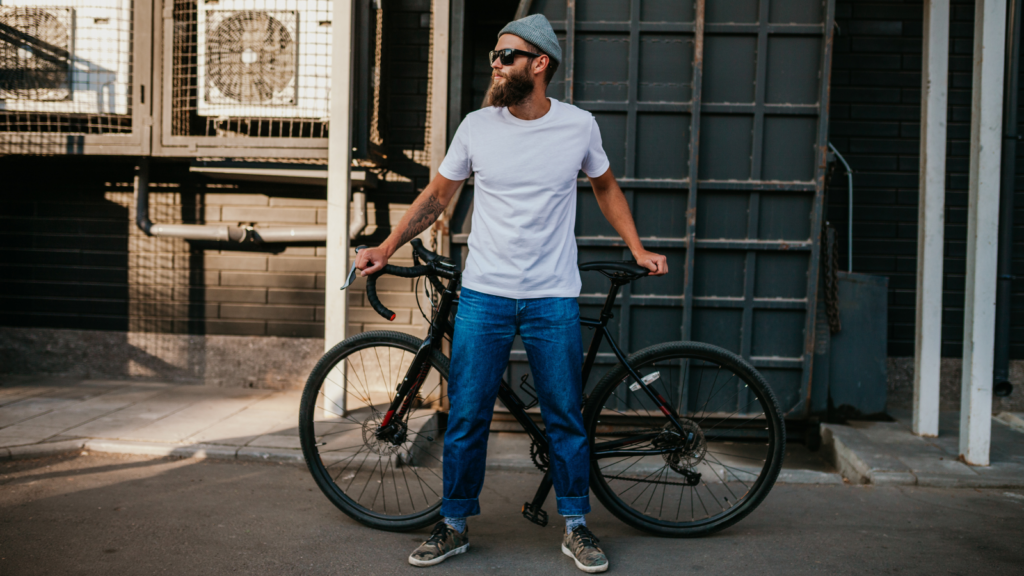
The shirt front is the most common print placement. It’s the first thing customers see, and the design remains visible even when layered with an unzipped custom jacket or open button-down shirt.
Center chest design
The center chest placement is moderate in size and is the most popular in print manufacturing. It’s about four inches below the collar and typically spans over the top half of the chest.
Align your design to the collar’s center or symmetrically with the shoulder seams. Note that front-facing designs shouldn’t overlap with – or bleed over – the shoulder seams.
Suitable designs:
A center chest logo placement is ideal for branding and subtle visuals. This placement works particularly well for smaller shirt sizes and as a tank top logo placement guide.
For larger t-shirt sizes or more intricate and detailed artwork, a full-front design might be a better option. It makes the final result more prominent, offering better image detail.
Average size range: 8” in height and width for most adult t-shirt sizes. However, depending on the design itself, it can go anywhere between 6”-10” in either dimension.
Left chest placement
This left chest location is a classic choice and industry standard, although right chest placements are also possible.
Place your design about three inches below the shoulder seam, ending no lower than the armpit seam for a balanced and polished look.
Suitable designs:
A left chest placement design is ideal for simple logos and brand imagery. The subtle print location allows for easy layering and matching with other garments.
Center the design proportionally between the sleeve and collar for a well-rounded look. Avoid excessive image detail to maintain clarity in the smaller print area.
Average size range: A t-shirt’s left chest logo placement is usually 2.5″-5″ in height and width.
Full-front design placements
The full-front design placement is extremely versatile for most medium to large-scale prints. It typically starts three to four inches below the collar and can extend down the shirt’s length.
It’s the perfect placement for bold, eye-catching designs. However, note that full-front prints can affect breathability, especially with certain printing methods where the ink lays on top of the fabric.
Suitable designs:
This placement works well for high-quality, intricate designs such as landscapes, portraits, and large artwork. It’s particularly effective on larger adult t-shirts, where the design can extend fully.
Incorporating negative space in the design helps reduce ink coverage, preventing discomfort from heavy prints.
Average size range: 10”-12” wide and 10”-14” tall. This is your largest standard-size front print option.
Oversize print: Front
Oversize prints are a non-standard placement, starting two to three inches below the collar and extending to the bottom hem.
This placement is best for oversized adult t-shirts, as smaller shirts won’t effectively accommodate the design’s size.
Proper placement for these print sizes requires knowledge of the garment’s size and the printer’s capabilities.
Suitable designs:
Oversized designs are great for those looking to create a strong visual impact. Similar to full-front designs, consider ink density and breathability, as larger prints can lead to fabric stiffness.
To avoid overprinting, consider using a transparent background or inverting the color scope to leave parts of the design clean. You can also split your print into multiple t-shirt designs.
Average size range: 12”-15” wide and 14”-16” tall. These sizes might be beyond some Print Providers’ capabilities but are popular among a niche customer base. It’s as close to an all-over print as you can get.
Create a front design placement print with the Printify Product Creator
Back-of-shirt design placement
Back designs are great for giving your t-shirts an authentic edge.
While the back of the t-shirt isn’t immediately visible, it provides more room for intricate details and larger graphics. Many custom t-shirts with back designs also have a complementary front visual.
Collar or small upper-back design
The back collar print area is one of the best upper-back design placements. Positioned approximately one inch from the base of the neck collar, it’s perfect for branding and small logos.
This area works best when paired with more prominent designs on the front or sleeves, serving as a subtle signature for your logo.
Suitable designs:
Given the small size of this placement, you’ll need a simple, effortless design. While it should still be unique, remember that people will primarily see it up close.
Average size range:1”-3” in width and height. Any smaller and the design loses most of its detail.
Upper back
The upper-back placement is a versatile, medium-sized area spanning the shoulder blade. Around four inches below the collar, it’s similar in size to the front chest area and prioritizes width for complete visibility.
This placement is popular for uniforms, event promotions, and other designs that need to stand out in a crowd. It’s also a great place for secondary logos.
Suitable designs:
Upper-back design placements are ideal for typography or logos. Add custom branding, intricate graphics, or catchy slogans that turn heads.
For a non-standard look, consider placing the design slightly lower on the back to draw attention. However, this area is prone to creases and folds and may not be visible when the wearer is sitting down.
Average size range:10”-14” wide and 1”-6” tall. The contrast between the dimensions makes this an excellent choice for typographic designs.
Full back
The full-back placement is popular among t-shirt graphic designers. Compared to the full-front print area, the back is typically flatter and less obstructed – allowing for larger, more detailed images.
The design generally starts around three to four inches from the collar and covers a significant portion of the back, often nearing the bottom hem.
Suitable designs:
Full-back designs are perfect for projects that require a large canvas, such as sports jerseys or detailed graphic art.
This placement is rarely used alone. For example, a streetwear tee might feature a signature print on the back with small logo placements on the left chest.
Average size range: 10”-14” wide and 6”-5” tall. It’s the most versatile option for larger design placements.
Sleeve logo placement
The sleeve placement location offers a unique design opportunity, though not all Print Providers support this option.
Designs usually start one to three inches above the center point of the sleeve hem. One inch is the typical distance for a standard prints, providing adequate space from the left and right seams.
Suitable designs:
A sleeve print is ideal for simple logos, making them a popular choice for business sponsors. A single-sleeve design is often on the wearer’s left, but it’s common to see the same print on both sleeves.
Another less common location is on or over the shoulders, complementing larger and more intricate front or back designs.
Sleeve logos are perfect for adding a subtle branding element to polo shirts or button-downs, sprucing up the overall outfit.
Average size range:1”-4” in width and height. It’s a unique but limited location for adding complementary designs.
How to print images on shirts
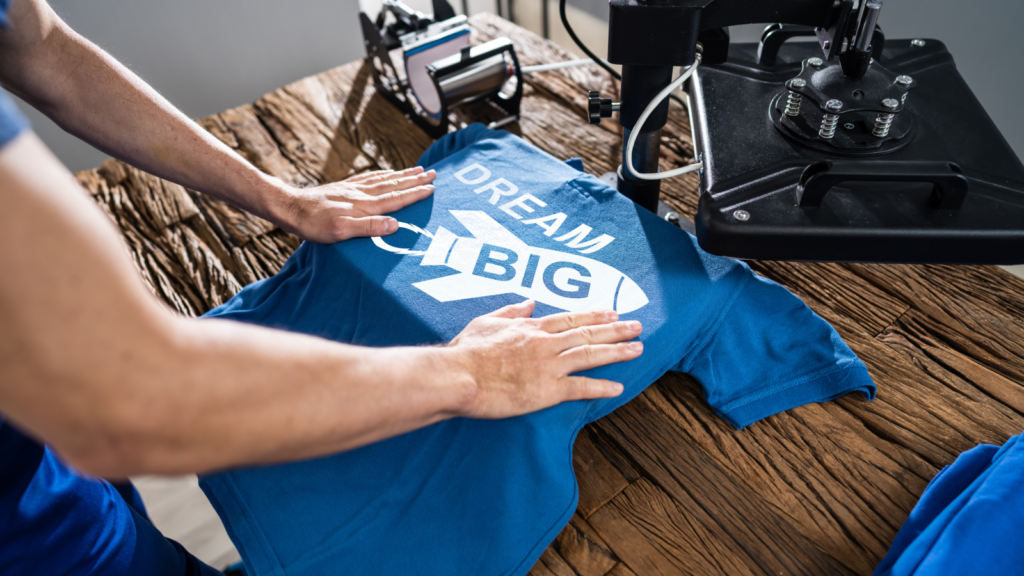
Before selling t-shirts online, a critical task is converting graphic designs to print-ready formats.
This means defining your print size – the physical dimensions of the design – in dots per inch (DPI). It’s a print resolution measurement highlighting the richness of the ink throughout the design.
The higher the DPI, the sharper the final print.
Check out this handy guide for scaling designs by garment size.
To find and change your image DPI, check the image properties in Windows File Explorer, Mac Preview, or your preferred graphics design software like Illustrator or GIMP.
Print-on-demand platforms give an easy workaround by listing the optimal pixel and DPI dimensions for t-shirt printing.
Printify’s Product Creator does exactly that by showing the exact measurement for a particular product design before you upload your image:
- Supported file format: The best format for garment printing is usually PNG, but we also support JPEG and SVG files based on the product.
- Maximum file size: Typically measured in megabytes, larger file sizes hold higher-resolution images for better print quality.
- Print area size: Lists the recommended dimensions for your design in pixels and DPI.
- Maximum resolution: Outlines the pixel resolution limit so your file uploads successfully while maintaining print quality.
After uploading your design, our Product Creator checks whether your image quality is print-ready.
If it needs adjustments, use your favorite graphic design software to fine-tune the file size and resolution before re-uploading.
Tweak your t-shirt design placement by effortlessly resizing and positioning it manually on our Product Creator. It even displays physical measurements like inches or centimeters, so you know exactly what to expect.
FAQ: Design placement on shirts
Logos fit best on the center chest or left chest, aligning symmetrically with the collar four inches below. But this t-shirt logo placement guide isn’t set in stone – get creative based on your branding and design elements.
A brand logo typically falls on the left chest, aligning with the shoulder center and printed slightly lower – about three to four inches from the top – for subtle branding.
Use a print-on-demand service like Printify that provides an easy design tool and free shirt templates for optimizing your designs.
Select a t-shirt with your desired print location, upload and adjust the image resolution (DPI) for optimal quality, and position it for accurate placement.
Position pocket designs over or near the pocket area on the left chest area of the shirt. Align the visual with the pocket’s dimensions for a cohesive and balanced appearance.
Conclusion
And there you have it – your complete t-shirt design placement guide for a thriving t-shirt business.
Whether using a classic t-shirt logo placement template or adopting bold new ideas, following these tips will help your designs shine.
Leverage Printify’s features to ease your print-on-demand journey. We take the guesswork out of design and logo placement so you can focus on growing your custom t-shirt brand.
