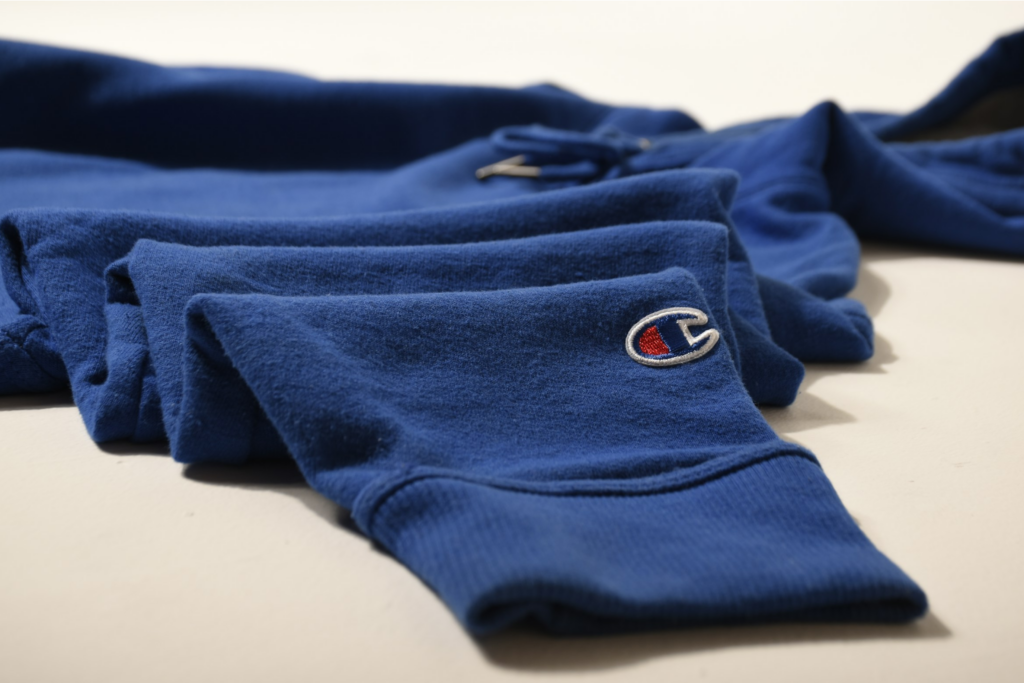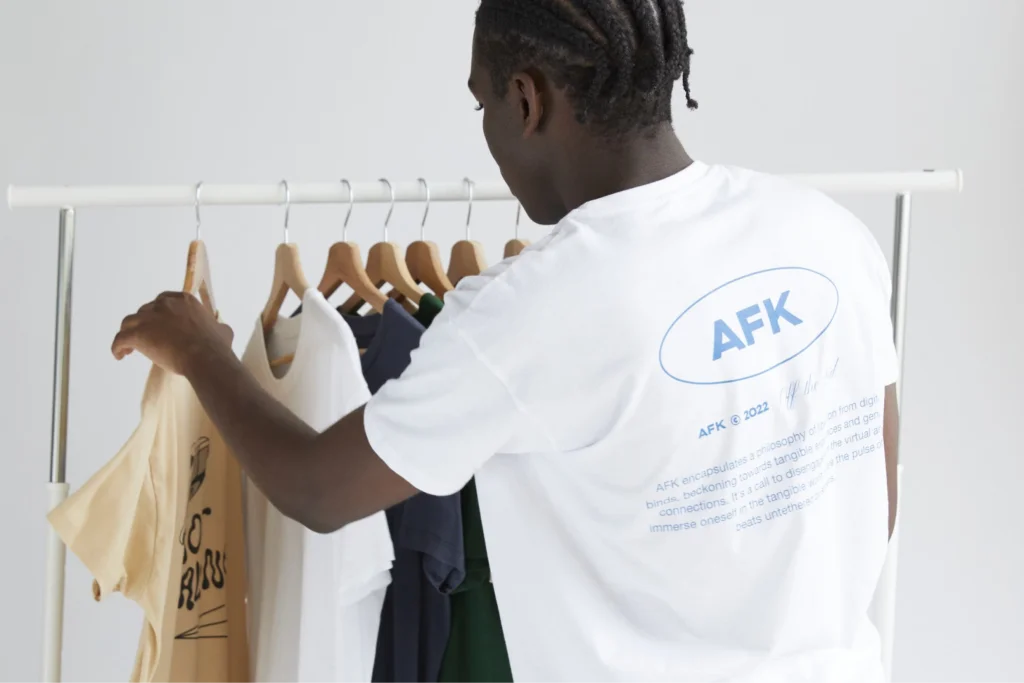

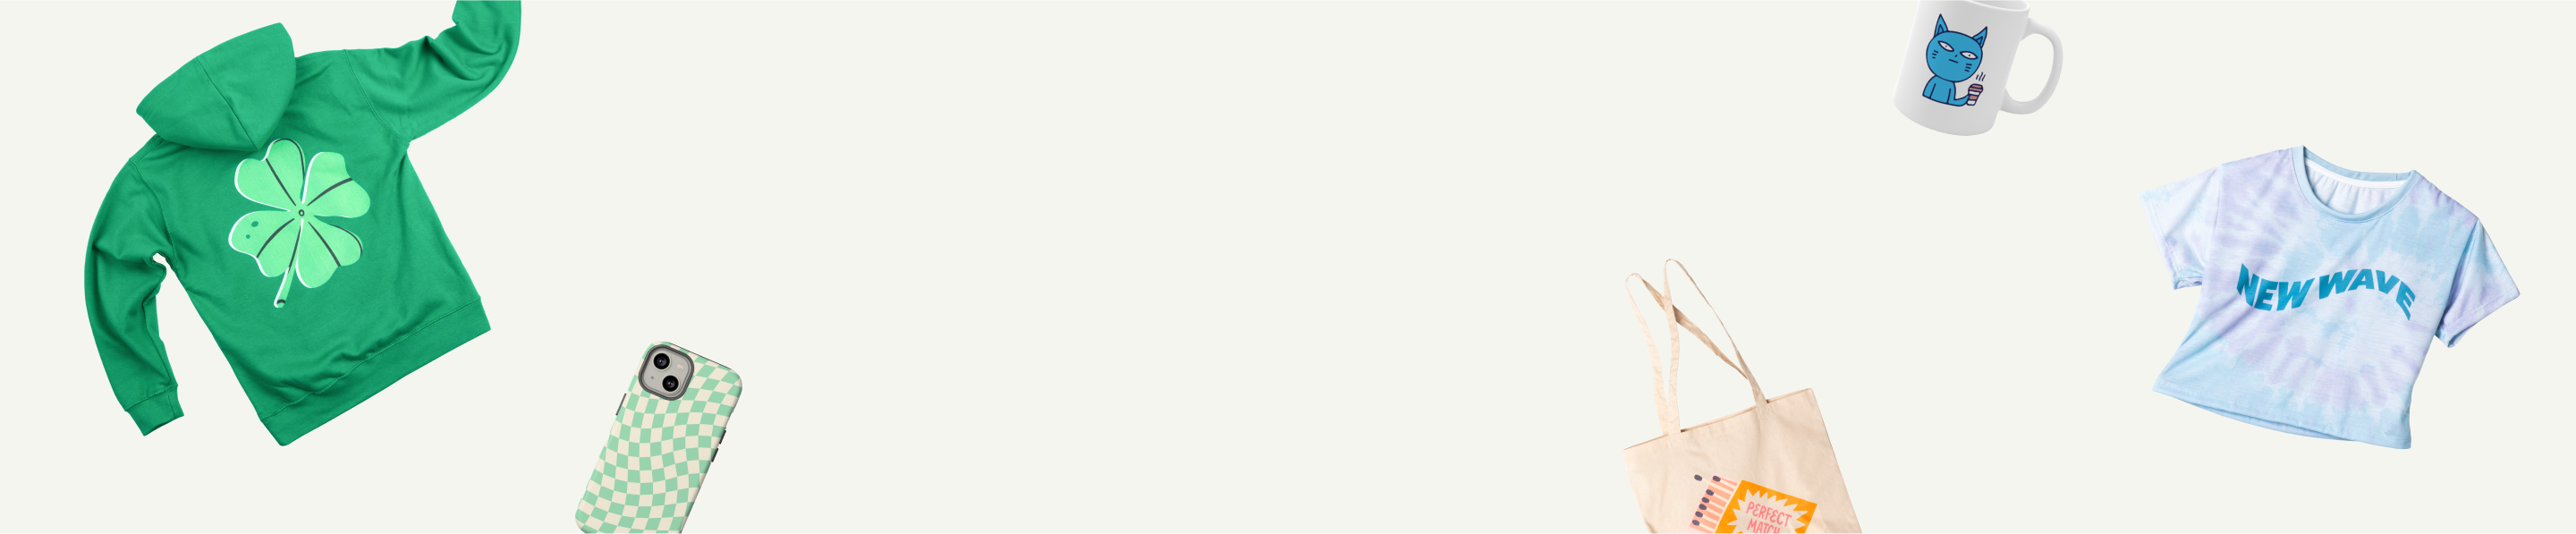


Make your own shirt today
Putting a picture on a shirt is easier than you think. Whether you’re launching a t-shirt business, designing for a family reunion, or refreshing your wardrobe, you’ve got two main options for how to put designs on shirts: DIY with an iron and transfer paper, or Print on Demand (POD), where Printify handles printing and shipping.
In this guide, we’ll walk through every method – POD, DTG, iron-on photo transfers, Cricut designs, and a viral plastic-wrap hack – so you can pick the one that works best for you.
This post may contain affiliate links, which means we may earn a commission if you make a purchase through those links. This comes at no additional cost to you.
Quick summary: The best ways to get a picture on a shirt
Here’s how the most popular methods stack up, ranked by ease of use:
- Print on Demand: Best for custom t-shirts at any scale. Upload your design and let Printify handle printing and shipping worldwide using methods like DTG, DTF, sublimation, and embroidery.
- Iron-on transfers with transfer paper: The classic DIY method. Needs an inkjet printer, an iron, and transfer paper. Great for full-color photos on cotton or poly-blend t-shirts.
- Cricut™ heat transfer vinyl: Sharp, boutique-worthy finish for text, logos, and layered t-shirt designs. Needs a Cricut machine and a heat press or iron.
- Parchment paper and plastic wrap hack: No special equipment needed. Creates a soft, faded vintage finish. Best for light cotton t-shirts and small images.
- Professional screen printing: Ideal for bulk orders of graphic designs with limited colors. Not suitable for photo prints.
How to put a picture on a shirt at home with no equipment
No printer or heat press? The simplest DIY-friendly option is iron-on transfer paper, which lets you apply full-color designs using just a household iron.
For a hands-off alternative, Print on Demand lets you design online while the printing and shipping are handled for you.
So, how do you get your custom t-shirt printed from your couch?
Step 1: Pick the right shirt

The shirt type, material, color, and printing method you choose will significantly impact how the transferred image turns out. Before you begin, browse the Printify Catalog to find the best t-shirt fabric for printing your design, along with every shirt style available.
Material matters
Your t-shirt fabric plays a big role in the print’s durability.
- Cotton shirts are breathable and perfect for direct-to-garment (DTG) printing.
- Polyester or poly-blends are ideal for sublimation printing and direct-to-film (DTF).
- For high-stretch or activewear, go with fabrics that can handle movement without cracking the photo on the shirt.
T-shirt color: Light, dark, or in between?
Your image should pop, so choose t-shirt colors wisely.
- For vibrant or dark images, go with light-colored shirts like white or pastels.
- For subtle, soft-toned images, try dark-colored shirts with the right printing method, like DTF or screen printing.
- Contrast is key – make sure your image stands out and doesn’t fade into the fabric.
Printing method: Which one fits your vision?
Each printing method gives a different look and feel to your printed t-shirt.
- DTG printing: Best for cotton. Perfect for complex, detailed designs.
- DTF printing: Works on more fabrics, including synthetics. Great for durable prints with bold color.
- Sublimation printing: Only for polyester or poly blends. Creates all-over designs that won’t crack or peel.
- Screen printing: Ideal for bulk orders and simple designs. It adds a textured, classic touch.
Pro tip: Pay close attention to the fabric-method pairing. Sublimation printing on cotton will wash out within a few cycles, and DTG on polyester won’t bond properly. Matching the right printing method to the fabric is the single biggest factor in print longevity. Use Printify’s Catalog filters to sort by t-shirt style, fabric, color, and printing method for the perfect fit.
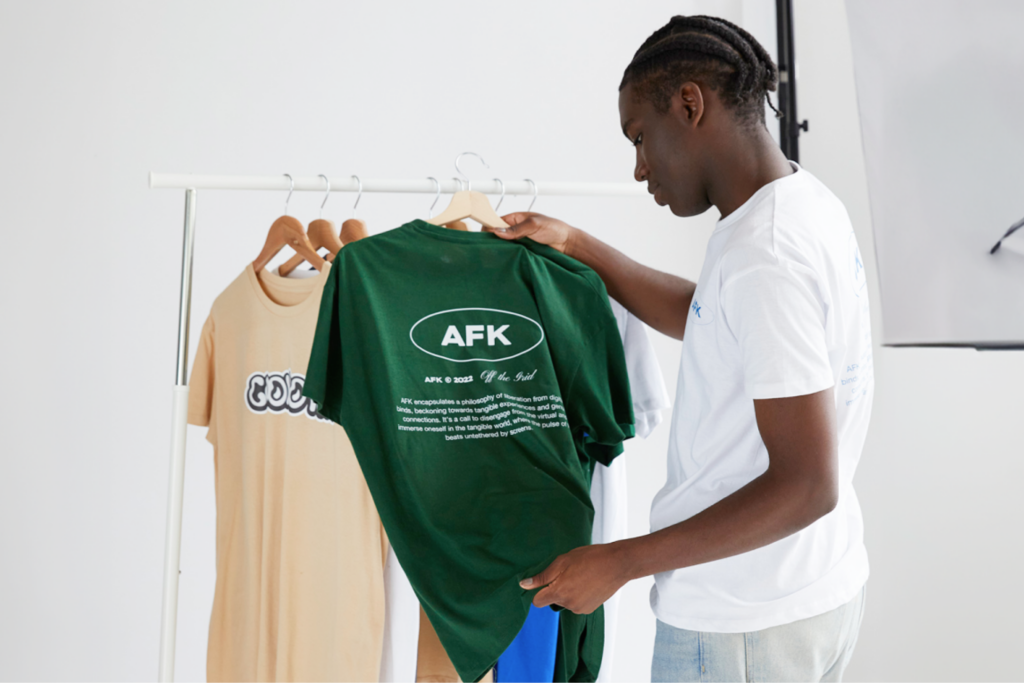
Step 2: Prepare your t-shirt design file

Wondering how to turn an image into a shirt design? It starts with file prep. To make your t-shirt design pop on fabric, start with a high-resolution image for the best quality.
Most POD platforms (including Printify) accept PNG, JPEG, and SVG files. If you’re unsure which t-shirt fabric is best for your design, check our fabric guide before you pick a blank.
Here’s how to create a great design:
- Create your own using tools like Adobe Photoshop, Pixlr, GIMP, or Fotor – easy even for beginners.
- Digitize your doodles. Scan your artwork or capture it with your phone, then frame and crop the image tightly in your editor.
- Hire a pro. Find a freelance designer on Fiverr or Upwork.
- Use free designs from Printify’s extensive library or remix one to make your own custom t-shirt.
Read our shirt design size guide to ensure the best result.
For photo prints, aim for at least 300 DPI at the print size. A high-resolution image that looks crisp on your phone screen can turn out pixelated on a 12-inch chest print – the fabric is an unforgiving canvas. Adjust contrast, remove the background, and always save your image file at the highest resolution possible, especially for high-resolution photos on light or dark fabrics.
Step 3: Apply your photo to the shirt
Now comes the fun part: putting your photo on the shirt. With Printify’s powerful, beginner-friendly Product Creator, you don’t need fancy tools or a design degree.
Here’s how to add your picture:
- Drag and drop your image onto your chosen tee.
- Add text using hundreds of fonts, including emojis and multiple languages.
- Browse a free graphics library of icons, clipart, and design elements.
- Create repeating photo backgrounds with the pattern tool.
- Generate fresh ideas using the built-in AI image generator.
- Preview your shirt in 3D to see exactly how it’ll look once printed.
It’s the easiest way to create and mock up your custom t-shirt without any design software. You’ll see exactly how your high-resolution image fits the fabric, size, and style before moving on.
Step 4: Order for yourself

Time to see your creation in physical form. Thinking of selling online? Before launching a full-blown online t-shirt printing business, order a sample to check print quality, shirt softness, and how your design holds up after washes – because even the boldest designs can fade without the right fabric and printing method combo.
Here’s how to get your tee from screen to doorstep:
- Go to My Products in your Printify dashboard.
- Find your custom tee and click the basket icon that says Create order.
- Enter your shipping info.
- Hit Order and do a little happy dance.
Your printed t-shirt will arrive in just a few days, ready to wear, gift, or photograph for your store. This is a great moment to test different t-shirt styles, fabric blends, or printing methods before ordering in bulk.
Order samples in at least two t-shirt colors and two fabrics before committing to a bulk listing. Print quality can vary across substrates, and what looks great on a heather blend may not translate to a 100% cotton tee.
Step 5: Publish and start selling
Want to sell t-shirts online? Printify makes it easy to launch your store with zero equipment – you can put a t-shirt online for sale in minutes.
Just connect your Printify account to popular platforms like:
- Etsy
- eBay
- Amazon
- Shopify
- WooCommerce
- Wix
- BigCommerce
- Squarespace
- Prestashop
From there, choose photos for your listings, write snappy product descriptions, set your prices, and hit Publish. Your store goes live, customers order, and Printify handles the rest – from printing to shipping.
Which t-shirt printing method to choose

Depending on your design, fabric, and whether you’re making a one-off tee for your dog or launching a full-on eCommerce business, you’ll want the right type of shirt printing.
Direct-to-garment (DTG) printing
Think of DTG as an inkjet printer for clothes. Your design is printed directly onto the fabric – no transfer paper, no heat press gymnastics. Best for 100% cotton t-shirts or high-cotton blends, and ideal for detailed or colorful designs. The result? Vibrant prints that feel soft, not plasticky.
DTG excels for small batches or one-off orders. Not the cheapest for bulk, but with no setup cost, it’s solid for starting a t-shirt business or testing new designs.
Expert insight: DTG prints typically last 40-50 washes before noticeable fading, provided you wash cold and skip the dryer. Pretreatment – a clear primer applied before printing – is what locks the ink to cotton fibers, so don’t cheap out on providers who skip that step.
Direct-to-film (DTF) printing
DTF is a close relative of DTG. The method involves printing your design onto a special heat transfer film and heat-pressing it onto fabric. Great for cotton, polyester, blends, and even dark fabrics.
DTF works for both small and large orders. Colors pop, texture is slightly more raised than DTG but still comfy – a win if you want a flexible, heat transfer-based method with crisp artwork.
Embroidery
Want your shirts to scream premium? Embroidery‘s got you. This method uses thread – actual stitching – to sew your design onto the fabric. Not suitable for photo prints, but a favorite for textured logos and minimalist art.
Works best on heavier material like cotton or cotton blends. More expensive, especially for complex designs, but fantastic for high-end branding or matching uniforms. Ultra-durable and won’t fade.
All-over (AOP) or sublimation printing
Go big or go home! Sublimation printing (aka AOP) lets you cover the entire t-shirt – front, back, sleeves, seams – with your pictures. The artwork is heat-transferred using special ink that becomes part of the fabric.
It works best on polyester and white shirts in pure or pastel tones. A favorite for bright, all-over patterns and popular t-shirt designs that look seamless. However, it doesn’t work on cotton or dark shirts.
Sublimation inks bond at a molecular level with polyester fibers, which is why the print never cracks or peels – it’s part of the fabric, not sitting on top of it. The print is as durable as the shirt itself.
Screen printing
Screen printing is the classic cool kid – ink pushed through a mesh screen, layering each color by hand for that bold, vibrant look. Handy for bright, graphic-heavy designs with limited colors, and looks lovely on both dark and light shirts.
Setup can be pricey, but screen printing is ultra cost-effective for bulk orders. Colors are bright, prints last ages, and the feel is smooth with a slight ink texture. For just a photo, skip it – but for graphic designs? Chef’s kiss.
How to get a picture on a shirt: DIY methods

Want to print a picture on a shirt at home without specialized equipment? These DIY tricks let you whip up a custom t-shirt right from your kitchen table.
Iron-on transfers with transfer paper
The classic DIY method. Iron-on transfers are simple, beginner-friendly, and work well using just a regular inkjet printer and specific transfer paper. Use light transfer paper for pastel or white shirts, or dark paper for dark fabrics.
Your design will look bold and opaque, with a slightly plastic-like texture that softens after a couple of washes. Great for logos, text, or printing full-color photos.
- Best for: Cotton or poly-blend t-shirts, light or dark.
- Finish: Slightly glossy, with a smooth texture.
- Vibe: Classic DIY charm.
Quick steps:
- Prepare your design using simple software and mirror it.
- Print it onto dark or light transfer paper with an inkjet printer.
- Place the transfer on your t-shirt – make sure you have a flat surface.
- Use a clothing iron or heat press. Iron firmly, moving in small circles to prevent scorching.
- Let the area cool to room temperature, then peel the backing to reveal the image underneath.
No ironing board? Place a cotton pillowcase over a flat wooden surface – it’s the oldest trick in the DIY book. A clean cotton pillowcase also works as a protective layer between the iron and your shirt to prevent scorching. Just avoid glass or anything that can’t take the heat.
Parchment paper transfer with plastic wrap
That’s right – plastic wrap. This viral hack is weirdly genius and a zero-special-equipment way to put your image on a t-shirt using things already in your kitchen drawer.
The result is a soft, faded vintage effect – think indie band tee vibes, not HD print. Best for light or white shirts and simple, smaller images.
- Best for: Light cotton t-shirts and artsy home projects.
- Finish: Light, semi-translucent, soft feel.
- Vibe: Soft, faded vintage aesthetic.
Quick steps:
- Set a neatly-ironed t-shirt on a hard surface.
- Print your image onto ordinary paper and cut it out precisely.
- Wrap it tightly in plastic wrap so the printed image is fully framed on all sides.
- Place it face down on the shirt with parchment paper on top.
- Iron firmly over the inked part for 60-90 seconds to melt the wrap and stick it down.
- Let the area cool, peel off the parchment, and flex your DIY skills.
Slide a piece of cardboard between the shirt layers before ironing. It keeps the ink from bleeding through to the back and gives you a sharper final print.
Cricut™ machine transfers
Got a Cricut™ at home? It’s a powerful tool for t-shirt printing. Using heat transfer vinyl (HTV), you can cut out crisp designs, letters, or custom art and iron them right onto your shirt.
You get a clean, professional finish – especially for text, logos, or layered t-shirt designs. The result is smooth, durable, and survives many washes like a champ.
- Best for: Cotton and cotton/poly t-shirts.
- Finish: Bold, matte, or glossy (depending on vinyl).
- Vibe: Sharp, stylish, boutique-worthy.
Quick steps:
- Upload or create your t-shirt design in Cricut Design Space.
- Cut it out of the heat transfer vinyl.
- Weed out the excess vinyl (the surrounding material around your design).
- Place the design on your t-shirt, vinyl side down.
- Push down with an iron or heat press until bonded.
Cricut t-shirt designs can peel if under-pressed. Quick heat transfer vinyl troubleshooting: if the edges are lifting, re-press with extra pressure and a cotton cloth on top for another 15 seconds.
How to print on a t-shirt – DIY vs Print on Demand

So, what’s better – DIY or Print on Demand?
Let’s compare them across the three factors that matter most: durability, cost, and scalability.
Durability: How long will the print last?
DIY results vary. Iron-on transfers typically hold up for 20-30 washes before cracking, especially if you skip the cold-wash rule. HTV from a Cricut™ fares better – usually 40-50 washes with proper care. The parchment paper hack is charming but fragile, fading within a handful of washes (which is often the point).
POD prints win on consistency. DTG and DTF prints typically last 40-50+ washes, and sublimation on polyester essentially lasts the lifetime of the shirt because the ink becomes part of the fiber. Embroidery is the most durable option since it’s stitched rather than printed, so there’s nothing to crack or fade.
Cost analysis: DIY vs POD
DIY is cheaper per shirt if you already own the gear. Transfer paper runs around $1-2 per sheet, HTV packs are $5-10, and a household iron is already in your closet. Startup costs climb fast, though – a Cricut™ is $200-400, a heat press another $150-300. For a one-off gift, DIY beats POD.
For a print-on-demand cost analysis at scale, the math flips: POD has zero upfront investment, and your per-unit cost stays predictable whether you order one shirt or a thousand.
Scalability: Can this grow with your business?
DIY hits a wall around the 20-50 shirt mark. Beyond that, the hours spent pressing, peeling, and troubleshooting eat your margins alive.
POD scales easily – Printify’s Print Providers handle the volume, ship globally, and take the work off your plate, which is exactly what you want if you’re building a real apparel brand rather than a side hobby.
DIY t-shirt printing vs print-on-demand t-shirt printing
| Feature | DIY t-shirt printing | Print on Demand (Printify) |
| Speed | Instant results. No waiting for shipping or production queues. | Delayed. Shipping and processing typically take several days. |
| Startup costs | Budget-friendly for single items using transfer paper or HTV. | Zero upfront costs. No need to buy equipment or inventory. |
| Quality | Great for hobbyists, but prone to ink bleed or peeling over time. | Professional quality using DTG (Direct-to-Garment) or sublimation. |
| Effort | High. Requires manual labor, mirroring images, and ironing. | Low/zero hassle. Just upload a design and place your order. |
| Equipment | Required. Needs a printer, heat press/iron, and specific papers. | None. The provider handles all hardware and maintenance. |
| Scalability | Difficult. Extremely time-consuming for large batches. | Easy. Perfect for running a business with unlimited orders. |
| Control | Full creative control over the entire physical process. | Less hands-on control over the final print and packaging. |
| Best for | One-offs, personalized gifts, or testing a quick concept. | Scaling a brand, selling online, or hands-off production. |
So, which is better? If you love crafting and want a printed t-shirt now, DIY is your jam. If you’d rather skip the ironing and build a brand while someone else prints, POD wins.
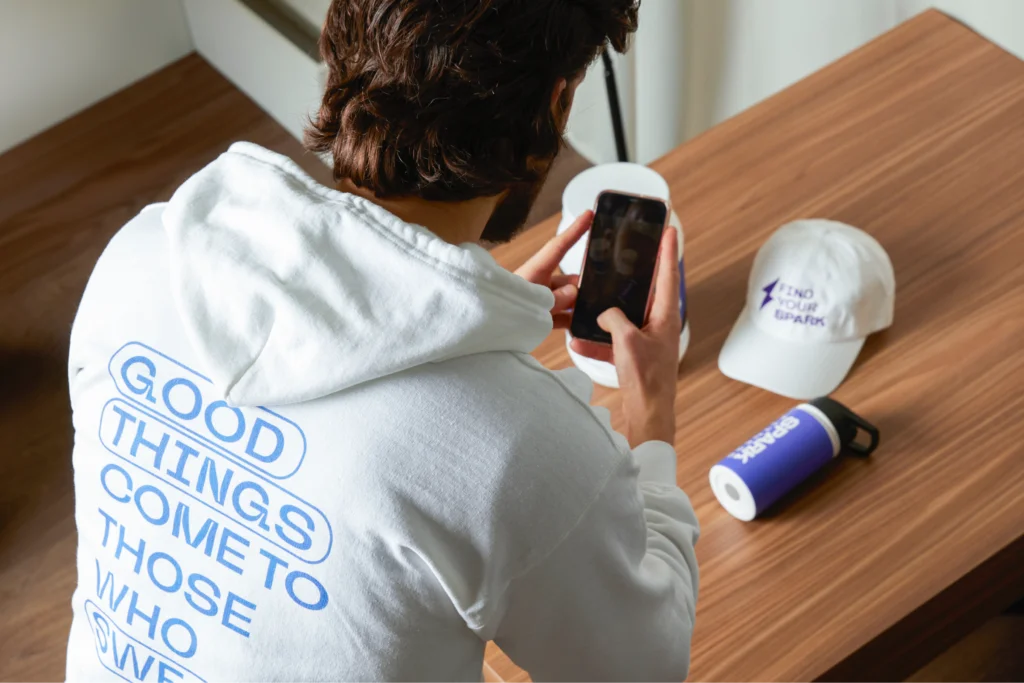
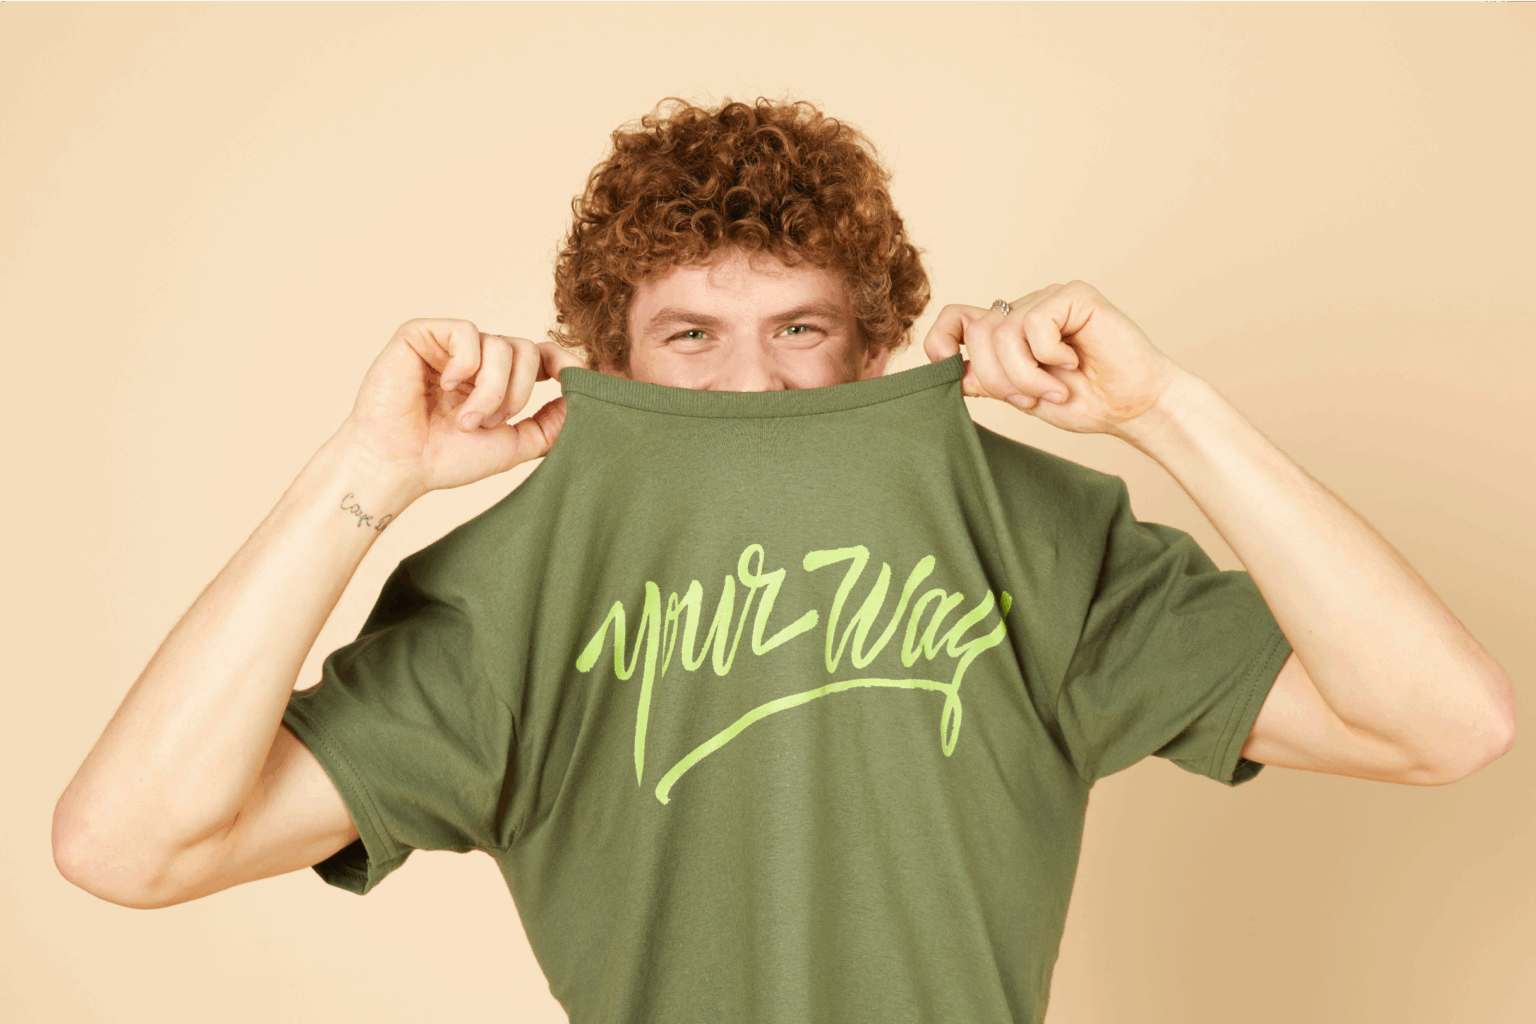
Choose Printify for printing images on shirts

Ready to bring your vision to life without ironing your soul out? Printify delivers pro-quality prints across a huge range of shirt styles – crewnecks, cropped tees, tanks, polos, and t-shirt dresses in every fabric and color. Perfect for birthday bashes, charity runs, or your own apparel brand.
Our Product Creator lets you upload a photo, add text or graphics, and preview the print right in your browser – no design software, no heat press, no stress. Choose from all-over prints, crisp DTF, soft DTG, or premium embroidery. No order minimums. Worldwide shipping.
Want to sell? Printify connects with every major platform. Sell your shirts on Etsy, Shopify, or Amazon while our Print Providers handle production and shipping – the simplest way to turn your idea into a real, sellable product.
Explore our print-on-demand business guide and tips on how to sell t-shirts online.
Ready to make your custom t-shirts? Start with Printify today
FAQ
Wondering how to put a picture on a t-shirt at home? The easiest way is to use transfer paper and an inkjet printer, then apply the picture on the shirt with a regular iron or heat press. You can also try the parchment paper and plastic wrap hack – one of the simplest printing techniques for beginners. Print your photo, press it, peel, and wear.
Or skip the hassle entirely: join a POD platform like Printify, pick a shirt from our extensive library, upload your image, and place an order. Our print providers handle printing and shipping – perfect for personalized shirts at any quantity, with high-quality prints every time.
Iron-on transfer paper is the classic go-to. Print your photo, press it on your t-shirt, done. For a no-special-paper DIY, try the plastic wrap and parchment paper trick – wrap the printed image, iron flat, and the ink transfer clings right to your shirt. It’s one of the cheapest apparel printing techniques out there, though results won’t always match the high-quality prints you’d get from a pro setup.
If you’re wondering how to put your own design on a shirt at home, the method is the same for a drawing: scan or photograph your artwork, frame it in your image editor to crop out any unwanted background, and print it on transfer paper. Light-colored transfer paper is suitable for light materials; dark paper is better for dark fabrics. Apply the design with a heat press or iron – the iron-on sheet binds the design to the shirt, leaving the print intact. Great for custom, personalized shirts made on a budget.
DIY methods for putting a picture on a t-shirt can cost as little as $1 to $5 using transfer paper or parchment methods. Heat transfer vinyl or a Cricut™ bumps the price up. Professional printing techniques like screen printing, DTG, or sublimation range from $10 to $25+ per printed t-shirt, depending on size and color – and they give you the high-quality prints that DIY methods can’t always match.
Yes. Direct-to-garment (DTG) printing prints the design right onto your t-shirt – no transfers needed. At home, without DTG, you’ll need workarounds like transfer paper, Cricut™ vinyl, or the parchment paper method, since regular printers can’t print directly on fabric. For those exploring how to get a picture printed on a shirt with zero hassle, POD platforms like Printify offer an extensive library of blanks and multiple print methods to choose from.