

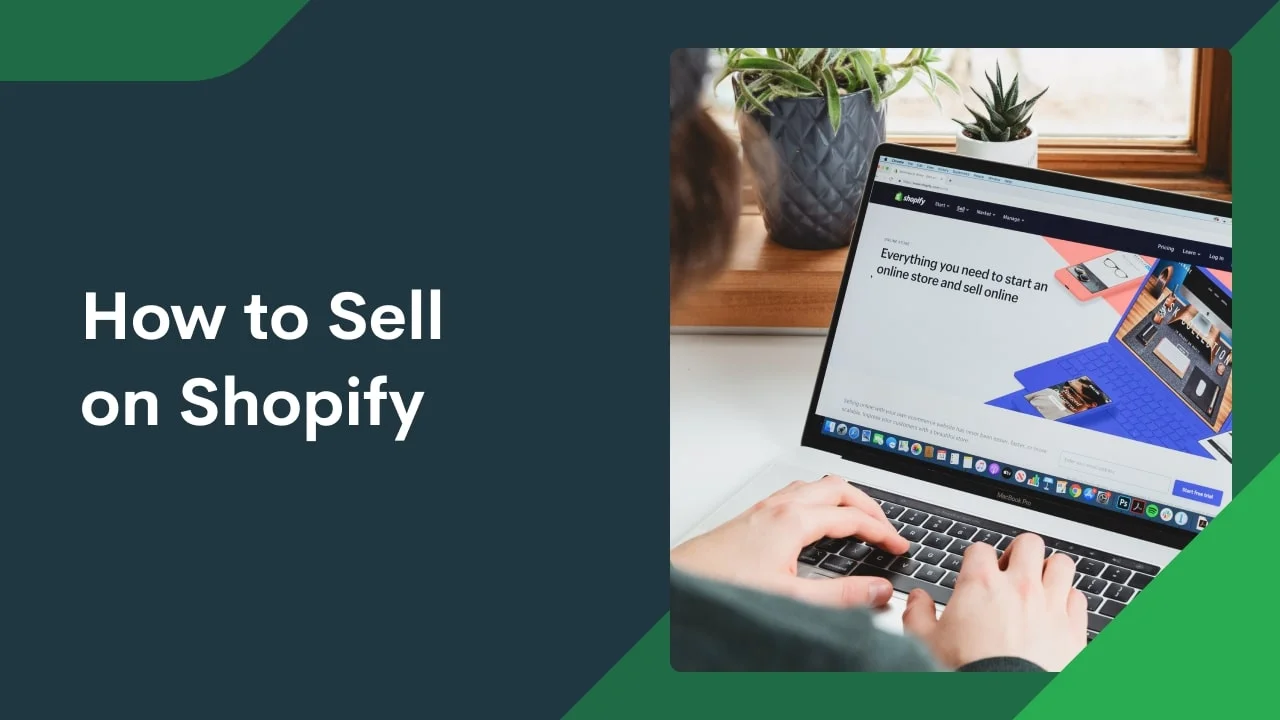
Sell products online using one of the most intuitive and customizable eCommerce platforms. With an integrated payments system, website building features, custom domain options, and dedicated tools for marketing, launching an eCommerce website with Shopify might seem like a lot to take in.
But don’t worry – we’ve made it easier for you. Discover how to sell on Shopify in six steps, from initial setup to business growth.
Disclaimer
This post may contain affiliate links, which means we may earn a commission if you make a purchase through those links. This comes at no additional cost to you.
1. Set up your Shopify store
To start selling on Shopify, create an account and set up your online store. This includes choosing a subscription plan, adding products, customizing your store’s look, and setting up payment and shipping options. Once that’s done, start marketing your store to attract customers and get sales.
Choose a Shopify plan

Shopify offers subscription plans for businesses of all sizes. The Shopify Basic plan has everything Shopify merchants need to launch and operate a store. There are other options if you’re looking for higher-quality reports or more staff accounts.
Start a free three-day trial with any plan to access your admin account with a preview of all store setup features, guides, and menus.
After the trial period, launch your online store with a $1 subscription discount for the next three months.
Shopify currently offers three standard plans:
- Basic ($39/month). Two staff accounts and basic analytics reports.
- Shopify plan ($105/month). Five staff accounts and professional reports.
- Advanced($399/month). 15 staff accounts and a custom report builder.
Note
Gain a 25% discount for any standard plan by paying for an annual subscription.
They also have two alternative solutions for businesses. Find more details about plan features and comparisons on the Shopify Pricing page.
Create an account and name your business
Create your account by navigating to Shopify’s main page. Click Start free trial, and follow the steps.
Note
Your Shopify account is not the same as your Shopify store. One store owner account can build and open multiple Shopify storefronts.
You might already have a great idea for your first store name, but we encourage researching and aligning it with a web domain. Your business and domain names should be short, authentic, memorable, and accurately reflect your product or service.
One of the easiest ways to get a domain is through Shopify’s Business Name Generator. It offers unique AI-generated names and the opportunity to claim a connected web domain.
Buy a new domain for your Shopify store through Shopify Domains or connect an existing one from other web hosting services like Domain.com or NameCheap.
Set Up your basic store settings
Once you’re registered, authenticate your email address and enter business information.

Continue your store setup through your Shopify admin page. Navigate to the left-hand dashboard and click on the Settings menu. Fill in each detail from this checklist:
- General store details.
Edit your profile data, add a business address, select a store currency, and define a time zone and weight unit metrics.
- Enter payment information.
Continue by navigating to the Billing section. Set your billing currency and manage subscriptions. If you’re operating with a business license, provide the tax registration ID number. In Payments, add store payment methods (further details in step four).
- Manage checkout and customer accounts.
In the Checkout section, set up how customers are informed during and after a purchase. You can also view buyer information in the Customer accounts section.
- Enter shipping page details.
Click on the Shipping and delivery section and add domestic and international shipping rates for orders. Define details such as delivery date estimates and shipping labels.
- Complete sales tax data.
Go to the Taxes and duties section to manage your sales taxes through shipping zones and update how taxes are calculated and charged.
- Create a store policy.
From the Policies section, manage and write all necessary store policies, terms of use, and conditions. Use the templates provided by Shopify or fill in the written policies manually.
Find additional resources in the Shopify Help Center.
2. Add products to your store
Choose products to sell
To decide what to sell on Shopify, you need to pick a niche that fits your experience as a store owner, matches the needs of your target audience, and offers sustainable sales margins. Then, find a distributor to source, fulfill, and deliver your chosen products.
Shopify offers multiple product sourcing services through its partnered apps – dropshipping suppliers, wholesalers, or manufacturers. Printify – Print on Demand is a prime example, providing automated order production and shipping services.

Add products to Shopify
Add Shopify products from your admin page. Complete all the details, including product titles, images, descriptions, prices, and shipping rates. Attach tags based on relevant keywords and categories to organize your items. Remember to save each product.
Once you’ve created product listings, set them as active. You can also duplicate products to add variants and modify other product details via your admin page in the Products section.
Setting up collections and categories
Arranging your products using collections makes it easier for customers to find what they want. Organize items based on size, weight, and color or into themes like occasions or seasonal products.
Add collections through the Products menu, where you can choose from two types:
- Manual collections. Add products manually with full customization.
- Automated collections. Add products automatically from 60 selection conditions based on the product’s information.
Note
Once you’ve created and added a collection, you can edit it, but its type cannot be changed.
Best practices for Shopify product listings
Let’s look at how to maximize the quality of your listings when selling products online. Your items represent your brand, but quality listings determine your likelihood of making sales online.
Follow these practices to improve Shopify product listings:
- Produce high-quality product photos.
Product photos are the first thing that grabs a customer’s attention and will determine whether they want to inspect the listing further. Be sure to provide the most realistic photos, highlighting the product’s main features and benefits.
- Have a competitive pricing strategy.
The first step to a sustainable pricing strategy is returning a profit against the calculated costs of running the store. But it’s also important to price your products at competitive retail rates by researching your target audience, competitors, and market trends.
- Transparent descriptions.
Descriptions are the main body of your product pages. Highlight product values and incorporate keywords in a natural language. Most importantly, write descriptions consistently, clearly, and keep them short.
- Link to other items or product variants
Always offer more options or alternatives. Whether a user wants to check a different color, see a complementary product, or simply browse, provide easy navigation for customers by linking related listings.
- Reflect on reviews and testimonials.
Instead of looking at reviews as a sign of success or failure, view them as indicators for optimization. Discover and improve your weak points and recreate promotional messaging that performs well.
3. Customize your store
Choose a Shopify theme
The benefits of a well-designed website go beyond looking good. They bring credibility to online shoppers and consistency to your store. Selecting a suitable Shopify theme will define a large part of your brand image and identity.

The Shopify theme store offers 12 free themes and over 100 paid options at different price ranges. All official Shopify themes are mobile-friendly, requiring no design or coding skills. You can install and preview a theme before purchasing it.
Note
After you purchase and install a premium theme, Shopify selling services guarantee it will remain up-to-date without expiring.
If you have experience in back-end design, you can also code a custom theme with Shopify tools. Or, check out options from external developers like Pixel Union, Out of the Sandbox, and themeforest.
Manage your site’s structure.
A website page structure relates to how storefront information is presented, how each page is designed, and how they relate and navigate between each other. Make everything clear and simple for the customer.
Creating an intuitive and intentional page structure is key to gaining traffic and ranking high in search results.
Add necessary Shopify apps
Shopify apps are for adding extra tools, systems, and content to your own store. They offer multiple benefits, such as:
- Integrations with other platforms or services.
- Options to automate processes.
- Access to store data, like analytics and marketing insights.
- User interface enhancements.
- Tools to enhance marketing efforts.

Access the Shopify App Store via the Settings menu on your admin page and click on the Apps and sales channels section. Or, find it using the Shopify App Store link.
Explore our list of the best free Shopify Apps to help grow your business and find inspiration for the types of systems and services you might want to implement.
Create essential pages
Add a new page by navigating the Online Store menu and selecting the Pages section.
To be sure your store runs smoothly, prioritize these essential store pages before adding any other unique features:
- About us.
Cultivate brand recognition and be transparent about your business. The About Us page should include details about the inception of your store, its mission statement, objectives, and values. Tell potential customers who you are and define how your brand interacts with the audience.
- Contact us.
If you don’t have a way for customers to contact you, you might lose them altogether. Provide an up-to-date contact page with business and address information. You can also use apps to create subscription forms, comment systems, and review requests.
- Policies.
Shopify already has a store policy section and templates. Once you’ve filled them out, they automatically link to the footer of the checkout page. However, consider adding a policy page independently – attach it to the menu items via the Navigation page in your Shopify admin.
- Catalog.
A catalog goes without question, but it’s still important to consider how to track inventory and categorize listings. Decide whether you want to add apps or edit pages for ease of navigation or to separate collections into sub-categories.
- FAQ.
Bypass handling the same concerns repeatedly by creating a dedicated page of frequently asked questions. Link to other pages and policy rules, and answer common concerns to solve customer issues before they flood your other contact channels.
4. Set up payments
Payment gateways
Finish your store setup by activating Shopify payments from the list of payment gateways. Choose them based on your currency, location, and target audience.
Navigate to the Settings page through your Shopify dashboard.

Enable Shopify Payments from the Payments section in one of the following ways:
- If your account doesn’t have a credit card payment provider, click Complete account setup in the Shopify Payments section and follow the steps.
- If your account already has different payment providers, click Activate Shopify Payments in the Shopify Payments box. Then click Activate Shopify Payments again in the dialogue to remove and replace other options from your account.
Shopify point of sale

Shopify’s POS System allows merchants to sell online products with in-person payments in brick-and-mortar locations. This feature is available for all subscriptions.
The POS Pro feature may be added to any subscription with an additional fee. It offers advanced reporting and inventory management tools and operational upgrades.
5. Promote your Shopify store
Consider these aspects fundamental for your Shopify marketing strategy.
Search engine optimization
SEO is the process of increasing your store's visibility on the internet. Good SEO practices will create higher rankings in search engines. Consider these useful Shopify SEO tips:
- Integrate relevant keywords in your content, listings, and ads.
- Use tools such as Semrush, Keyword Tool, and BuzzSumo.
- Search Shopify apps for up-to-date tools.
- Optimize your title tags and meta descriptions.
- Make sure your site has quick and smooth navigation.
Social media marketing
Social media – YouTube, Facebook, Instagram, X (formally known as Twitter), and TikTok offer excellent mediums for networking.
Make sure your store has recognizable accounts on all major social media channels. Develop sustainable customer relationships by communicating, launching promos, and organizing sales events consistently.
Email marketing
Email is an affordable marketing channel that provides full control over direct customer communication.
There are three types of email marketing messages:
- Promotional.
Create newsletters, promote new products, and launch seasonal sales events. - Transactional.
Inform customers about their orders, including configurations, shipping details, and surveys. - Lifecycle.
Enable automated emails that trigger customer actions, including pre and post-purchase check-ins and abandoned card recoveries.
Paid advertising
Enhance your marketing strategy by leveraging paid advertising on Facebook, Instagram, and Google Ads. You can create targeted campaigns with a pay-per-click or pay-per impressions model at fixed marketing spend and bidding rates.
Create display ads through the Google Display Network and publish social media ad carousels, slide shows, and stories through the Facebook Ads Manager.
6. Collect data, adjust, and grow

Shopify has valuable data for merchants to analyze for future growth. Whether you use Shopify analytics features, third-party apps, or conduct research manually, make sure to adjust and base your future business strategies on these metrics:
- User account information.
Process customer accounts and orders, and track repeat purchases and new subscriptions. - Sales and data analytics.
Follow sales trends, customer behavior, and stay on top of inventory management. - Website interactions.
View customer visits, user interactions, browsing time, and top products searched and purchased. - Customer support feedback.
Respond to and reflect upon customer comments, complaints, and emails.
How to sell on Shopify without inventory
Choose our Print on Demand Shopify integration to sell custom products without inventory, order minimums, or logistical hassles. Connect to Printify, sync your listings, and let our Print Providers handle the rest – printing, packaging, and shipping.
How to sell on Shopify with Printify:
- Sign up for free to access all POD services and tools.
- Select a blank product you want to design from our Printify Catalog.
- Apply your custom designs using our beginner-friendly Product Creator (formerly known as Mockup Generator).
- Integrate your Shopify store with Printify and publish your products.
- Set up the Printify Shipping Calculator for Shopify and start selling.
Try Printify’s Pop-Up Store as a faster way to sell. Create a quick-access pop-up shop to experiment with new products and share them directly to your audience via a link.
Checklist to launch and sell on Shopify fast
- Sign up for Shopify and choose a plan
- Pick and customize a theme to match your brand
- Connect Printify and publish your first products
- Set your retail prices and configure shipping zones
- Enable Shopify Payments to accept credit cards
- Add a custom domain so your store looks professional
- Write your refund, privacy, and shipping policies
- Set up Google Analytics and Meta Pixel for tracking
- Optimize product titles and descriptions for search
- Announce your launch on social media and drive your first traffic
FAQ
Conclusion
Get ready to build and set up your own website and eCommerce business. The Shopify dashboard and app store provide a harmonized system code with full customization and analytics. Support your business model with the most intuitive online sales channel.
Explore subscription plans for small business owners and large enterprises alike, manage your account settings, and start building your own online store through the following steps:
- Pick a subscription plan and register on Shopify.
- Finalize general business details and settings.
- Find products to sell and create product listings.
- Build store pages, add a theme, and Shopify apps.
- Set up and manage eCommerce payment gateways.
- Increase conversions by promoting with online marketing.
- Track analytics and adjust your strategy for future growth.


