Create custom designs that sell
Bring a touch of elegance to your brand by transforming your designs through logo digitizing for embroidery.
Give your products a high-quality, professional look that stands out and tap into the $3.2 billion global embroidery market, which is expected to double by 2032.
In this article, you’ll learn everything about machine embroidery and its technical aspects, like file formats, satin stitches, and thread colors.
Key takeaways
- Understand the basics: Logo digitizing for embroidery involves converting your design into a stitch file that embroidery machines can read.
- Choose the right tools: Use dedicated embroidery digitizing software to create and optimize your logo design for stitching.
- Pay attention to details: Look at proper stitch types, design dimensions, and thread colors for a professional and high-quality embroidered logo.
- Test before final production: Create a sample of your embroidered logo to check for quality and make necessary adjustments before bulk production.
- Leverage professional services: For a hassle-free experience, use Printify’s embroidery services, which include professional digitization and automated fulfillment.
What is logo digitization?
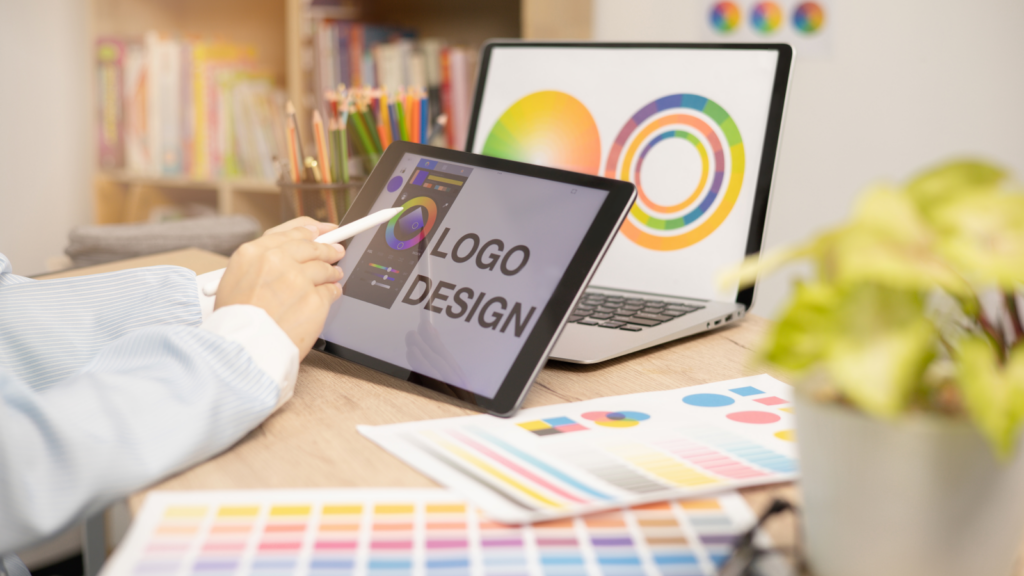
Embroidery digitization involves turning your image into a stitch file that embroidery machines can read.
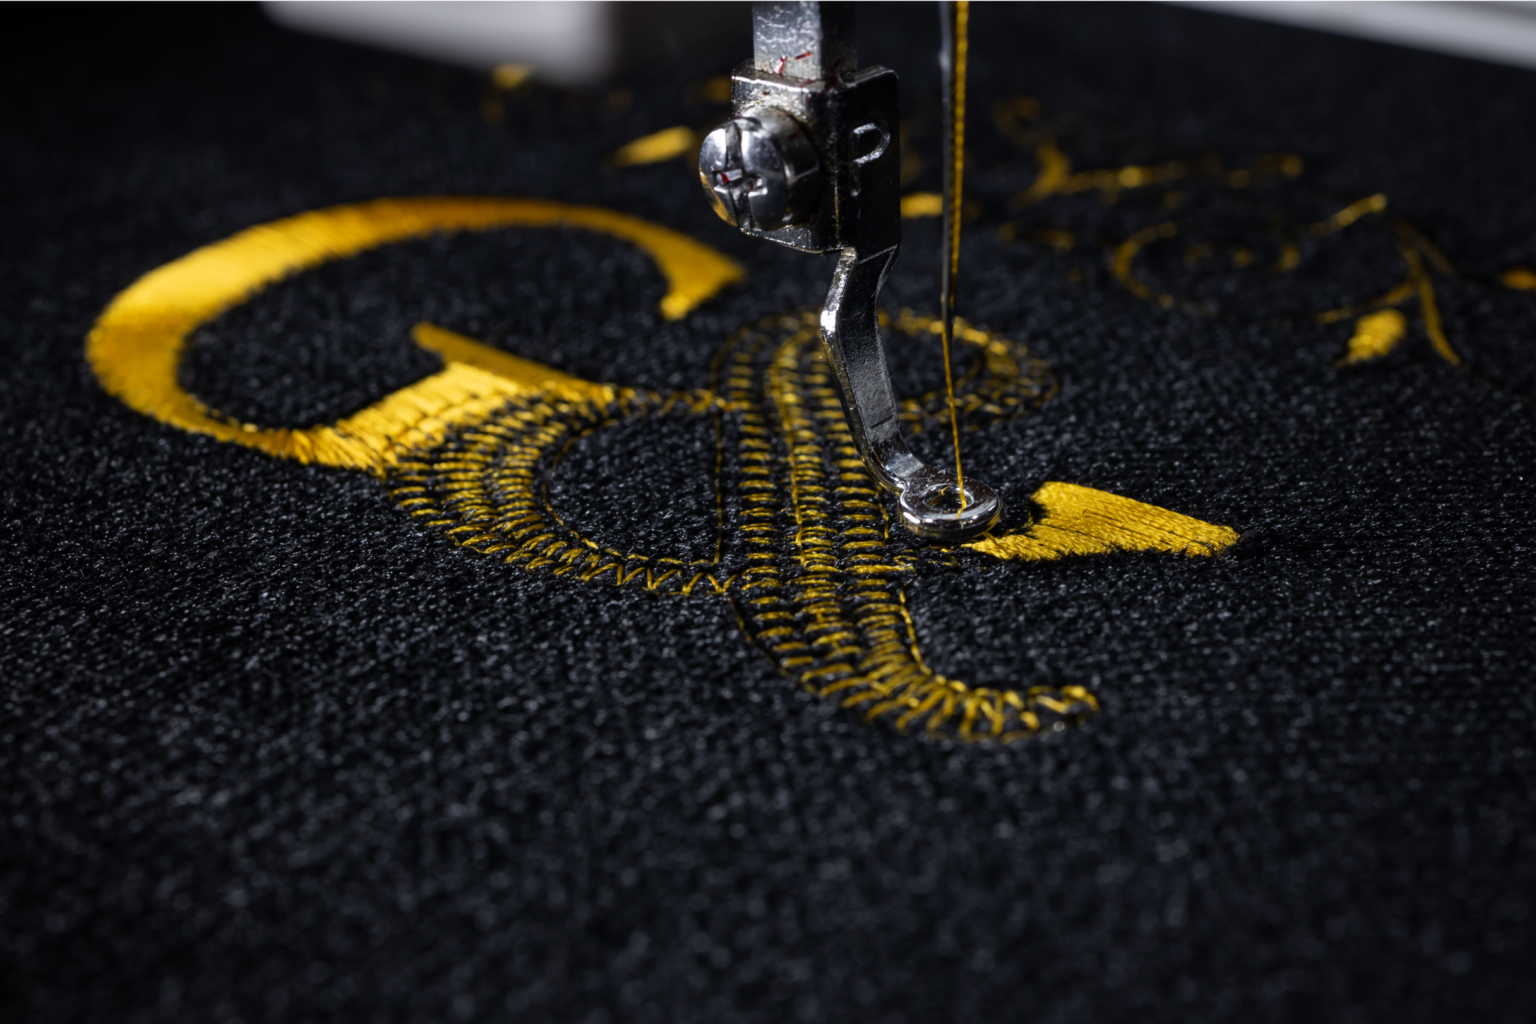
A digitized design file shows the thread path a needle should take and gives the correct stitch types, colors, and angle at which you should position the threadwork.
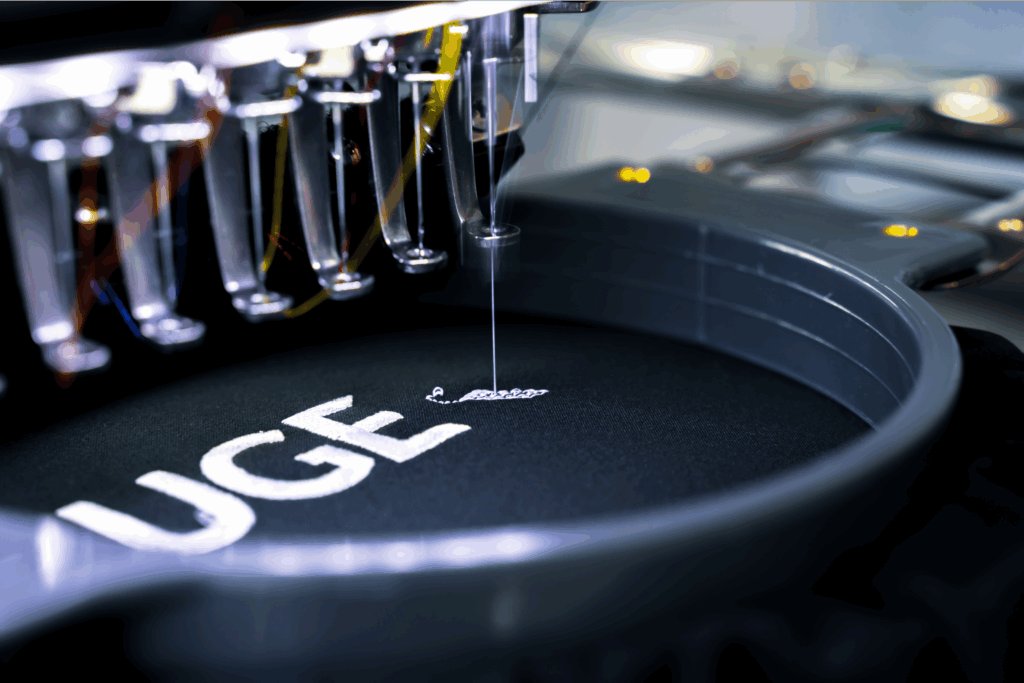
When you upload the artwork to the machine, it translates the embroidery file into commands and sews your design onto the fabric – no need to stitch by hand.
How to digitize your logo for embroidery
Ready to customize your apparel with a logo? Unbox your new embroidery machine or explore our print-on-demand embroidery digitizing and fulfillment service for custom merchandise.
Regardless of the approach, learning how to digitize your own logo for embroidery will help you craft designs to give your brand a luxury advantage.
Follow these steps on how to digitize a logo for embroidery.
Step 1: Check file compatibility
Create your design for embroidery digitizing and prepare the digital file format.
Make sure it’s compatible with the embroidery machine, which varies depending on the manufacturer. See the file specifications below.
Melco commercial embroidery machines
- File Type Compatibility: OFM, DST, EXP
Tajima commercial embroidery machines
- File Type Compatibility: DST, T01, T03, T04, T05
Barudan commercial embroidery machines
- File Type Compatibility: U01, DSB, DSZ, T01, T03, T04, T05
Brother commercial embroidery machines
- File Type Compatibility: PES, PEC, DST
Janome commercial embroidery machines
- File Type Compatibility: JEF, JEF+, DST, SEW
If you use a JPG or PNG file, the machine’s software might not recognize it, as embroidery specs differ from regular print. You’ll need to convert it using embroidery digitizing software like Bernina or Wilcom, or use professional embroidery digitizing services.
Step 2: Download embroidery digitizing software and upload your designs
Start by creating your initial designs using free image editing software like Inkscape or Vectr. Illustrate your sketch, add details, crop out any blank space, and remove the background.
Use vector graphics for the best results, as you can easily scale and manipulate them without losing quality – giving you precise control over shapes and outlines.
Once your design is ready, upload it to embroidery digitizing software, such as Wilcom or Brother PE-Design. It will convert your image into a machine-ready embroidery file, configuring the right stitch types, the maximum stitch length, and color mapping for thread colors.
Step 3: Set design size and dimensions
Make sure your design size and intricacy are feasible for threading.
Consider the product you want to customize with machine embroidery – whether hats, t-shirts, bags, or hoodies.
Note the size and dimension limitations of the item’s design area, as this will guide the machine’s embroidery software during stitching.
Stick with simple design elements, clean vector lines, and clear lettering when digitizing a logo for embroidery. Too many intricate details may look messy and lose its shape once embroidered on a garment.
Adjust your design for different product types and embroidery areas. The smaller the size, the less detail you can add to your logo design. Also, the colors in your design must match the thread colors available in the embroidery machine.
Step 4: Select your stitch type and direction
The stitch type and direction can make or break your design. Each stitch type creates a different textured appearance.
The straight stitch
Also known as the running stitch, this foundational stitch type outlines designs and adds fine details.
Repeating stitches in the same spot will create thick lines, while placing multiple straight stitches close together at varying angles achieves curved shapes.
The fill stitch
Also called the tatami stitch or ceding stitch, fill stitches use alternating lines in a close stitch pattern to fill large blocks of color, giving the design a woven appearance.
The fill stitch will form the base of your design, providing structural integrity to make your logo look uniform and adhere to the fabric.
The satin stitch
Also known as the damask stitch, satin stitching is a dense and flat stitch technique that completely covers the embroidery area.
Due to the longer thread length, satin stitches are responsible for the shiny appearance that makes embroidery look so attractive as a luxury item.
Step 5: Pick your embroidery thread colors

Select thread colors that closely match your digitized logo and avoid gradients altogether, as embroidery works best with solid colors.
Your design color choices should match those available in the embroidery machine. Testing a small sample can help confirm that your chosen colors translate well to the fabric.
Step 6: Transfer the file to the embroidery machine
After settling all the details of your embroidery file, including the final size and stitch direction, the logo digitization process is complete.
Save your embroidery file type in the correct format and transfer it to the embroidery machine via WiFi or USB cable to start the embroidery process.
Step 7: Prepare the embroidery machine and position the fabric
Familiarize yourself with the embroidery machine’s hardware and software.
Once you’re comfortable with the equipment, follow these steps:
- Prepare the machine: Place your machine in a comfortable work area and follow the set-up instructions.
- Position the fabric: Align the garment correctly with your design.
- Select the colors: Thread the colors that match your logo design.
- Choose the right needle: Find the appropriate needle type and size for the fabric.
- Secure the fabric: Place the fabric securely in the embroidery hoop to prevent fabric shifting during the stitching process.
Step 8: Make a sample of your embroidered logo
Creating samples of your logo will help evaluate the accuracy of your embroidery file and digitizing process.
Check the stitch quality, dimensional depth, colors, embroidery design size, and overall look of the finished piece.
If necessary, re-digitize the image for embroidery to adjust the parameters.
Step 9: Start embroidering your products
Now that you know how to digitize embroidery designs – it’s time to bring it to life.
With your digitized file ready to go, start producing your products in bulk and stitch your creativity into profit.
What are the types of commercial embroidery?
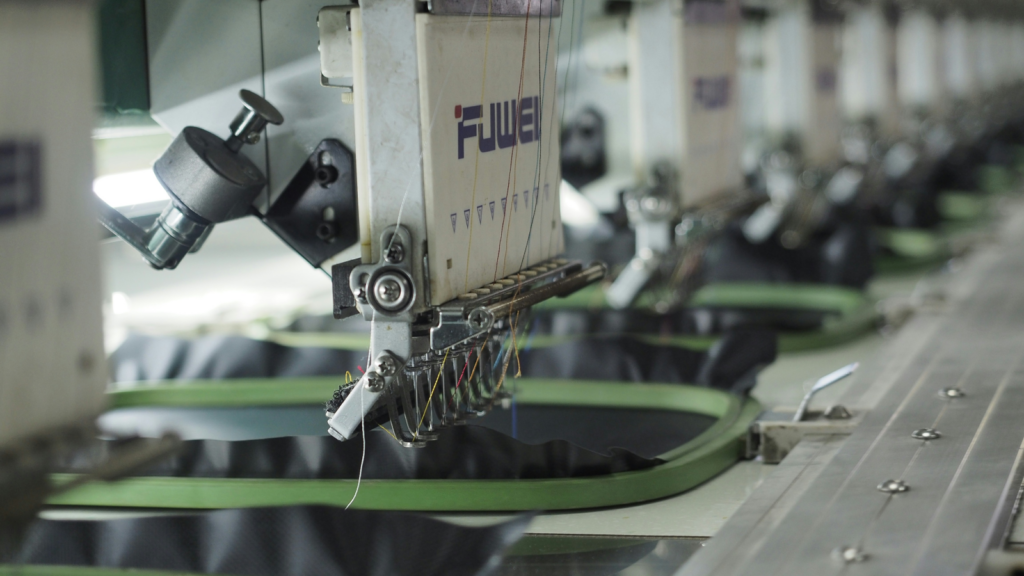
Commercial embroidery is a growing industry that’s perfect to tap into.
Here are various embroidery types to explore:
- Flat embroidery: Applied directly onto a flat surface, like a t-shirt or hat, without any extra materials. It’s one of the most common machine embroidery types.
- 3D puff embroidery: Uses foam or padding beneath the stitching to create a raised, three-dimensional effect for a textured look, especially on hats.
- Appliqué and patch embroidery: Appliqué attaches intricate patches of different shapes and sizes to form a design, while patch embroidery applies entire custom patches directly to the fabric.
- Sequin embroidery: Uses tiny, flat sequins to outline and change the design’s pattern, adding a subtle sparkle to the embroidery.
- Chenille embroidery: Uses soft, fuzzy yarn to create a textured, three-dimensional design, often for a retro or vintage look.
FAQ
Digitize your logo using embroidery software like Hatch or Brother PE-Design. They let you configure the dimensions and stitching for your design and convert your logo into a stitch file. Alternatively, use a professional digitizing service like the one available at Printify.
Convert a logo to an embroidery file independently with both free and paid software. Alternatively, outsourcing the task can cost anywhere between $5 to $100, depending on the design complexity.
Brother PE-Design and Hatch are both beginner-friendly embroidery digitizing software. However, the easiest way to get your logo and text embroidered is by using a professional embroidery digitizer service like Printify to avoid the hassle of at-home digitization.
Many companies offer digitization services, but we recommend opting for an all-in-one solution like Printify for a seamless experience. We’ll digitize your logo and handle the entire embroidery process, so you’ll get a perfect stitch every time.
Conclusion
From design prep to machine setup, logo digitizing for embroidery converts your design into stitch-ready files, perfect for adding a textured element to your products.
While digitizing logos yourself is useful, outsourcing to a service like Printify saves time and achieves a professional quality each time, regardless of the stitch or fabric type.
That way, you get expert digitizing, premium materials, and a seamless production process – making it easier to bring your embroidered designs to life.


