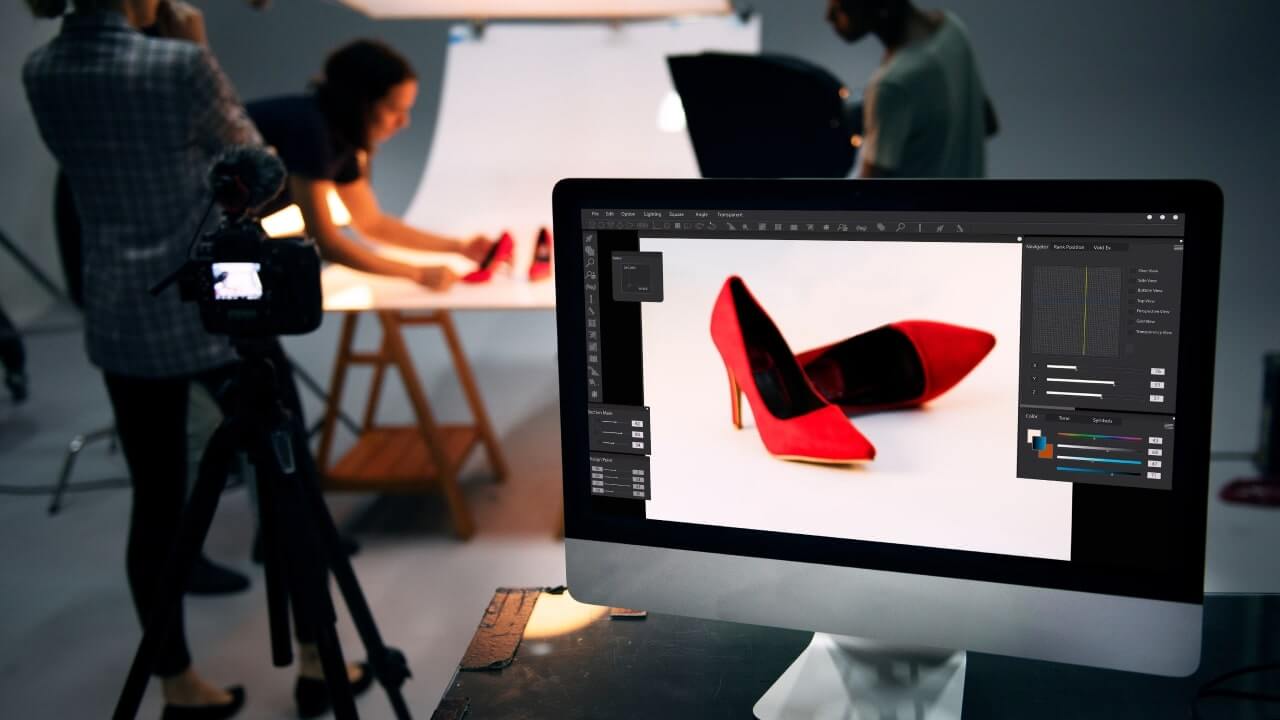
Fresh designs, even fresher profits
Professional product photography is essential for eCommerce success. High-quality product photos attract potential customers and play a key role in building trust and credibility. Since product listings don’t offer a physical experience, photos become the primary interaction.
Whether you’re experienced or just starting out, mastering product photography can significantly impact your online store’s success. This guide will walk you through every step to increase store conversions with great photos, from setting up your photo studio to editing images like a pro.
Ready to elevate your product photography game? Let’s flash through this.
This post may contain affiliate links, which means we may earn a commission if you make a purchase through those links. This comes at no additional cost to you.
Key takeaways
- High-quality product photos are essential for increasing engagement, building trust, and growing conversion rates.
- To create professional product photos, you don’t need to spend a lot of money. All you need is a phone, a white background, and proper lighting.
- Follow detailed steps for setting up your photo studio, adjusting camera settings, and preparing products for a successful shoot.
- Use Adobe Photoshop to enhance your photos with adjustments, framing, brightness, shadows, color correction, and background removal.
- Optimize your images for SEO, mobile viewing, and efficient batch processing to make sure they’re ready for your online store.
Why is product photography important?

Product pages featuring dynamic photos with high image quality are likely to increase engagement, reduce customer return rates, and improve overall eCommerce sales.
Here’s why product photography matters.
- Building Trust and Credibility
High-quality images help build trust by showcasing the product’s details and assuring customers of its quality, especially when the physical product can’t be seen in person.
- Increasing Engagement
Eye-catching photos stand out among crowded product marketplaces, leading to increased engagement. If your photo has a lot of clicks, you can have a higher competitive pricing strategy.
- Reducing Return Rates
Clear and accurate photos set proper expectations, reducing return rates by ensuring customers know exactly what they’re buying, especially with natural lighting and lifestyle photos.
- Supporting Branding and Marketing
Consistent, high-quality images enhance your brand’s aesthetic and can be used across various marketing materials, creating a cohesive brand identity that customers recognize and trust.
What you’ll need to make high-quality photos?
First, brainstorm some great product photography ideas. What will make your photoshoot unique? What does the image aim to accomplish, and how will it relate to your brand aesthetic?
Once you have a sketch or vision, creating stunning product photos requires the right equipment and setup. Here’s what you’ll need:
Phone or camera equipment

Phone: Modern smartphones, like most iPhone or Android devices, have excellent cameras capable of taking high-quality photos, including quality autofocus and exposure settings. Just find a way to stabilize the device, like with a stack of books, if you don’t have a tripod.
Camera: Investing in a good camera can be costly if you don’t already own one. For product photos, DSLRs and mirrorless cameras are ideal – they’re quite compact but provide better image quality and more manual control over settings.
Tripod: A tripod keeps your camera steady and offers consistent framing. For a slightly higher expense, an overhead or glide tripod can let you play with more dynamic shots.
White background or light box
White Background: A white background eliminates distractions and makes the product the focal point. It also makes post-production easier if you want to remove the background. You can use a seamless white paper roll, which is cheap and available in various sizes for your needs.
Light Box: A light box provides a controlled environment with even lighting. It’s especially useful for small to medium-sized products, covering all angles in detail. While this is a larger expense, options that include LED lights and background colors can create more dynamic shots.
Lighting
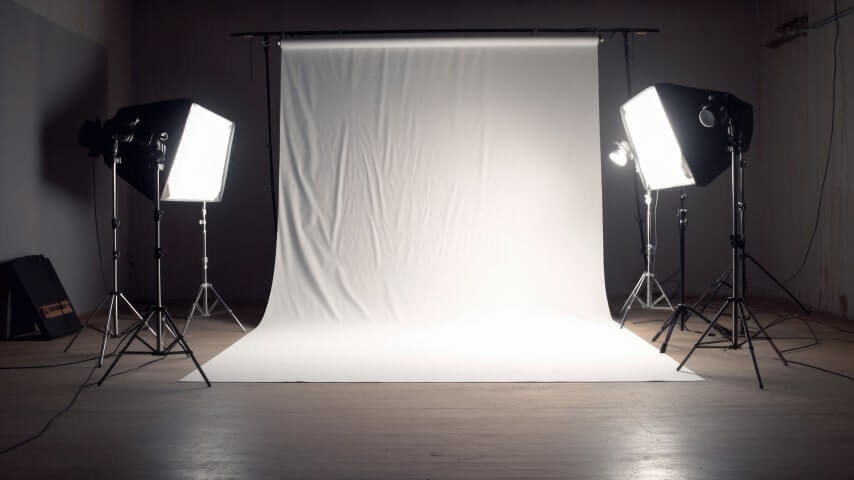
Natural Light: Natural light can be a fantastic, cost-effective option. Shoot near a large window and use reflectors to bounce light and reduce shadows.
For example, shooting in the morning or late afternoon provides soft, diffused light that’s perfect for product photography. Natural lighting often produces softer shadows and a natural look.
Artificial Light: Use studio lights, softboxes, or continuous lights if you want a 24/7 studio for larger projects. Light tents can also help by diffusing light and minimizing harsh shadows.
Additional accessories
While not necessary, some additional accessories can enhance your workflow:
Reflectors: Reflectors bounce light back onto the product to reduce shadows and highlight details, which is essential for even illumination.
Backdrop Stands: Backdrop stands hold backgrounds securely, ensuring a smooth, wrinkle-free surface for a consistent look.
Props and Styling Items: Use props and styling items, such as decorative pieces or lifestyle shots, to enhance the product’s appeal and context in photos. Or stick to product-only images.
How to take professional product photos?
1. Get your setup ready
Arrange your camera, white background, and lighting. The product photography setup must be stable and well-positioned. This will help you focus and keep your workplace organized.
Follow these steps for a quick photography studio checklist:
- Choose Your Location: Select a space with enough room to accommodate your equipment and allow for easy movement around the product.
- Set Up Your Background: Use a white background or lightbox to eliminate distractions and focus attention on the product. Make sure the product is well fastened.
- Arrange Your Lighting: Position your setup near a large window for natural light or use studio lights with softboxes and tents to diffuse artificial light and minimize shadows.
- Position Your Phone or Camera: Prepare your phone or camera by setting it up at an appropriate level and positioning it at the right height and distance from the product.
2. Adjust your camera
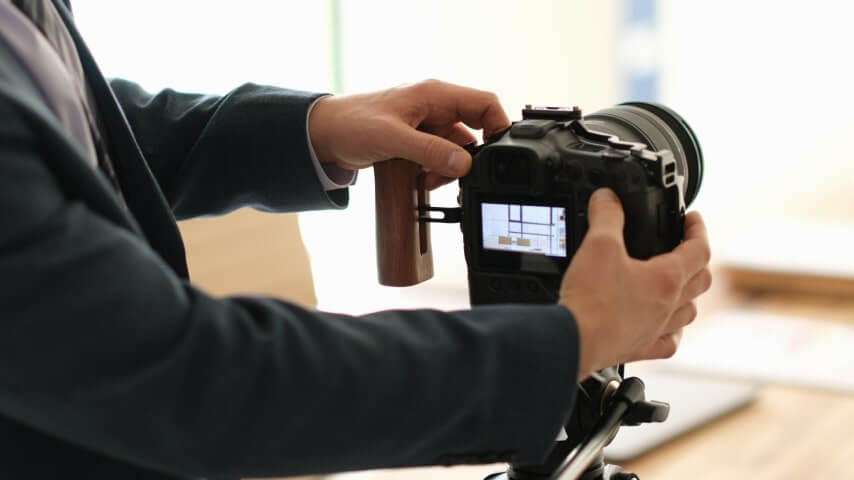
Use these settings to capture great product photos with your phone:
- Focus and Exposure: Tap the screen where the product is to focus and set the exposure. Slide your finger up or down to adjust the brightness as needed.
- Zoom: Avoid using digital zoom as it can reduce image quality. Instead, move closer to the product to fill the frame.
- HDR Mode: If available, use High Dynamic Range (HDR) mode to capture more detail in both bright and dark areas.
- Grid Lines: Turn on grid lines in your camera settings to help with composition and alignment. Use the rule of thirds to place your product off-center for a balanced shot.
- Flash: Avoid using the phone’s built-in flash, as it can create harsh shadows. Instead, use external lighting sources for a more natural look.
If you’re using a camera, set it to manual mode. Adjust the shutter speed, aperture, and ISO to suit your lighting conditions. Here’s a more detailed look at advanced camera settings:
- Shutter Speed: Slower shutter speeds let more light into the camera, which is useful in low-light conditions. For instance, a shutter speed of 1/60 can help in dim lighting.
- Aperture: A wider aperture (lower f-number) creates a shallow depth of field, making the product stand out against a blurred background. A narrower aperture (higher f-number) keeps more of the product in focus. For example, an aperture of f/2.8 creates a nice bokeh effect (soft, out-of-focus background), while f/8 keeps the entire product sharp.
- ISO: A lower ISO setting reduces noise and keeps the image clean. Increase ISO only if necessary to maintain a well-exposed shot. An ISO of 100-200 is ideal for most well-lit conditions.
3. Prepare your products
Getting your products ready can be time-consuming but is key to capturing great photos. This is the cleaning, inspection, placement, and preparation stage of successful product photography.
Follow these steps to make sure your products shine:
- Clean Thoroughly: Wipe down products to remove dust, fingerprints, and smudges using a microfiber cloth and a small brush for intricate details.
- Clear the Area: Remove any unwanted objects from the frame to avoid distractions.
- Inspect for Flaws: Check for damages or defects, iron out clothing, and ensure glossy items are smudge-free.
- Arrange Properly: Position the product in the center of your white background or lightbox; use stable and complementary props.
- Check Composition: Use the rule of thirds to make the product the focal point and adjust the setup to enhance the composition.
4. Snap and check
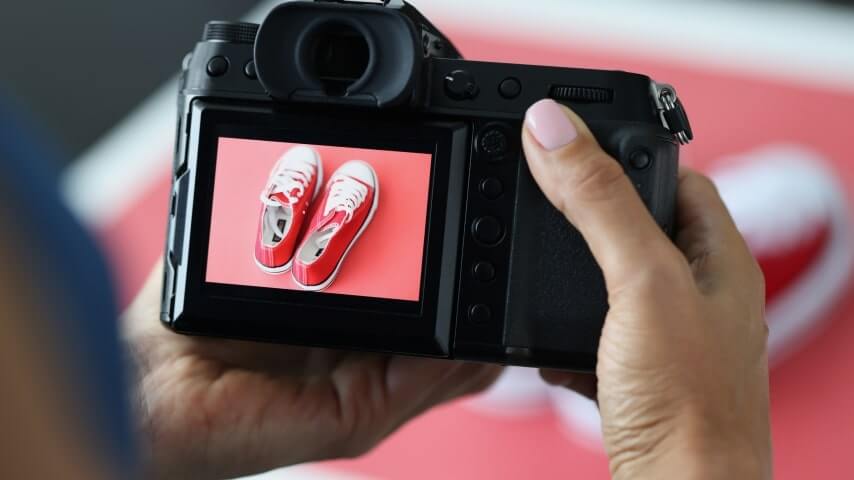
Take multiple shots and check images for clarity, focus, and proper lighting. Adjust settings if needed and reshoot until you get the perfect shot. Take your time, it will work.
Here are some tips to consider during the process:
- Different Angles: Capture the product from multiple angles to provide a complete view. This includes front, back, sides, and close-up shots of details. For example, if you’re photographing a handbag, include shots of the interior, zippers, and any unique features.
- Consistent Framing: Ensure all shots have consistent framing and composition. This helps maintain a professional look across all your product images. Using placement tape or a grid overlay on your camera can help with alignment.
- Lighting Adjustments: Move your lights or adjust their intensity to eliminate harsh shadows and highlight important product features. Using a softbox to diffuse light can help create a softer, more flattering light.
For more information, resources, and tips on how to take product photos, check out our guide.
Make your product pictures stand out with Adobe

Adobe Photoshop is the industry standard for any professional product photographer. It’s a powerful photo editing tool for enhancing product pictures. While many photo editing software options are available at different prices, if you know Photoshop, you can learn anything.
Check out the official Photoshop tutorials for more resources on photo editing.
Here’s how to use Adobe Photoshop effectively as a professional photographer:
1. Adjust framing
Crop and straighten your images to focus on the product and eliminate distractions. Use the crop tool to ensure the product is centered and properly aligned. Straighten any tilted images for a professional finish. Make sure the adjustments don’t distort the quality of all your pictures.
2. Edit brightness and shadows
Adjust brightness and shadows to guarantee the product is well-lit and details are visible. Use the Levels or Curves adjustments to fine-tune the exposure. Increase brightness if the image is too dark, and adjust shadows to reveal hidden details without overexposing the highlights.
3. Proceed with color correction
Correct any color imbalances to make the product appear as true to life as possible. Use the Color Balance or Hue/Saturation tools to adjust the colors. Make sure the product’s colors match its real-life appearance to avoid misleading customers.
4. Use spot healing where necessary
Remove any blemishes or imperfections using the spot healing brush. This tool is excellent for eliminating dust, scratches, or minor defects. Zoom in to work on small areas and achieve a flawless finish. This form of image editing is vital for presenting a polished final product.
5. Remove backgrounds
Use the magic wand tool to select and remove the background, leaving you with a crisp, white background image. This technique is particularly useful for creating clean, professional-looking product photos. Smooth the edges of the selection to avoid a jagged appearance.
If you want a free alternative, try Adobe Express for quick photo editing and a smaller learning curve.
5 tips to make great product pictures

Here are some additional product photography tips to enhance your product shots:
1. Optimize images for SEO
Use descriptive file names and alt texts to help search engines understand and index your images, improving your product’s visibility in search results.
For example, instead of naming your file “IMG1234.jpg,” use “handmade-leather-wallet.jpg” and write alt text like “Handmade leather wallet with multiple card slots and premium stitching.”
2. Use web-friendly export settings
Export images in a format that balances quality and load speed. JPEG is commonly used for its compression efficiency, while PNG is preferred for images with transparent backgrounds.
Ensure the file size is optimized to prevent slow loading times on your website. For instance, export images at 72 dpi for web use and keep the file size under 200KB.
3. Don’t over-edit
Keep edits minimal to maintain the product’s authenticity. Over-edited photos are a big sign that a company doesn’t believe in its own product. Focus on enhancing the image without altering the product’s true appearance.
Adjust brightness and contrast, but avoid changing the product’s color or texture. Good lighting, a thorough cleaning, and an attractive color palette with props are all a much better idea.
4. Optimize for mobile
Since most customers browse and purchase through smartphones, make your images look great on mobile devices. Adjust sizing or use image conversion plug-ins on your online store.
Test your photos on different devices and screen sizes so that they display correctly and maintain high quality.
5. Batch process for efficiency
Use batch processing to edit multiple images simultaneously. For example, if you need to adjust the brightness of 50 images from the same shoot, easily do so with batch processing.
This is particularly useful when you’re shooting products for your entire eCommerce store catalog in one go. Adobe Photoshop’s batch processing feature can apply the same adjustments to all selected images, i.e., if you have an issue with lighting during shooting.
Sell picture-perfect products with Printify
Printify makes it easy to sell products with stunning graphic designs or photography.
Explore custom products and get samples for professional photos – create, order, and shoot product photos to make a stunning catalog for eCommerce websites with ease. Don’t have time to take a product photo? Design with Printify and use our quality mockup images for your listings.
Here’s how to sell:
1. Sign up
Create an account with Printify and explore the platform. Familiarize yourself with the tools and features available to help you manage your products, designs, and orders efficiently.
2. Select and design your products
Choose products from the Printify Catalog and customize them with your designs using our free Product Creator software. Printify offers a wide range of products, from apparel to home decor.
3. Decide where to sell
Integrate Printify with your preferred eCommerce platform, such as Shopify or Etsy. Our online platform partnerships streamline the listing process for your eCommerce website.
4. Let Printify do the rest
Our printing network handles production and will ship products automatically so you can focus on marketing and growing your business.
When shopping online, let your customers see true-to-life product photos from high-quality wholesale brands without having to manage inventory and logistics.
FAQ
Product photography involves taking images of products to showcase them for marketing and sales purposes. It’s a critical component of creating product listings for an eCommerce store, which helps customers make informed purchasing decisions.
Set up a studio with proper lighting, background, and camera equipment. Take multiple shots and edit them for the best results. Ensure your images are clear, well-lit, and accurately represent the product.
Costs vary, but professional product photography can range from under $100 for one or multiple photos to hundreds of dollars per image. Factors affecting the price include the photographer’s experience, the complexity of the shoot, and the number of products.
You need a good camera, tripod, white background, proper lighting, and photo editing software to learn how to take product photos effectively. Additional accessories like reflectors and backdrop stands can enhance the setup.
Yes, product photographers can make a lucrative income, especially if they specialize in eCommerce photography. Knowing how to take good product photos professionally can lead to higher rates and opportunities to work with prominent brands.
To summarize
Once you understand the importance of high-quality images, the right equipment, and a structured setup and process, you’ll be on your way to mastering product photography.
Use Adobe Photoshop for post-production enhancements and work with Printify for free to access a seamless eCommerce product integration with hundreds of unique wholesale items.
Ready to take your product photography to the next level?


