


Custom products, global reach
To add a product to Shopify, log in to your Shopify admin and go to the Productssection.
From there, click Add product. You’ll enter the product’s title, write a description, add tags, assign product categories, edit listing previews, and upload high-quality images. Next, you’ll set pricing, manage inventory, and configure variants like size or color.
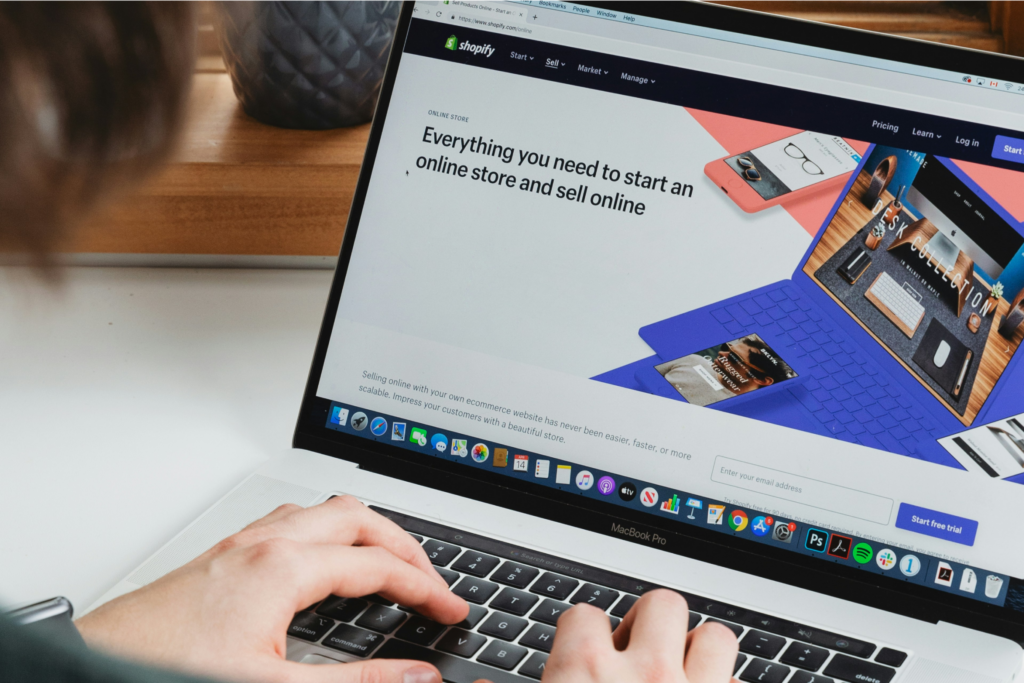
If you’re new to eCommerce, finally launching your first Shopify store, or leveling up an existing business, this guide’s got your back. We’re breaking down every step – clean, simple, and built for real sellers.
Step-by-step guide: How to add products to your Shopify store

Step 1: Log in to your Shopify admin dashboard
After setting up your Shopify store, log in to your account and open your admin dashboard – the control center where you manage products, orders, customers, and every sales channel. From the left sidebar, click Products to access your listings.
To find your admin dashboard:
- Go to Shopify.com
- Click Log in in the top right corner
- Enter your email and password
- Select the store you want to work on
Before moving on, make sure your account is verified and that you have permission to add new items. If you’re working with a team, invite staff under Settings → Users and permissions.
Turn on two-step verification. It takes seconds and protects your store and customer info while you build.
Step 2: Start your first listing
To start your first listing, click Products, then hit Add product in the top-right corner. This opens the editor where you’ll create your item and customize everything from images to pricing.
If you’re using POD for Shopify, some products will auto-sync into this area. Still, review each one – titles, images, pricing, tags, where it’s published – so your listing looks right across all sales channels.
Step 3: Add a product title and description

Your title and description set the tone for your entire Shopify product listing. They’re the first things customers read, and they heavily impact SEO and conversions – so keep them sharp.
What to write in the product title
A strong title is short, specific, and written the way a shopper would search for it. Include the product type and one detail that sets it apart – material, color, or style.
For example:
- Bad: Black t-shirt
- Good: Men’s Classic Cotton T-Shirt – Black
Focus on essentials like:
- The product type (e.g., mug, hoodie, phone case)
- Key features (material, color, size, use case)
- Tags or keywords (for better search results)
What to include in the product description
Your description should answer every question a customer has before buying. Keep it scannable with short sentences and bullet points, and highlight details that impact real-world use.
Include:
- Features and specs
- Benefits and use cases
- Fit or sizing info
- Materials and care instructions
- File delivery info for digital items
- SKU or internal codes (optional)
Shopify’s AI writing assistant can draft a starting point, but always edit it so it sounds like your brand and gives customers what they actually need.
A good description doesn’t just describe – it sells. Write like you’re helping a human standing in your store choose the right item.
Step 4: Upload product images and media files
Your product photos are your store’s handshake. Taking good product photos instantly builds trust, tells a story, and sets expectations. Blurry, dull photos? They make even great items look sketchy and cheap.
Best practices for product images:
- Use square images (1:1 ratio), ideally 2048 × 2048 pixels
- Show multiple angles
- Include at least one lifestyle shot that shows the product in use
- Keep backgrounds clean and consistent for a professional look
- Compress images so they load quickly without losing quality
For example: A simple mug listing becomes way more convincing when you add a close-up, a side view, and a lifestyle shot of someone holding it. More angles = fewer doubts.
Adding videos and 3D models
In the Media section, upload videos (MP4 or MOV) or 3D models (GLB or USDZ). Keep files lightweight. Videos illustrate scale or movement; 3D models let customers rotate and inspect the item directly on your site.
Don’t forget alt text
Every image needs descriptive alt text. It helps search engines understand your media and makes your store accessible to shoppers using screen readers. Write alt text like you’re explaining the image to someone who can’t see it.
Aim for 3-5 solid photos per product. Fewer than three leaves people guessing; more than eight overwhelms.
Step 5: Set pricing, cost, and inventory

Once your visuals are ready, set up your pricing and inventory. These numbers shape your margins, discount displays, and how smoothly your orders move through your store.
Pricing basics
In the product editor, scroll to the Pricing section. Add:
- Price – what the customer will pay
- Compare-at price – a higher number to show discounts (optional)
- Cost per item – what it costs you to produce or source the product
Shopify uses these fields to automatically calculate your margins. If you plan to run sales later, adjusting the Compare-at price is the easiest way to show a markdown.
Check out our detailed product pricing guide for strategies on setting profitable prices.
Tracking inventory
Scroll down to the Inventory section. Here you can:
- Enter a SKU or barcode for tracking
- Show how many items are available in stock
- Choose whether to allow selling when out of stock
- Assign inventory to a specific location if you manage multiple warehouses
For example, a t-shirt could have 50 units in stock. Once those are sold, Shopify can either stop sales or continue accepting orders (useful for print-on-demand (POD) setups).
Before you publish, double-check your margins. Tiny costs – packaging, shipping, subscription fees – add up fast.
Step 6: Configure shipping settings
If you’re selling a physical item, proper shipping details aren’t optional – you must get it right. This is where Shopify calculates delivery costs and makes sure your customers see accurate rates at checkout. Think of it as the small setup step that saves you from support headaches later.
Shipping setup
In the Shipping section of your product editor:
- Check This is a physical product
- Enter the product’sweight (this is what rates are based on)
- Add an HS code for international shipping if needed – Shopify can suggest one
- Choose your fulfillment location if you ship from more than one spot
For POD sellers
If you work with POD through a partner like Printify, your shipping details sync automatically. Still, review the rates and delivery expectations so everything matches what your supplier charges.
Test your checkout with a few different addresses. It takes one minute and instantly tells you whether your shipping setup actually works on the front end.
Step 7: Organize products with tags, types, and collections
This is where your product stops being “just another item” and starts fitting into the flow of your store. A well-organized listing helps customers find what they want faster – and helps you keep your catalog clean as you grow.
Tags
Tags act like internal keywords for your store. They help with search, filtering, and automated collections.
- Add 5-15 relevant tags per product
- Use descriptive terms like cotton, unisex, summer, eco-friendly
- Stay consistent – decide on a tagging system and stick with it
Too few tags and products won’t appear in collections. Too many (20+) and your backend becomes cluttered.
Product type
Each product gets one clear type – hoodie, poster, mug, phone case. Shopify uses this field to group your items, helping you create a cleaner backend. Pick something accurate and stick with the same phrasing across your catalog.
Collections
Collections are like the aisles in your store. Choose whether this item belongs in an existing one – like New Arrivals or Bestsellers – or build a new one.
Manual collections let you add products one by one. Best for small, curated groups like Bestsellers.
Automated collections are added based on rules, like tag = summer or price < $30. Perfect for scaling.
Three more organizational tools live in this section:
- Product status: Draft, active, or archived. Only active products are visible in your store
- Sales channels: Decide where the product is published – online store, connected to social channels like Instagram or TikTok, or even point of sale
- Vendor: Your product supplier. Leave it blank, use your own brand name, or add supplier details, depending on your business method
Before moving on, review everything to ensure the item appears exactly where you expect it to. A few seconds here saves you from customers thinking, “Hey, I can’t find it.”
Keep your catalog organized from day one. Set a system once and stick to it – your store will scale smoother, and your customers will find products faster.
Step 8: Optimize the SEO preview and save

Before you hit publish, you’ll want to take a second and improve Shopify SEO details for your product. This is how search engines understand your product, and it’s how real shoppers find you without ads. Think of this step as giving Google a roadmap that actually makes sense to a human.
Edit the SEO preview
Scroll to the Search engine listing preview section. Here, you can:
- Update the page title (shows on Google search results)
- Write a short meta description (use 150-160 characters, focus on benefits)
- Adjust the URL handle (keep it clean and keyword-friendly)
These fields don’t need fancy copy – they just need to be clear, accurate, and helpful. For example, in a URL instead of /product-001, use /cotton-tshirt-black.
Add structured basics
This area is also where you verify your product’s identity with small details that help search engines review and categorize the item. If your product uses a special code, include it here. If you’re preparing a digital product, double-check that the filename still matches what you want shoppers to see.
Before you move on, verify everything
Take a minute to verify your title, meta description, and URL. These tiny fields do more than you think – they help search engines respond correctly when someone searches for your item.
You’re not writing a novel here. You’re giving search engines the clearest possible data so they can continue ranking your products higher and help shoppers find exactly what they’re looking for.
Read your title and description out loud. If a human understands it instantly, you’re good. If not? Adjust it until it sounds like something you’d actually say in a conversation.
Key takeaways: Tips for Shopify product success
- Use clear, searchable titles and write human, helpful product descriptions
- Upload sharp media files, show multiple angles, and add at least one lifestyle shot
- Keep your alt text descriptive so search engines can connect your product to the right searches
- Review your variants, product type, tags, and sales channel visibility before publishing
- Verify your SEO fields whenever you update titles, tags, or photos
- Maintain a consistent visual style across your catalog for a trustworthy brand identity
- Test your checkout, shipping rates, and delivery options with different addresses to confirm everything works
- Keep a simple log of changes so you can review what improved performance over time
- Refresh older listings with updated photos, tighter copy, and better keywords
- Refine your tags as trends shift to keep products discoverable
FAQ
To add products fast: Log in to your Shopify admin, click Products, then Add product. Fill in the title, description, media, inventory, shipping, and organization details. Before you save, review your SEO fields so search engines can establish the right connection between your product and what people look for.
Yes. You can create your own items, upload a digitalfile, or sync print-on-demand products through an applike Printify. Whether it’s handmade, designed, or produced through a supplier, Shopify gives you the tools to publish and manage almost any type of product.
You’ve got a few options:
- Make your own products
- Work with suppliers or wholesalers
- Use print-on-demand services like Printify
Each method involves different fulfillment flows and forms a distinct connection to how you handle stock, shipping, and future updates. As you test different approaches, continuechecking and doubling down on what works best for your setup.
Transaction fees depend on your plan. For example, the Basic plan charges 2.9% + 30¢ per sale. Higher-tier plans offer lower fees. Before you launch, reviewyour plan’s rates, so you know exactly what you’ll pay.
This depends on your location and what you’re selling. Many regions require a license if you plan to collect sales tax. It’s always smart to verify your local rules before you start. A quick review now saves you headaches down the road.
Focus on the basics:
- Clear titles with keyword-rich text
- High-quality images with alt text
- Consistent tags
- A clean page title, meta description, and URL
These listing areas help search engines respond correctly to shopper queries and improve how your product shows up on results pages.
Improvement never stops – real sellers continuerefining their listings as they learn what works.
- Review sales data monthly
- Update copy with fresh keywords
- Swap old media files with stronger ones
- Test new pricing strategies
- Rework tags as trends shift
Each change gives you more data to review, helping you build momentum over time. Keep a simple update log, so you know what moved the needle.
Conclusion
Adding products in Shopify isn’t complicated once you’ve seen the flow. You log in, build out your item, drop in your media files, and fine-tune the details that help search engines and real humans understand what you’re selling.
From here, continue improving every listing you publish – whether that’s tightening titles, refreshing photos, or taking a minute to reviewwhat’s already performing well.
As you add more items, your workflow speeds up, your style gets clearer, and your catalog starts to feel like a real store. Keep experimenting, keep learning, and verify your details as you grow. You’re building something real – and now you know exactly how to keep it moving.