Start your custom printing business today!
Looking to level up your print-on-demand (POD) business? Say hello to Adobe Express – your ultimate design sidekick.
Packed with intuitive tools and powerful AI, it’s your one-stop shop for creating jaw-dropping product mockups, standout marketing materials, and scroll-stopping designs.
Whether you’re just starting out or a seasoned pro, these tips will transform your workflow and amp up your brand.
This post may contain affiliate links, which means we may earn a commission if you make a purchase through those links. This comes at no additional cost to you.
1. Maximize template use
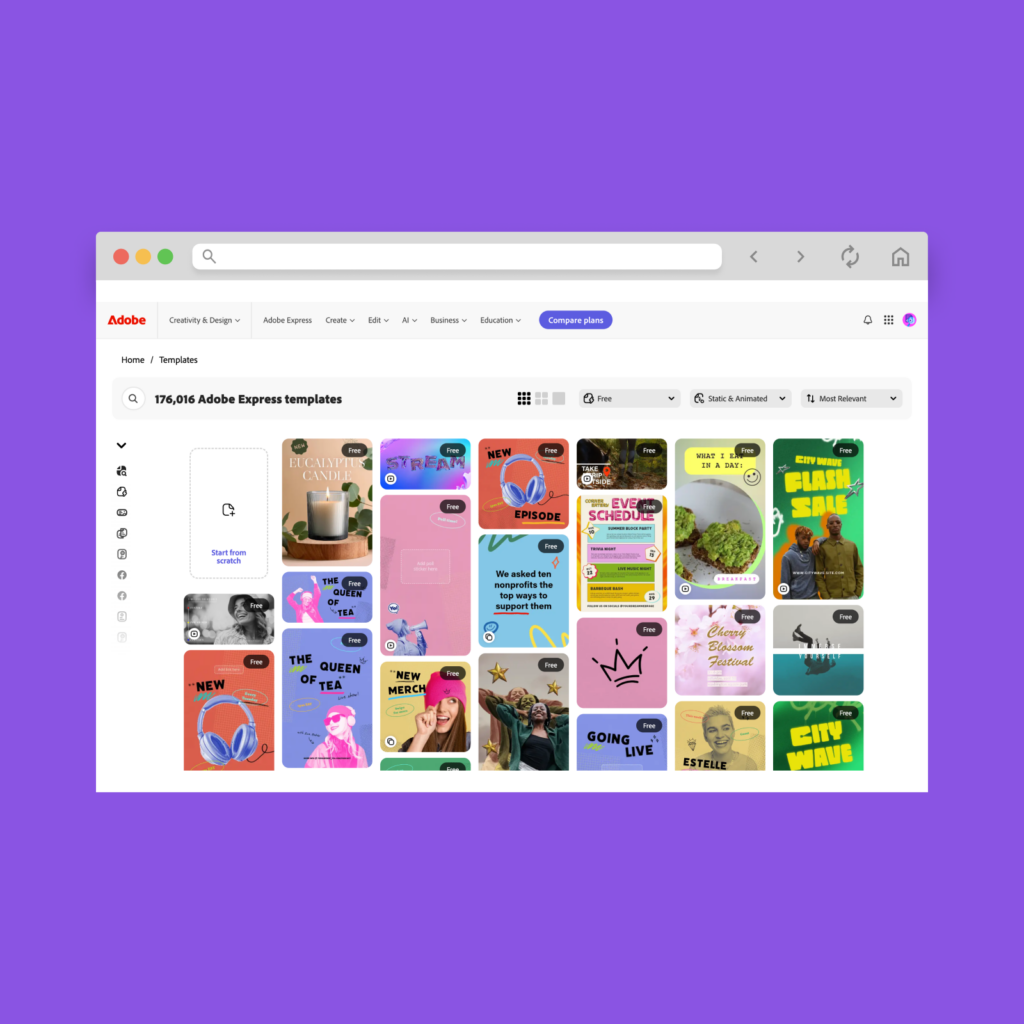
Adobe Express provides an extensive collection of pre-designed templates. They save time and effort, but the real benefit lies in customization.
Use Adobe Express with Printify to create your product design and branding assets.
Navigate to the Templates section on the homepage. This lets you search for templates by category, such as social media posts, flyers, and logos, or filter based on themes.
Here are the basic steps for customizing Adobe Express templates:
- Select the right template: Whether you’re designing a marketing flyer, a social media post, or a product mockup, choose based on your project’s design category.
- Customize fonts and colors: Switch out the default settings for your brand colors and preferred typography to maintain consistency across your designs.
- Play with the layout: Don’t be afraid to rearrange elements within the template. Move images, adjust text blocks, and remove unnecessary sections.
Let’s discuss design specifics with our list of template do’s and don’ts.
| Do | Don’t |
|---|---|
| Define your audience: Focus on their motivations and preferences to align your visual branding. | Design for everyone: Trying to please everyone weakens your brand. Focus on a niche. |
| Create a purposeful hierarchy: Use size, color, and spacing to guide attention. | Overemphasize everything: Avoid equal emphasis. Choose one standout element. |
| Select complementary fonts: Pair header and body fonts that work well together. | Use too many fonts: More than three fonts can create clutter. |
| Plan a consistent color palette: Choose colors that evoke the right emotions. | Overuse vibrant colors: Use bold colors sparingly to avoid overwhelming the design. |
| Refine the details: Use proper spacing, alignment, and visual balance. | Ignore white space: Don’t overcrowd elements. White space improves focus and readability. |
Learn from Adobe and explore more design tips to get the most out of your creative projects.
2. Keep your projects organized
Adobe Express’ intuitive interface helps you organize your work. Easily handle projects across platforms through cloud-based storage and smart file management. Here are the key organizational features:
Cloud-based access: Access projects from any device and switch between them seamlessly.
Project syncing: Changes show automatically across devices, keeping designs up to date.
Template organization: Save and organize templates for use across projects.
Auto-save: Never worry about losing your design progress.
Shared libraries: Collaborate with teams by accessing shared assets and designs.
Asset management: Categorize images and graphics in collections for faster access.
Organize projects on Adobe Express effectively by using these strategies:
- Label files. Use clear, descriptive names that explain the content and purpose of each file.
- Track versions. Label different versions of your designs to easily revisit previous iterations, especially when handling revisions.
- Use subfolders. Creating subfolders within the main project folder helps organize designs by specific categories.
- Leverage tags. Use tags to quickly identify each design’s status. It lets you prioritize tasks at a glance and makes it easier to track progress.
- Archive completed projects. Once a design is final, move it to an archive folder to keep your workspace clean.
3. Use logo creator tools for branding
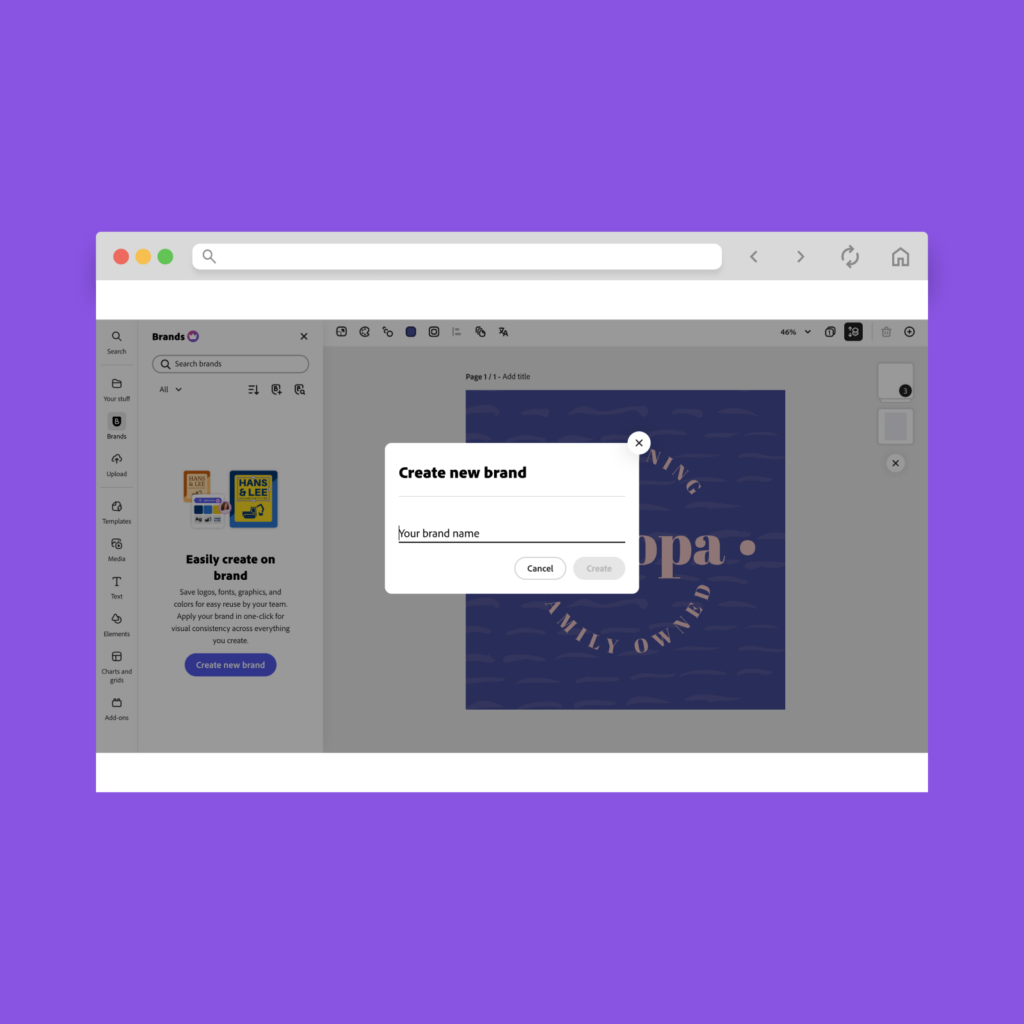
Adobe Express simplifies applying your brand’s visual identity across designs. Use the built-in branding tools to store and apply logos, colors, and fonts in just a few clicks.
Option 1: Create a Brand Kit from an existing library
If you already have a brand library from Photoshop or Illustrator, Adobe Express lets you convert it into a Brand Kit. Here’s how:
- Open Adobe Express: Navigate to your Home or Editor view.
- Access Libraries: Choose Your Stuff → Libraries from the menu.
- Select your library: Click on Use as Brand to convert a library into a Brand Kit.
Then, organize your assets by right-clicking on them and editing tags:
- Colors: Specify the primary and secondary colors essential to your branding.
- Font type: Tag your fonts as header or body to streamline usage.
- Logo: Tag the graphic and move it to the designated logo section.
Once converted, your brand elements will appear in the Brands tab of Adobe Express. They will still remain in your other Adobe apps.
Option 2: Create a Brand Kit from scratch
If you’re starting fresh, you can upload logos, colors, fonts, and graphics directly into Adobe Express. Here’s how:
- Navigate to the Brands section: From Home or the Editor, click on Your Stuff → Brands. Choose Create Brand, type in a name, and hit Create.
- Upload your logo: Adobe Express supports formats like JPEG, SVG, and AI. To add multiple logo variations, click the Plus (+) icon.
- Add brand colors: Use the Color Picker to choose or enter the HEX codes. Click the Plus icon to add more colors, then rename them from the menu.
- Select or upload fonts: Choose fonts from the dropdown menu or upload custom fonts, and assign them for headers and body text.
- Upload graphics: Click on the three dots on each graphic tile to rename, delete, or organize files.
- Create brand templates: Click Create a Template, name the file, and save it as a brand template. Then, choose the brand or library where you want to store it, and hit Save.
4. Edit easily with effects, filters, and other tools
Refining your design with Adobe Express’ built-in effects is simple. Even the smallest edits, like adding a filter or adjusting lighting, can completely transform the impact of a visual.
Instead of diving into complicated software, you can make these tweaks intuitively.
Select a photo on your canvas to access its properties. Start with Opacity and Blend, then move to the Effects menu for Greyscale, Darken, Duotone, and other customization options.
Adobe Express’ Adjustments panel offers a range of tools to help you fine-tune photos for maximum impact. These are some of the most useful adjustments:
- Opacity: Control image transparency or boldness. Lower the opacity to blend your photo into the background, or increase it for sharper visuals.
- Blend modes: Experiment with modes like Multiply, Overlay, or Screen to merge colors and patterns. Each mode gives a different effect, from adding depth to subtle lighting.
- Contrast and highlights: Use these sliders to adjust the light and dark areas of your image. Boost contrast for sharper photos, or lower it for a softer, more muted look.
- Color saturation: Increase saturation to make colors more vibrant or decrease it for a more subdued, neutral tone.
- Brightness and shadows: Balance the overall lightness of the image while fine-tuning shadows to add depth and emphasize key areas.
Stick to subtle changes when editing and keep it simple and clean. Over-editing can distract from your design’s intended message.
5. Animate images and text
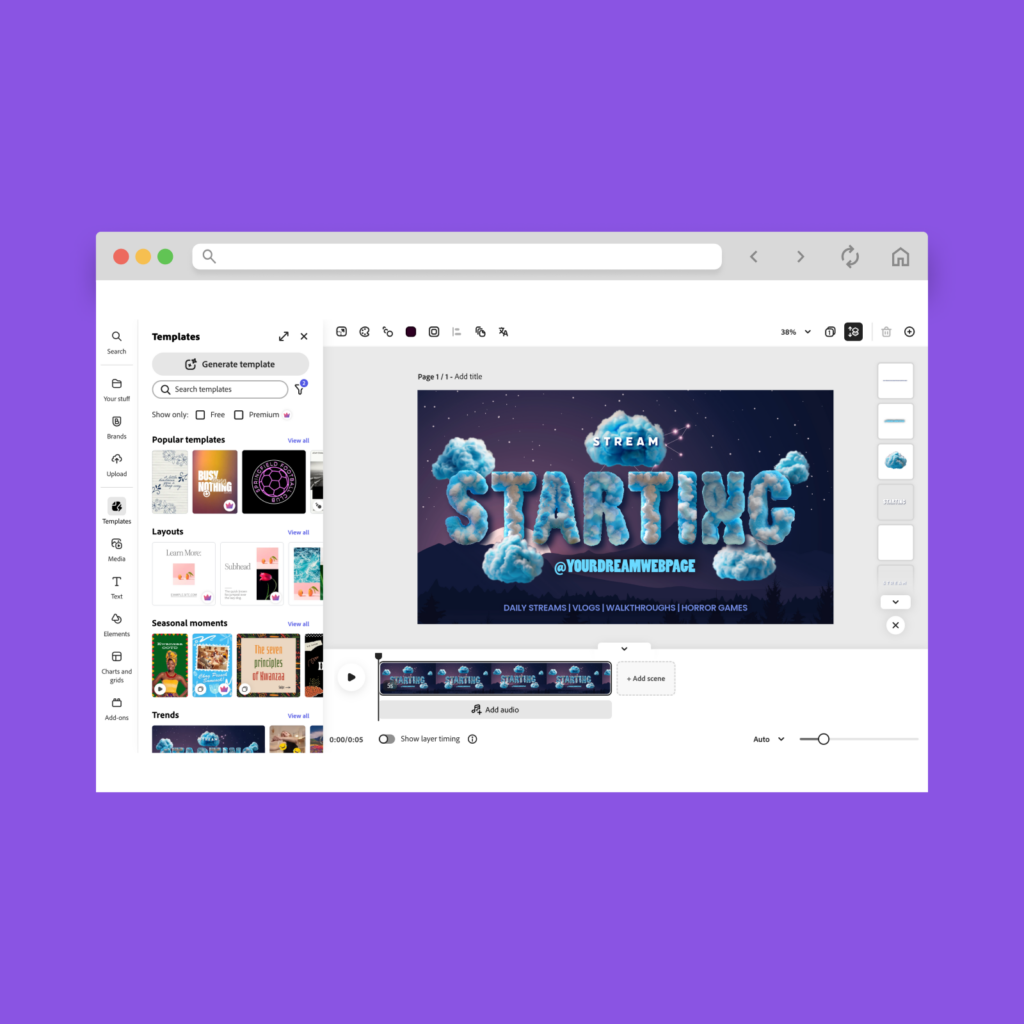
Animations can transform static designs into dynamic, attention-grabbing visuals. It’s especially useful for social media, ads, or product displays.
Bring text, photos, and even videos to life in a few clicks:
- Select your design element: In the Editor, click on the text, photo, or video you want to animate.
- Open the Animation panel: Scroll down to the Animation option on the left side of the screen.
- Choose your animation type: Adobe Express offers three main options – In, Out, and Looping:
- In animation: Make text appear one letter at a time or have an image zoom in.
- Out animation: Have text disappear letter by letter or make an image zoom out to reveal a new visual.
- Looping animation: Continuously animate background elements or create a subtle bounce effect for logos or icons.
- Customize the animation: Adjust settings like speed, direction, and timing to match your design needs.
Using animations effectively is all about enhancing your design without overloading it:
- Animate key text: Draw attention to headlines or promotional offers by making text fade in or out or using a looping animation for extra emphasis.
- Bring photos to life: Use the zoom or slide-in effect to introduce product images in a more engaging way, especially in product advertisements or social posts.
- Looping animations for backgrounds: For background elements, subtle continuous movement adds depth to your design without distracting from the primary message.
6. Remove backgrounds with AI
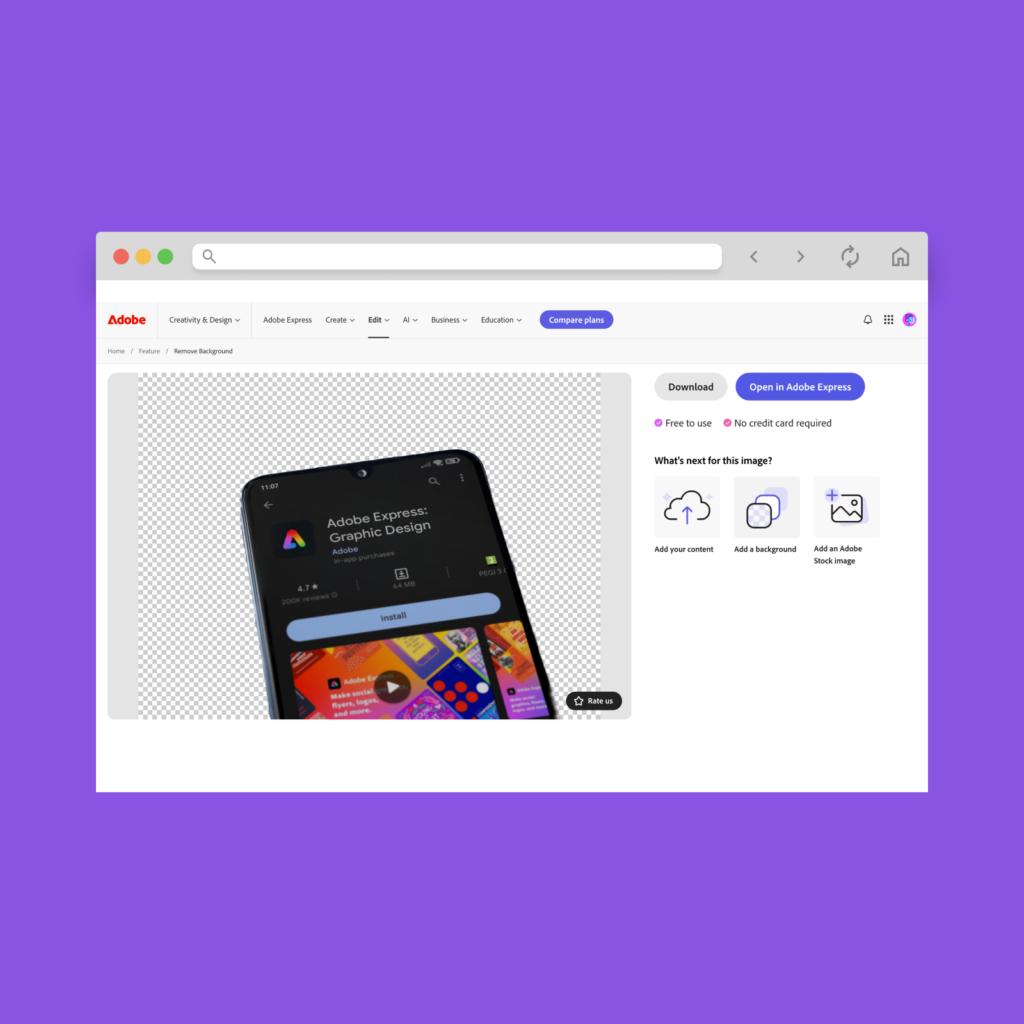
Adobe Express’ AI-powered background remover is an efficient way to create professional-quality images by quickly isolating your subject. It’s ideal for product photos, marketing visuals, or social media posts.
How to use the AI background remover:
- Select your image: Choose a photo with a clear subject and defined edges for best results.
- Upload: Adobe’s AI instantly analyzes and removes the background, resulting in a clean cutout.
- Download or start editing: Save your image as a PNG with a transparent background or continue working on it in Adobe Express.
For product photography, always inspect the edges of your cutout to refine any rough spots.
7. Animate using audio
Adobe Express’ voice animation lets you bring a character to life using your voice or an audio file. It’s a fun feature for your promotional material that takes little effort.
How to animate using audio in Adobe Express:
- Select video and character: On the homepage, click Video and scroll to the Animate Characters section. Choose from a wide range of characters.
- Upload or record audio: Either upload an audio file (WAV, MP3, or MP4) or use your microphone to record your voice.
- Customize your animation: Preview the animation with your audio. You can change the background, swap characters, and adjust the size for different social platforms.
- Download and share: Once you’re happy with the animation, publish it on your social channels.
8. Collaborate with others
Adobe Express streamlines collaboration with shared libraries and real-time editing. Your team can access the same logos, fonts, and templates to edit branding assets cohesively.
Real-time editing lets everyone contribute simultaneously, speeding up the process and reducing the need for back-and-forth revisions.
Version control also tracks changes, letting you revert to earlier versions if necessary to maintain an organized and smooth workflow.
9. Export files correctly
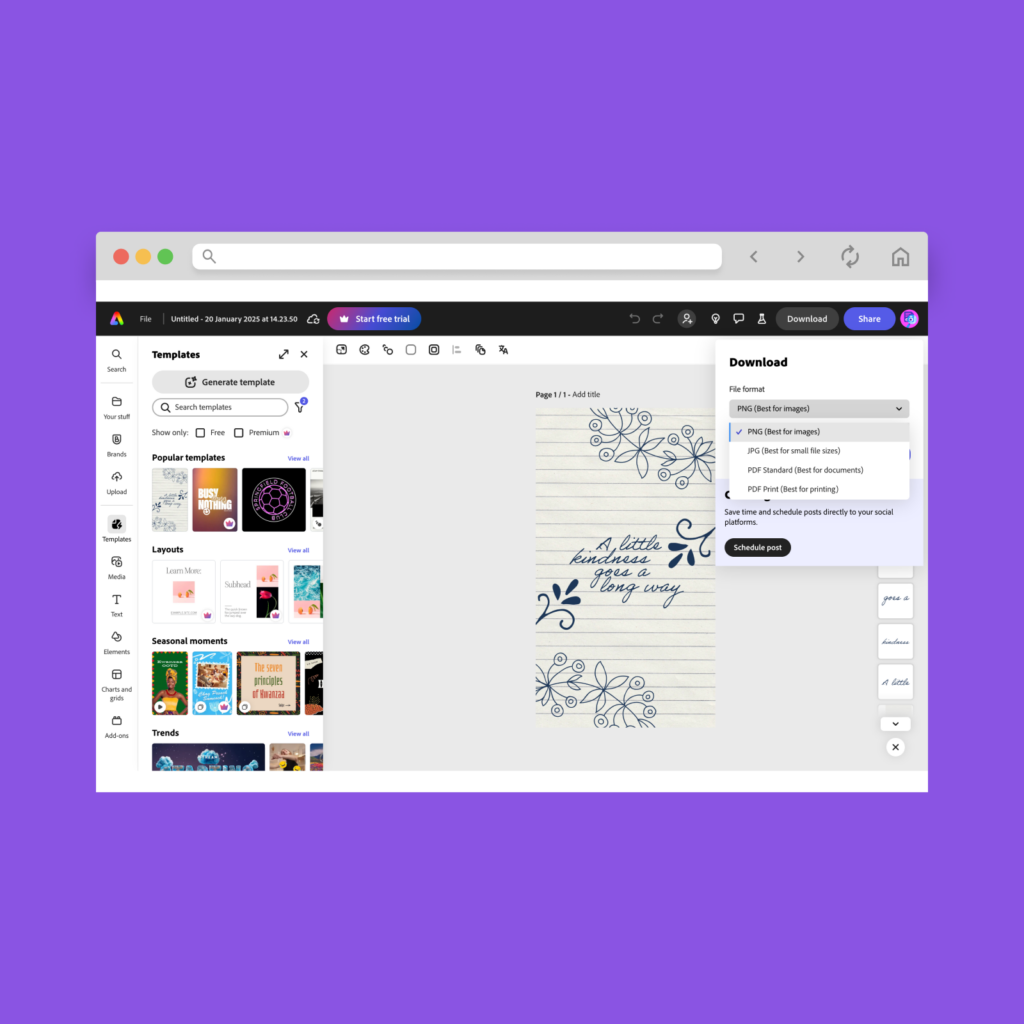
Exporting your design file in the correct format and resolution helps maintain its quality. Adobe Express offers multiple export options to suit both print and digital platforms.
For print:
Export in a PDF format with a resolution of 300 DPI or higher. This keeps the design sharp, whether it’s for posters, brochures, or business cards.
For t-shirt printing, select PNG with a transparent background to help your design integrate seamlessly with the product.
For social media or online use:
Choose formats like PNG or JPEG, and adjust the resolution to balance quick loading times with clear image quality.
Make sure to export your designs in the correct dimensions – such as square for Instagram or wide banners for Facebook and LinkedIn.
10. Use other Adobe products
Printify and Adobe have collaborated to bring the best Adobe Express subscription offer for print-on-demand merchants, with a complimentary premium trial for advanced features.
For designers and brands working across multiple platforms, Adobe Creative Cloud is a cost-effective option. It gives you access to all Creative Cloud tools:
- Photoshop: Perfect for detailed photo edits and retouching.
- Illustrator: Ideal for creating vector graphics, logos, and scalable designs.
- InDesign: Best for layouts like brochures, magazines, and reports.
- Premiere Pro: Great for video editing and producing high-quality content.
- Lightroom: Specialized for advanced photo editing and enhancing.
In addition to the core apps, the Adobe Creative Cloud suite includes:
- Adobe Stock: Access a vast library of images, graphics, and videos integrated with Photoshop and Illustrator.
- Creative Cloud Libraries: Share assets like colors, logos, and templates across all Adobe apps, keeping your designs consistent and organized.
- Adobe Fonts: Instantly use thousands of fonts for professional typography across all projects.
- Adobe Portfolio: Build and customize your own professional website to showcase your work.
Designs ready? Sell them with Printify
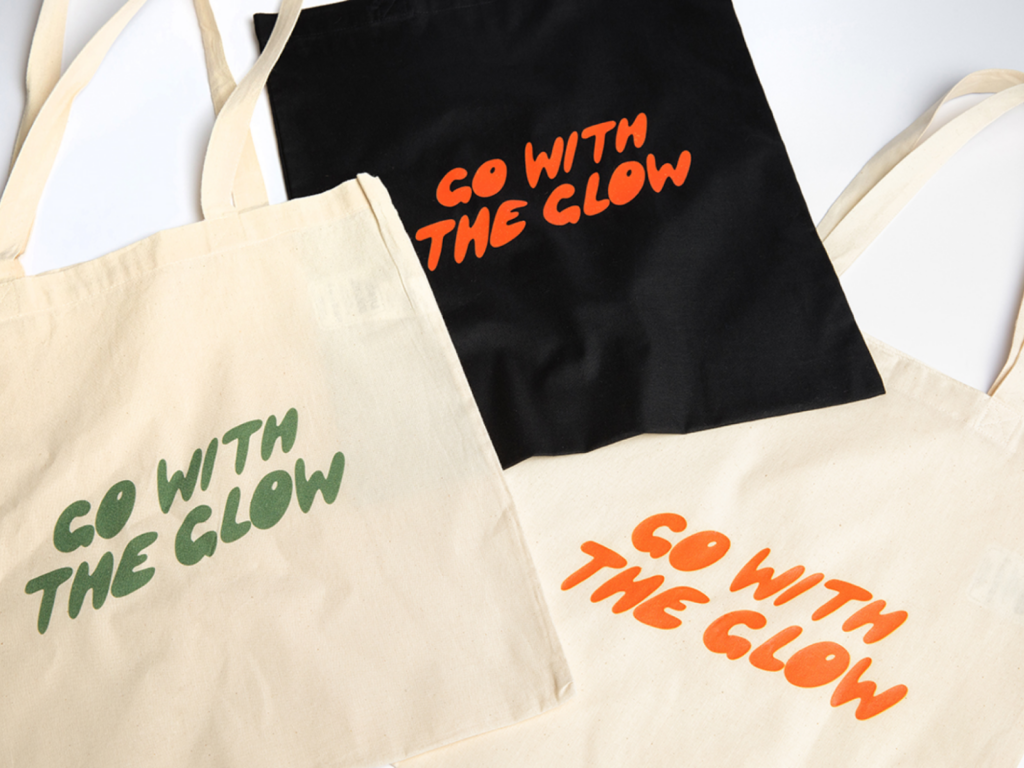
It’s time to turn your designs into products and start selling. Printify’s seamless print-on-demand service makes the process easy.
1. Sign up
Create an account for free.
2. Select products
Choose from over 1,000 products in our Catalog, from t-shirts and mugs to posters and stickers.
3. Apply your designs
Upload your Adobe Express designs to our Product Creator and customize them.
4. Decide where to sell
Connect your Printify account to platforms like Shopify, Etsy, or eBay to start selling.
5. Let Printify do the rest
Our Print Providers handle production, packaging, and shipping on your behalf.
To summarize
Adobe Express gives you everything you need to create high-quality, professional designs quickly and efficiently.
From customizing templates and organizing assets to using AI tools for animations and background removal, it simplifies every step of the creative process.
Paired with Printify, you can easily turn your designs into products. Whether you’re a freelancer, business owner, or creative entrepreneur, Adobe Express empowers you to create standout visuals, while Printify helps you bring them to market with no hassle.
