


Bring your design ideas to life
AI-generated visuals are transforming how creators, designers, and entrepreneurs bring ideas to life. From digital art to custom characters and product designs, Midjourney lets you turn words into striking, high-quality images.
In this Midjourney prompts guide, you’ll learn how to write effective image prompts and how to use the latest V6 and V7 features to produce stunning visuals and grow your creative business.
What is Midjourney and how does it work?
Midjourney is an AI-powered image generation tool that turns text prompts into detailed images, illustrations, and artwork. It uses machine learning and diffusion models to interpret written descriptions and render unique visuals based on the prompt.
The platform is primarily accessed through Discord, where users enter commands like /imagine to generate images. Midjourney has also introduced a browser-based version, giving users more flexibility to create, edit, and manage their artwork online.
Unlike some free tools, Midjourney requires a paid subscription to generate images. Its strength lies in cinematic lighting, intricate details, and flexible customization, making it popular among designers, content creators, and also suitable for print-on-demand sellers looking for striking designs.
Midjourney versions
Midjourney V7 is the default model as of Q3, 2025. It brings sharper detail, faster generation, and improved realism, especially in hands, facial features, and lighting.
New tools include Omni Reference (–oref) for consistent characters or objects, and improved Style Reference (–sref) to apply moodboards or aesthetic themes across prompts. V7 also introduces Draft Mode for faster, lower-cost test runs, and optional voice prompts when enabled.
Previously, V6 introduced Character Reference (--cref) for maintaining visual identity across images of the same subject, and V7 builds on that with more accurate results.
The diffusion model
Midjourney uses a closed-source diffusion model similar to other AI tools like ChatGPT. It turns your text prompt into data, then generates an image by starting with random noise and gradually shaping it into a final, amazing image using that data.
While the process is complex, understanding it helps when using parameters like --stop to influence how much detail shows up. The quality of your image prompt – both the words and the parameters – directly impacts how good your final result looks.
How to structure a Midjourney prompt
A Midjourney prompt is a command that tells the AI what image to create. It can be as simple as a short description or more complex, with image links and special parameters.
Each prompt can include up to four parts:
- Command:
Start with/imagineto begin the image generation. - Image URLs (optional):
If you want the result to follow a certain style or look like other pictures, add one or more image links. These should come right after/imagine. - Text prompt:
This is the core text description of what you want to see.
Example: A koala eating mango in the Sahara Desert - Parameters (optional):
Use parameters to fine-tune the result, like size, quality, or mood. They always go at the end of the prompt.
Common ones include:--ar 16:9(aspect ratio)--stylize 100(artistic style level)--v 7(use version 7 model)
Prompt examples:
Here’s an example of a Midjourney prompt structure that combines style, composition, and aspect ratio:

/imagine A koala eating mango in the Sahara Desert

/imagine A koala eating mango in the Sahara Desert in the style of Picasso

/imagine https://stock.adobe.com/search?k=picasso%20paintings A koala eating mango in the Sahara Desert, fragmented shapes, bold colors --ar 1:1

Quick tips for writing the best prompts for Midjourney
- Start with a clear subject and key details: Focus on one main subject and add distinctive features.
Example:goblin bear with an oversized nose and shaggy fur - Add a setting or mood: Place your subject in a specific scene or atmosphere. This gives the result a whole new dimension of depth and storytelling.
Example:...in a misty but colorful forest at dawn - Mention a visual style or medium
Use styles like “cinematic lighting,” “1920s illustration,” or “digital painting” to generate amazing images with a controlled look and feel. - Creatively use features from both V6 and V7
- Use image prompts with
--iw(image weight) to guide the final image using one or more visuals. - In V6, you can maintain character consistency with
--cref. - In V7, apply a consistent visual mood or design using
--sref(Style Reference). This is especially useful for product lines or maintaining brand aesthetics. - To adjust emphasis, use multi-prompts with weights like
foggy forest::2 goblin bear::1
- Use image prompts with
Combine --sref with --ar, --v 7, and a short text prompt to get clean, cohesive images across multiple concepts.
- Keep your wording focused: When creating text prompts, skip vague or overly long descriptions. Stick to the subject, background, style, and a few details.
- Use parameters to fine-tune the result.
Examples include:--ar 3:2(aspect ratio)--stylize 650(how creative the output looks)--v 7(use the latest model)--no(to remove unwanted elements)
- Refine your results: Use the U and V buttons in Discord to upscale or create variations. Turn on Remix Mode to adjust scenes or styles. With V7, you can also generate faster previews using
--draftand then refine them using full-resolution parameters.

How to generate images using Midjourney prompts
Next, we’ll go through the steps required to write prompts and generate images – from the basic configuration to commands and parameters.
Set up Midjourney
- You’ll need a Discord account to use Midjourney. Go to Discord, sign up, and use it in your browser, or download the app – the latter option is more convenient.
- Go to Midjourney and click Join the Beta. That will send you to Discord.
- Join a server and room, or open the Midjourney bot and generate your prompts directly in a chat with the bot.
All prompts generated in a direct chat with the bot are posted on Midjourney’s server. Depending on your subscription, you can set up the bot to create “private” results. That’s the best option to ensure other people don’t copy your images before they’re public – in case you plan to use them for commercial purposes or as part of a project.
- Find the Midjourney bot by entering Midjourney’s server. Look to the right of the users’ list – the bot will appear there as a user. Right-click on it, then Message.

Adjust your settings
Once you’re in a chat with the Midjourney Bot, it’s time to adjust your settings.
Type /settings, then tweak some options.
- First, select the preferred version – usually the latest one, although some prompts around the internet are set up with previous versions.
- Then, depending on the selected version, choose the output image quality – Half, Base, or High Quality. Base quality is the standard option and fits most needs unless you require a very detailed illustration. Version 5 doesn’t provide this option.
- Style is set to medium (med). Experiment with the setting to see how it affects the output style. These settings can be adjusted when generating a prompt using parameters (more below).
- Finally, turnon Remix Mode, enabling advanced settings and parameters.

You can also activate Conversational Mode, which enables voice prompts and natural language support for faster ideation when paired with --draft in V7.
Explore Midjourney commands
Now, it’s time to start using some commands and generating prompts. You’ve already learned the first command, /settings.
The most important commands we’ll focus on are /imagine and /describe.
/Imagine

To create a prompt, type /imagine. This will open a box where you type the prompt content. Please wait for the prompt box to open – copying the whole line with /imagine and pasting it won’t activate the bot.
After you type the prompt, Midjourney returns four images.
You can also animate the progression of your prompt with the new Midjourney Video feature, which creates a short video showing how the final image evolves from noise to clarity.
Below, there will be buttons with U1, U2, U3, and U4 written in the first row and V1, V2, V3, and V4 in the second.

“U” stands for “Upscale” – click on the number of the image you like the most, and Midjourney will return an upscaled image of it.
You can upscale the resolution, but you can’t change the dots per inch (DPI) amount. To adjust your DPI, you can use any graphics editor (like Adobe Photoshop, GIMP, Photopea, etc.) or use an online converter.
If you like some images but want to tweak them, click the V button with the respective number. That will open the Remix prompt, which will let you adjust it – for example, remove elements of the image using the parameter “no” or change the aspect ratio.
If you like an image and want it to serve as a style reference for future use, you can download it and add it to the prompt or retrieve its seed number.
To get an image seed number, click the smile button “Add reaction” on the right, then click the envelope. If it isn’t there, type “envelope” and click on it. This will send you a message in Discord with the image and its seed number.
Then, copy the seed number and create another prompt, adding the parameter – seed and the seed number.
If you like the image but something still isn’t right – for example, if a person’s proportions are wrong – try clicking Detailed Upscale Redo or Remaster, or look for an icon with two round arrows, depending on the Midjourney version. These commands will redo the picture.
/Describe
Sometimes, you’ll have a clear idea of how you want the final image to look, but creating the proper prompt seems impossible. No matter how much you paraphrase, the results aren’t what you’re looking for.
In these cases, the /describe command can be used to explain pre-existing images similar to the result you want to achieve. This helps understand how Midjourney interprets them.
After typing the command, a drag-and-drop box will open.

Upload the picture, and Midjourney will return four options of prompts that describe it. Choose the one that looks the most accurate and adjust it accordingly.

The results are often a hit or miss, but they can help create similar images or, at least, understand how Midjourney interprets them.

In V7, you can also apply a described image’s style using --sref, or keep the subject consistent across prompts using --oref. These tools help maintain visual cohesion across variations or product lines.
/Show video
Use the /show video command to create a short animation showing how your Midjourney image evolves during the diffusion process.
To use it:
- React to a completed image job with the Video Camera emoji.
- The bot will automatically generate a short video and send it to you.
This is ideal for sharing progress animations or making your creative process more engaging for viewers.
Understand Midjourney parameters
Parameters are optional commands that change the final image. They always come at the end of the prompt.
Midjourney accepts more than one parameter. To add them, type double hyphens (–) or an em-dash (—) followed by the parameter name and specifics.
The most important Midjourney parameters
1.Aspect ratio
–aspect
–ar
This parameter changes the final picture’s aspect ratio (width-to-height proportion).
For this parameter, you must use whole numbers separated by a colon. The default value is 1:1. So if you want an aspect ratio of 1.5:1, use “150:100.”
Midjourney’s versions 6, 5, and niji5 accept the full spectrum of aspect ratios, while version 4 works with ratios from 1:2 to 2:1.
V7’s Draft Mode supports faster image creation with reduced GPU usage. Use the --draft parameter to generate rough concepts 10 times faster before fine-tuning. It’s ideal for early exploration or quick variations.
These are some of the most popular ratios:
–ar 1:1 – Default aspect ratio, returns square images.
–ar 3:2 – Landscape format, popular with print photography.
–ar 7:4 – Good for HD-TV and smartphone screens.
–ar 5:4 – Common for frames and prints.

2. Chaos
–chaos <0–100>
This parameter increases variation and randomness in the results.
3. Image weight
–iw
The Image weight parameter indicates the relative importance of an uploaded image compared to the text prompt. A higher value means the uploaded picture will have a greater impact on the final results.
The default value is 1, but it can range from 0.5 to 2. Other Midjourney Version Models will have different ranges.
4. No
–no
Use this to try to remove an element from the image. For example, use < –no trees > to get a landscape of natural beauty without trees.

5. Quality
–quality <.25, .5, or 1>
–q <.25, .5, or 1>
Adjust the rendering time and the final image quality. Creating a high-definition image uses more GPU (graphics processing unit) time from the subscription total. The default value is 1.
6. Seed
–seed <integer>
Each image generated by Midjourney receives a seed number. Use this parameter to create similar images to the seed. Take a look at Midjourney Commands to learn how to get an image’s seed.
7. Stop
–stop <integer from 10–100>
This parameter stops the rendering of an image halfway and can provide pictures that offer both interesting artistic results and insights into the diffusion and rendering process. The result will be blurred and incomplete.
8. Stylize
–stylize <number from 0-1000>
–s <number from 0-1000>
This one defines how Midjourney’s default style influences the final results. The default value (100) can be altered with the command </settings>.
9. Cref
Midjourney V6 introduced cref to achieve consistent and detailed character design and ensure your characters look the same across images.
Provide a reference image (URL or past Midjourney creation) and adjust the influence with a weight value (0-100).
Example: You want to depict your superhero, “Master Raccoon,” in different scenarios.
- Use /imagine followed by a description (e.g., “Master Raccoon riding a bicycle”).
- Include –cref https://myblog.com/master-raccoon/1105-30559/ (replace with your actual reference image URL).
- Optionally, set a weight (e.g., –cw 80) for a close resemblance (higher weight) or more variation (lower weight).


10. Style Reference
Use –-sref in Midjourney V7 toapply the style, mood, or color palette of one or more images to a new creation. This is useful for branding, aesthetics, or matching a visual theme.
You can now use two or more images as style references in a single prompt by separating image URLs with spaces. Midjourney V7 interprets these more accurately than previous versions, even when combining styles.
Example: /imagine prompt a dog wearing a hat --sref https://yourimageurl.com/moodboard1.jpg https://yourimageurl.com/moodboard2.jpg
To give more control, pair --sref with --ar (aspect ratio), --v 7, and a short text prompt for clean, cohesive image sets.
11. Omni Reference (V7 only)
–oref <image URL>
Use this to maintain consistent subjects, characters, or objects across multiple prompts. It’s similar to --cref, but broader in scope and more flexible. You can add one or more reference images, optionally setting weights (e.g., --ow 80) for stronger adherence.
Example:/imagine prompt futuristic engineer woman --oref https://yourimageurl.com/engineer.jpg --ow 70
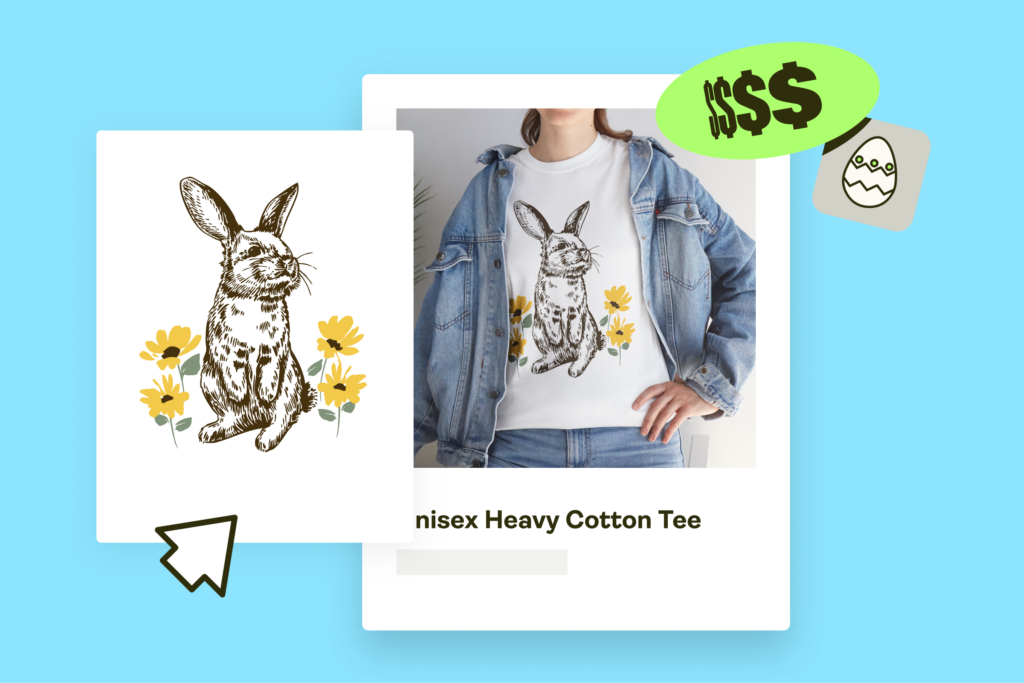
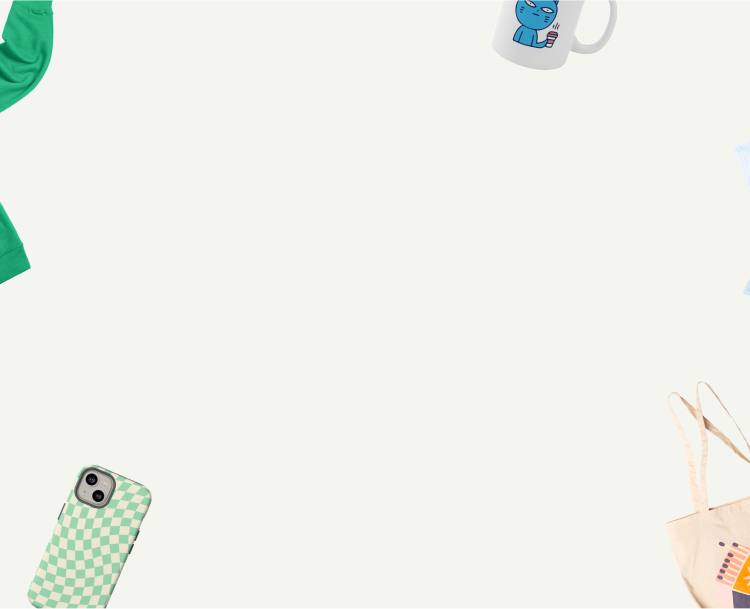
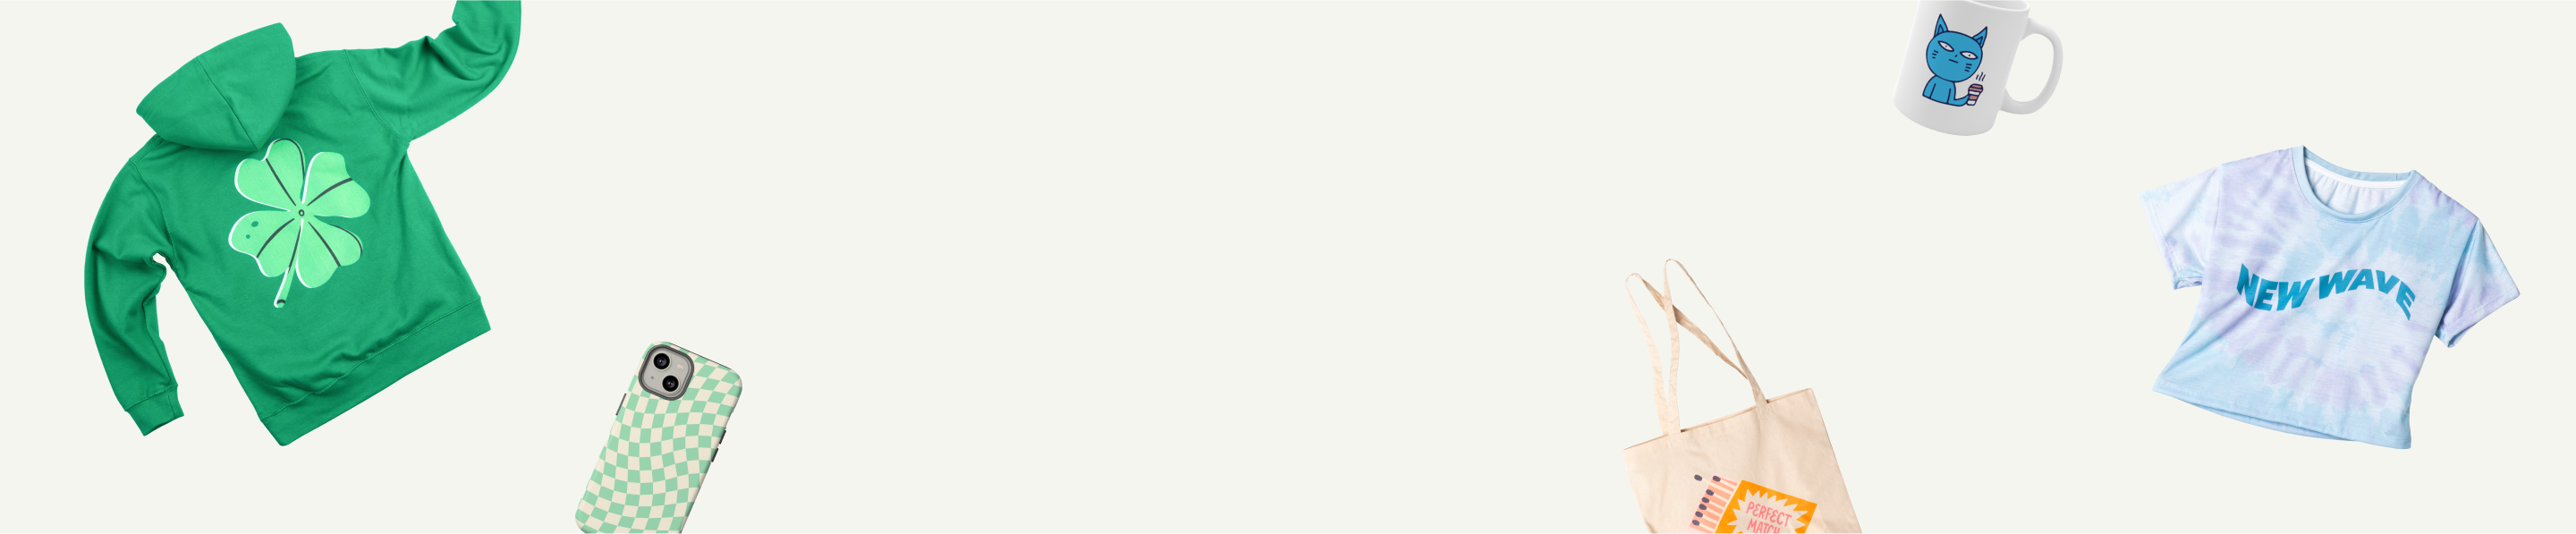
Full of ideas? Start a print-on-demand business
Unleash your creativity, craft breathtaking visual elements with AI, and make a profit. Sign up for Printify now, start your online store, and sell merch created with the best Midjourney AI prompts.
10 Great Midjourney prompt examples
From surreal art to a futuristic city skyline with cinematic lighting, let’s go through some of the best Midjourney prompts, phrases, and cheat codes to help you on your creative journey.
Retro games
Midjourney excels at creating game imagery. Create advanced prompts by mixing several terms and achieve hyper-detailed isometric art or a birds-eye view.
- The phrase “1990s point” and “click 16bit adventure” returns images in a retro, old-school pixelated game style.
- Add 32-Bit Isometric to create angled rooms with a retro look typical of video games from the mid-1990s and later.

Surrealism
Use this art style to create a surreal dreamscape that resembles an oil painting, featuring wild and hyper-detailed elements.

Cubism
One of the most exciting art styles in Midjourney. It creates pictures with vibrant colors and geometric shapes that are immersed within.

Phantasmal Iridescent
This code adds a unique coloring with iridescent, white, blue, and pinkish lights, suitable for detailed niche illustrations such as gothic, horror, mystery, or fantasy styles.

Steampunk
Create retrofuturistic and alternative history scenarios by adding “steampunk” to your text prompt.

Layered Paper
Create exciting textures and intricate paper art perfect for backgrounds, printables, canvases, and more, with the code “layered paper”.

Bauhaus
Creating prompts in the Bauhaus style will produce buildings with clean lines and primary colors, often constructed from modern materials such as glass or concrete. Enhance your art creation with natural materials like wood and experiment with light to create unique, stunning images.

Cyberpunk
Emulate a futuristic cityscape from classics like Neuromancer, Blade Runner, and Matrix, or create a cyberpunk character.

A as B
Use the “A as B” text prompts to materialize your creative vision and make new elements, from anthropomorphic animals to reinvented objects of daily life.

Art Deco
Write effective Midjourney prompts using the Art Deco style to evoke an optimistic world and eye-catching compositions that capture the stylish imagery of the 1920s and 1930s.

Honorable mentions
- Retrowave: Get retro Midjourney prompts for characters amid neon signs and lightning.

- DuoTon: Creates a graphic design made with only two colors.
- Diagrammatic drawing and Infographic drawing: Create incredible images with schematics from animals to gadgets and everyday objects.
Use the –stop parameterto slightly blur the rendering before its completion if necessary to blur imperfect texts and typos.

- Camera Lenses – Detail camera lenses and professional specifications (i.e., wide-angle shot, sharp focus, etc) for incredibly realistic photographs with epic detail and dramatic lighting.
- Watercolor Sketch – Create beautiful images or an illustration with pastel tones and subtle brush marks.
- Cinema Directors – Insert “in the style of <cinema director>” to get remarkable artistic styles.
- Naive Art – Get children’s book illustrations and playful results.

Tools for Midjourney prompting

Creating high-quality Midjourney prompts is faster and easier with dedicated tools. These help you structure prompts, control parameters like image weight or aspect ratio, and maintain visual consistency across multiple images.
Top tools to try
- FutureTools
Still one of the best directories for discovering Midjourney prompt tools. Filter by “prompt generator” and search “Midjourney” to find the latest apps – free or paid – for creative workflows.

- PromptFolder Midjourney Prompt Builder
Lets you build text prompts using dropdowns for aspect ratio, image weight, stylize, chaos, and more. Ideal for beginners and pros who want precise results without memorizing syntax. - IMI Prompt Builder
A visual tool with thousands of style presets and real-time prompt assembly. Includes lighting, composition, material, and camera angle options – helpful for product mockups or styled digital art. - PromptHero
A prompt marketplace with user-submitted examples and popular styles. Search by theme (logos, landscapes, fashion) and adapt what works to your own text prompt. - Phraser
Lets you create advanced prompts using natural language or visual categories. Particularly useful for creative ideation and adding variation to your inputs. - Reddit – /r/midjourney
The go-to community for daily prompt examples, troubleshooting, image prompt discussions, and inspiration using new features like character reference and image weight. - MidJourney Prompt Generator
The tool takes a simple entry and offers complex opinions and variants in different styles. - MJ Toolkit
Installs a Chrome extension, so you don’t need to use Discord.
For fast prompting, try typing “Write an image prompt for generative art to create…” into tools like ChatGPT or Gemini. Then tweak the output using PromptFolder or IMI Builder to fine-tune the prompt.
FAQ
Strong Midjourney prompts are clear, descriptive, and include both a subject and visual styling. Good prompts combine a main idea, background, mood, and style or medium.
For example:
- “Futuristic city skyline, birds eye view, cinematic lighting, vibrant colors, intricate details, sharp focus —ar 16:9 —stylize 700”
- “Cyberpunk character in Tokyo alley, glowing neon signs, rain, reflective pavement, —ar 3:2 —v 7”
- “Layered paper cutout of a cat in a fantasy forest, soft shadows, clean lines, —ar 4:5”
These prompts use visual elements like lighting, detail, and perspective to create stunning images. Including parameters such as aspect ratio, style weight, or image weight can dramatically improve the final image quality.
Here’s how to write Midjourney prompts:
- Start with /imagine: This is the core command that opens the prompt field.
- Write your text prompt: Describe your subject using concrete words (e.g., “a detailed portrait of a samurai cat”).
- Add optional reference images: Place one or more image URLs before the text prompt to blend styles or keep consistency.
- Include parameters to customize the result:
- –ar for aspect ratio (e.g., –ar 16:9)
- –iw to set image weight when using reference images
- –v to choose the version (e.g., –v 7)
- –stylize or –s to control artistic flair
- –no to exclude specific elements (e.g., –no text)
- –quality, –seed, or –stop for further control
After submitting, Midjourney returns four image variations. You can upscale, remix, or create new variations using the U and V buttons.
Midjourney strictly prohibits prompts that violate its community guidelines.
Forbidden prompts include:
- Sexual, explicit, or pornographic content.
- Graphic violence, gore, or dismemberment.
- Hate speech, discriminatory content, or harassment.
- Drug-related imagery (e.g., marijuana, cocaine).
- Political figures or real-world sensitive topics.
Midjourney uses automated filters and moderation tools to block inappropriate content. Attempting to bypass these rules may result in immediate rejection or account suspension. For professional use, always keep prompts PG-13 and avoid controversial or restricted topics.
Cool prompts often blend imagination with structure.
Here are some community-favorite prompt ideas:
- “Post-apocalyptic Earth overtaken by jungle, overgrown buildings, mist, dramatic lighting, —ar 21:9”
- “Marketplace in the clouds, floating shops, soft lighting, futuristic elements, pastel tones”
- “Alien coral reef, glowing underwater plants, deep-sea creatures, cinematic lighting, vibrant colors”
- “Logo for a sustainable coffee brand, green palette, leaf icons, minimalist layout, —ar 1:1”
- “3D isometric blueprint of a sci-fi laboratory, technical sketch style, clean lines”
These prompts demonstrate the flexibility of Midjourney for creating not just art, but also illustrations, product mockups, and branded visuals.
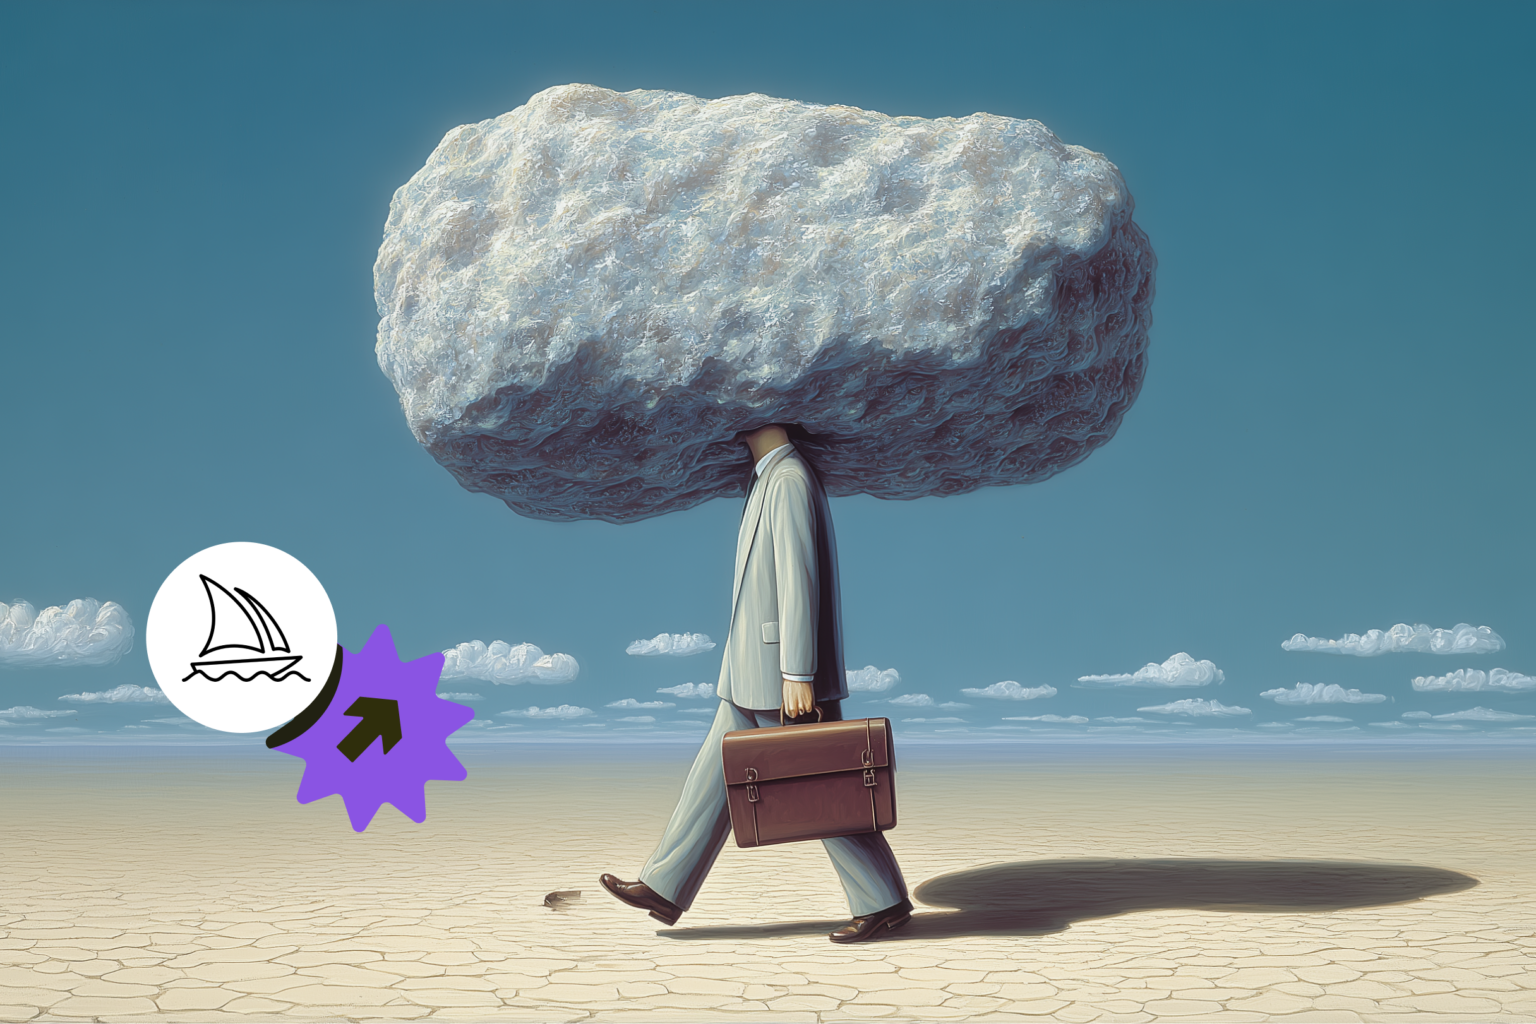
Conclusion
And there you have it. You’ve now learned the essentials of Midjourney prompt engineering to create captivating visuals – from editing aspect ratios to employing different art styles.
Put these new skills to good use, make epic AI art, and profit online by selling digital products or customized merch with Printify!