


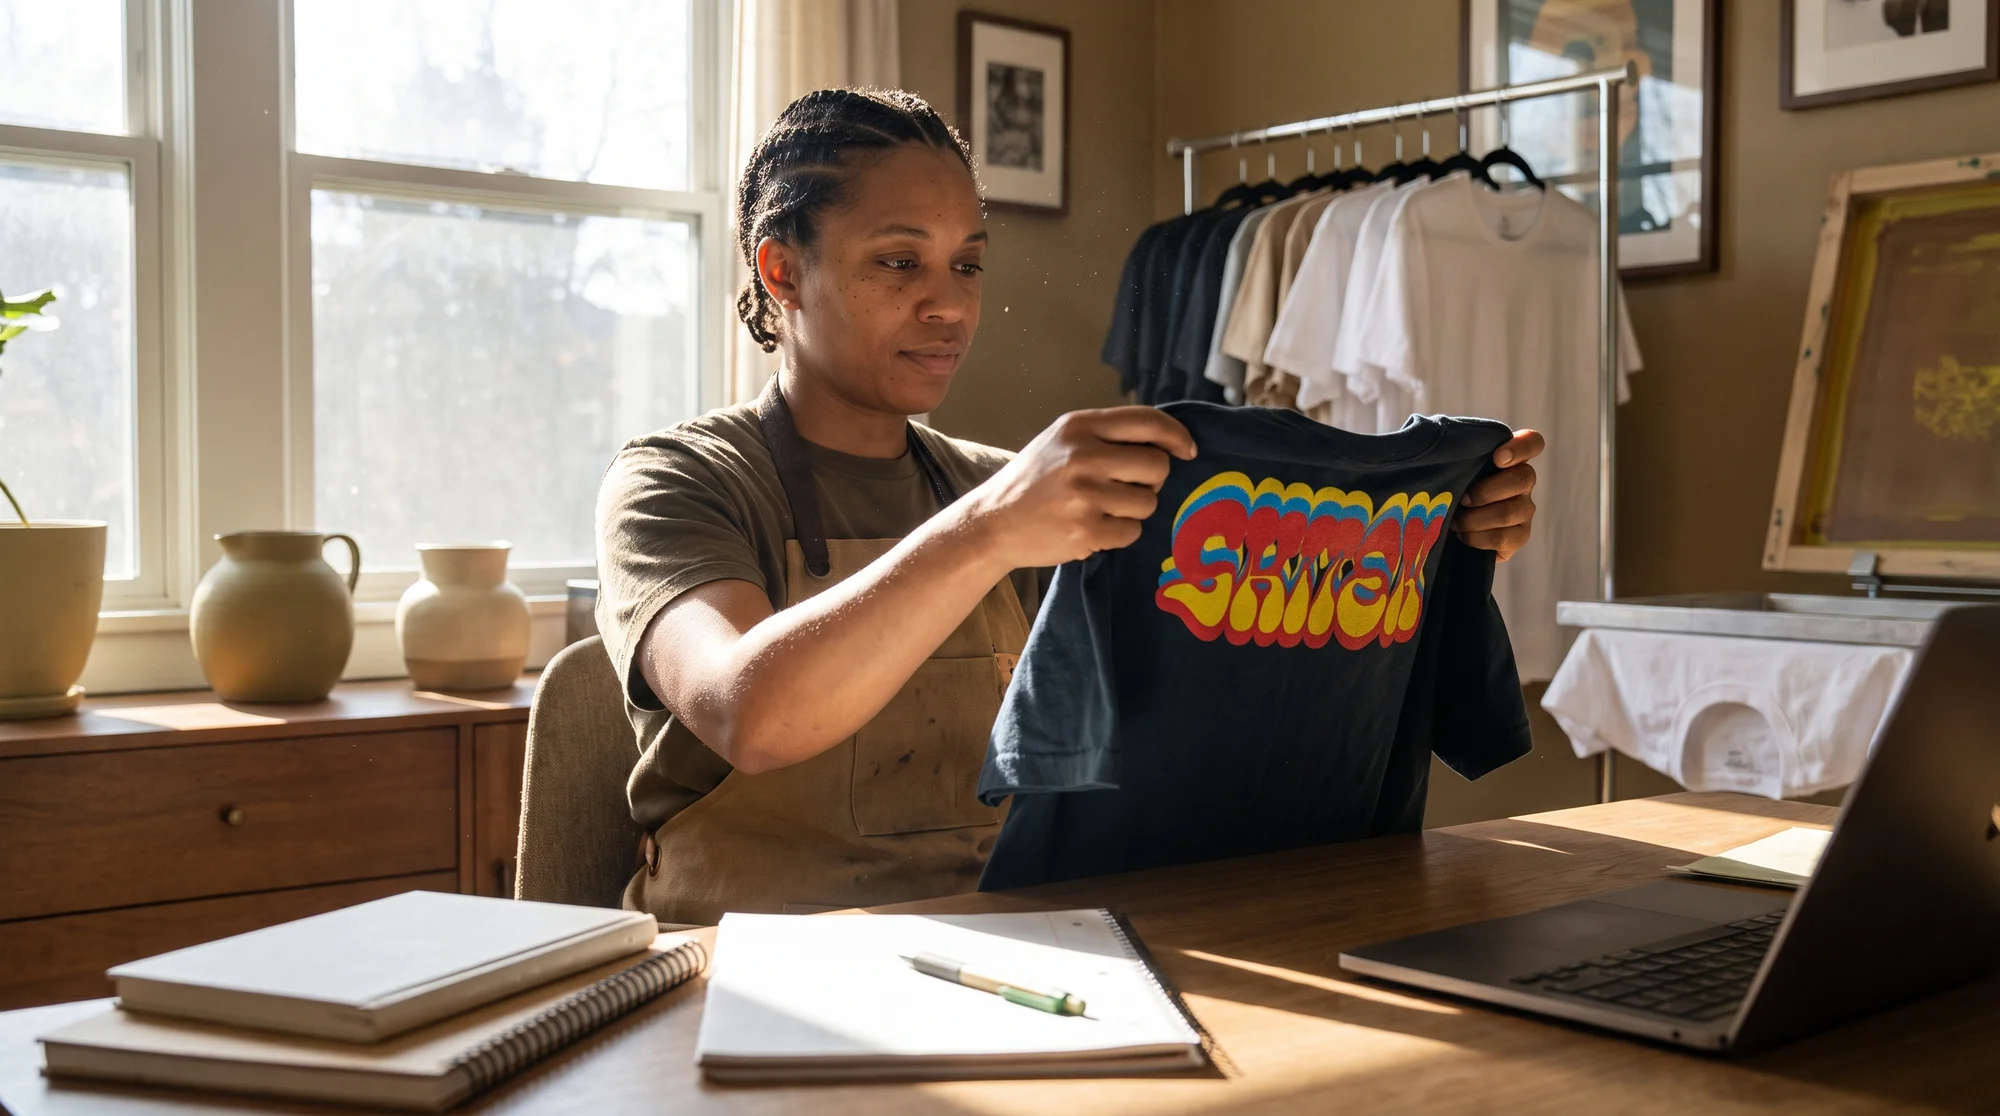
You keep asking "how do I screen print" when the real question is "should I screen print this design yet" — and getting that order wrong is what torches your cash on setup fees for designs nobody has proven will sell. The fix is simple: test every design cheap with zero-risk DTG, then flip only your proven winners to high-margin bulk screen printing. This article breaks down the 6-step screen printing process, shows you the exact 50-unit threshold that triggers the switch, and hands you a playbook to route your best-sellers through Printify.
Why screen printing is a financial decision
Every step of the screen printing process exists to answer one question: is this design proven enough to earn the upfront setup cost? Screen printing is not a craft you master for its own sake. It is a manufacturing method with a high fixed cost, and you only pay that cost when the math already works in your favor.
Three mistakes kill sellers before they ever see profit:
- Cash torched on setup fees before any real demand exists.
- Dead stock from bulk gambles on designs the market never wanted.
- Slow fulfillment that misses the trend window entirely.
Here is the core thesis, and it is the whole game: Test cheap with zero-risk DTG. Scale big with high-margin bulk screen printing. You never bet money on an unproven design. You let the data prove it first, then you scale it.
So we are clear on the mechanics:
Screen printing (silkscreening) pushes thick liquid ink (plastisol or water-based) through a mesh stencil screen onto fabric using a rubber squeegee. Because each color in a design requires a separate mesh screen, exposure process, and press setup, screen printing carries high upfront fixed setup costs—making it ideal for bulk orders (50+ units) and unviable for single-item print-on-demand fulfillment.
Read that last line twice. "Unviable for single-item" is not an insult to screen printing. It is your instruction manual for when to use it.
The 6-step screen printing process
This is the anatomy of your setup fee. When you commit to a bulk run, this is exactly what you are paying for. Understand each step, and you will understand why small runs never make sense — and why proven winners at scale make you real money.
Step 1: Stencil creation
Your artwork gets separated into individual spot color layers. Every single color in your design becomes its own screen. A 4-color back print means four screens, four separations, and four times the setup. This is the first place your cost multiplies — and the first reason unproven multi-color art is a gamble.
Step 2: Emulsion burning
Each mesh screen gets coated in a light-sensitive emulsion, then exposed under UV light to lock in the stencil. Where light hits, the emulsion hardens. Where your artwork blocks it, the mesh stays open for ink to pass through. Every color repeats this process. More colors, more burned screens, more cost.
Step 3: Setup and registration
Now every screen gets aligned on a multi-arm carousel press so the colors land perfectly on top of each other. This is the labor-heavy step, and it is the exact reason small runs are unviable. That alignment labor costs the same whether you print five shirts or 500 — so on five shirts, the setup eats you alive.
Step 4: Ink squeegee push
An operator forces thick plastisol or water-based ink through the open mesh pores onto the garment with a rubber squeegee. This is the moment the design transfers. Thick, opaque ink is why screen printing looks so vibrant on dark cotton — a place DTG often struggles.
Step 5: Flash curing
Between colors, each ink layer gets a quick flash cure to dry it so the next color does not bleed or smear. Multi-color designs flash-cure repeatedly, adding time and handling to every single unit.
Step 6: Conveyor tunnel curing
Finally, the garment runs through a conveyor tunnel and bakes at roughly 320°F to permanently bond the ink to the fabric. This is what makes the finish wash-proof and durable for years.
Every one of these six steps is a fixed cost. That's exactly why you NEVER pay for it until a design has already proven it sells.
Screen printing vs DTG: The routing matrix
Stop treating this as a quality debate. It is a routing decision, and the deciding factor is order volume. Here is the matrix built for a business owner, not a hobbyist.
| Factor | DTG (Direct-to-Garment) | Screen Printing |
|---|---|---|
| Setup cost | Zero | High fixed cost per color |
| Best order size | 1–49 units | 50+ units |
| Colors | Unlimited, no extra cost | Each color adds a screen |
| Per-unit cost at scale | Stays flat | Drops sharply |
| Dark cotton opacity | Good | Excellent, vibrant |
| Inventory risk | None | You commit upfront |
| Best for | Testing and validation | Scaling proven winners |
When DTG wins
DTG has zero setup cost, unlimited colors, and instant single-item fulfillment. That makes it the perfect tool to validate a design with zero inventory risk. You launch, you sell one at a time, and you owe nothing until a customer pays. This is your risk-free proving ground.
When screen printing wins
Screen printing wins the moment volume shows up. On 50+ units, the per-unit cost drops well below DTG, the opaque colors pop on dark cotton, and the durability holds up wash after wash. The catch — and the whole point — is that this only pays off after a design has proven demand.
The 50-unit routing threshold
Here is the rule that protects your cash:
- Under 50 units → stay on DTG. No setup fees, no inventory risk.
- At 50+ proven units → flip to bulk screen printing. The setup cost gets absorbed across the run, and your margin jumps.
That threshold is not arbitrary. It is the point where the fixed setup cost divided across your units finally drops your per-unit price below what DTG charges. Below 50 proven units, DTG wins every time. At 50+, bulk screen printing prints money.
The "test cheap, scale big" playbook
This is the exact workflow that keeps you from ever gambling on unproven art.
Phase 1: Validate with DTG
The problem: you do not yet know which designs the market wants. The solution: launch every new design as a DTG product and run it live. You pay nothing upfront and carry zero stock. Let real buyers vote with their wallets while you watch which designs actually convert.
Action steps:
- Create your design in the Product Creator.
- Publish it as a DTG product on Shopify, Etsy, or TikTok Shop.
- Run it live and track sales. No inventory, no risk.
Phase 2: Identify proven best-sellers
The problem: emotion tells you your favorite design is a winner. Data tells the truth. The solution: define one clear demand signal — consistent sales that clear the 50-unit threshold. When a design hits steady volume past 50 units, it has earned the right to scale.
Action steps:
- Watch for designs selling consistently, not one lucky spike.
- Confirm the design has cleared 50 sold units.
- Flag it as a scaling candidate.
Phase 3: Flip winners to bulk
The problem: sourcing your own print shop means hunting vendors, negotiating minimums, and gambling on a bulk run of unproven art. The solution: transition your proven design straight into high-volume screen printing through Printify — no separate shop hunting, no minimum gamble on art the market has not already rewarded.
Action steps:
- Take your proven winner and route it into a bulk screen printing run.
- Print it across your core blanks.
- Enjoy the margin jump while Printify handles fulfillment.
Per-unit margin on 3 core blanks
Here is why the switch matters. On DTG, your per-unit cost stays flat no matter how many you sell. On bulk screen printing, the setup cost gets spread across the run and disappears fast — so your margin expands as volume climbs. Below is how that plays out across your three workhorse blanks.
Comfort Colors 1717 garment-dyed tee
The premium streetwear favorite. With a base cost in the $10–$13 range and a retail price of $34+, this blank already carries strong margin on DTG. Flip a proven design to bulk screen printing and your per-unit cost drops further, widening the gap between cost and that $34+ price tag on every single unit.
Lane Seven heavyweight hoodie
Hoodies command the highest price points, which means bulk screen printing delivers the biggest absolute margin expansion. The premium perceived value lets you price high, and a lower bulk per-unit cost turns each sale into a meaningful profit — multiplied across 50+ proven units.
Gildan 18000 crewneck
The volume workhorse. A lower base cost paired with reliable demand makes this the blank where bulk screen printing math shines through sheer quantity. Small per-unit savings add up fast when you are moving real volume.
The takeaway across all three: bulk setup cost gets absorbed and disappears fast once a design has proven volume. You are never risking that setup on a guess — only on a design the market has already paid for.
Your next move
You now know the whole game. The screen printing process is a high-fixed-cost method, and the smart play is never to pay for it until a design proves it sells. Test cheap. Scale big. Let the data decide.
Launch your next design as a zero-risk DTG product to test demand for free — then, the moment it clears 50 proven units, flip it into bulk screen printing on the Comfort Colors 1717, Lane Seven heavyweight hoodie, or Gildan 18000. Set up your first test product in Printify now and let the data — not a gamble — tell you when to scale.
More money. More autonomy. More living. Kiss the setup-fee gamble goodbye.
