


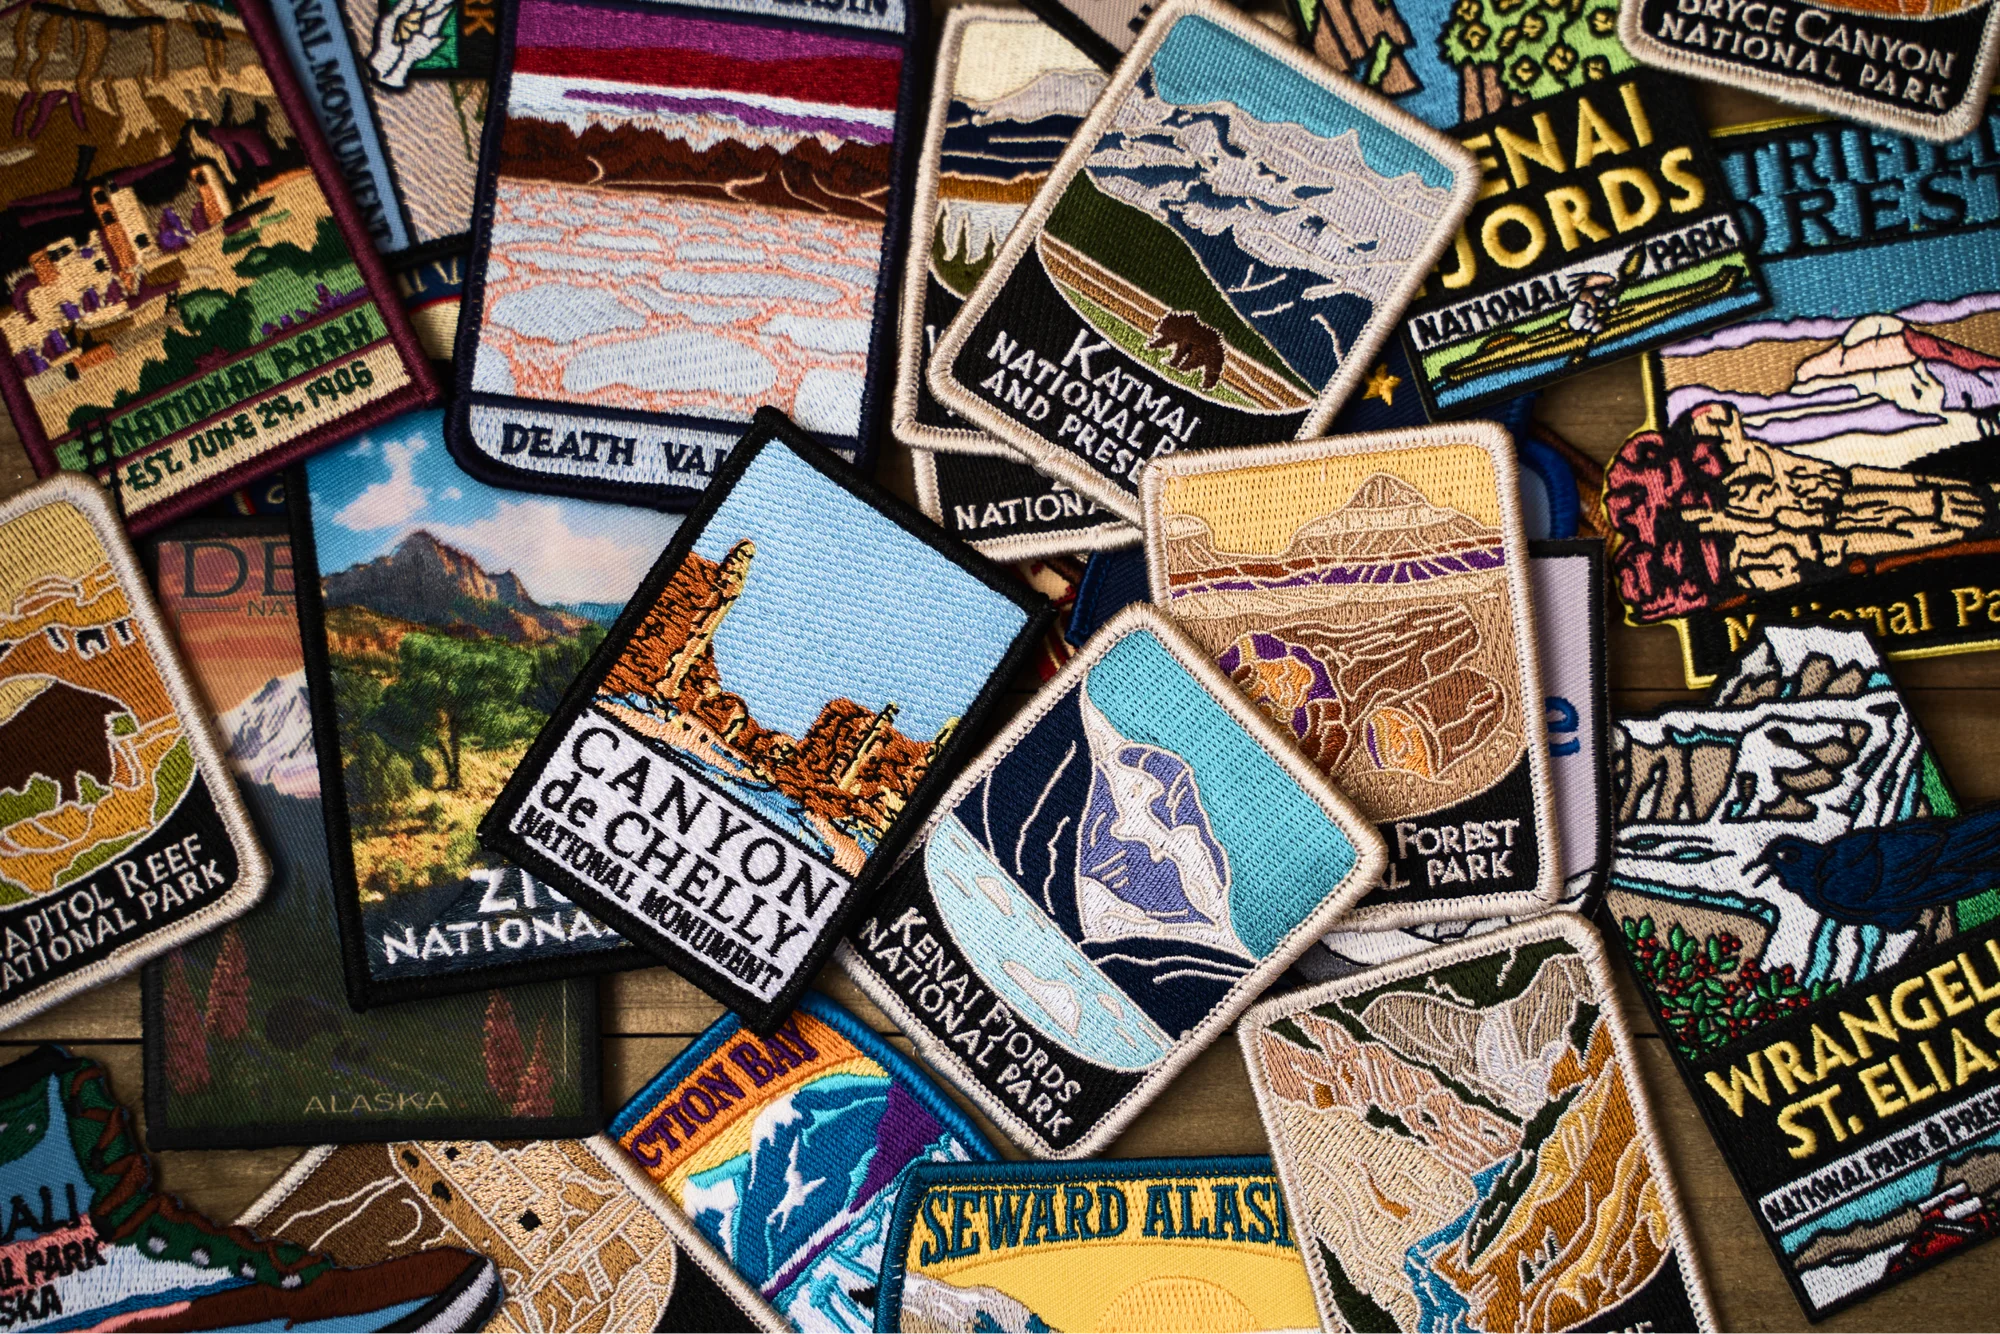
Custom patches are no longer limited to biker jackets or scout uniforms. Today, they are a versatile branding tool and a popular product for online stores.
This article shows how to make custom patches step by step, with a strong focus on print-on-demand. Learn how to create designs, choose the right patch type, and sell high-quality custom patches without holding inventory.
Key takeaways
- Print-on-demand lets you make custom patches without owning machines, sourcing fabric, or committing to large minimum orders.
- Different patch types serve different goals, from embroidered patches for daily wear to chenille patches for bold designs on jackets and uniforms.
- Strong patch design and proper embroidery setup matter, including stitch density, thread limits, shape, edges, and backing options like iron-on or sew-on.
- Always order samples to check quality, durability, edges, backing adhesion, and wash performance before selling.
- Custom patches scale easily across products, including hats, bags, apparel, and other accessories, with access to bulk order discounts as demand grows.
What are custom patches?

Custom patches are decorative or functional fabric elements that can be attached to clothing, accessories, or other fabric-based items. They are usually embroidered, woven, or printed, then finished with a backing that allows them to be sewn, ironed, or heat-pressed onto a surface.
Common uses for custom patches
- Branding for small businesses and creators
- Merchandise for bands, clubs, and online shops
- Uniforms for sports teams, schools, and organizations
- Decorative elements for jackets, hats, bags, and other accessories
- Personalized gifts and limited-edition drops
In 2026, patches continue to trend because they are affordable, modular, and easy to customize. Instead of printing an entire t-shirt, sellers can apply a patch to multiple products.
This makes patches especially appealing for print-on-demand businesses looking to test designs quickly with low risk and flexible minimum order options.
Types of custom patches

Before learning how to create a patch, it helps to understand the most common patch type options and how they differ.
Embroidered patches
Embroidered patches are the most popular option. They use embroidery thread stitched into a fabric base to create texture and depth. These patches are durable, visually rich, and ideal for logos, text, and bold artwork.
Pros

Premium look and feel
Long-lasting for daily wear
Works well for branding and uniforms
Cons

Limited detail for very small text
Requires proper digitizing
Woven patches
Woven patches use thinner thread woven tightly together, allowing for finer details and smoother surfaces.
Pros
Great for detailed artwork and small text
Lightweight and flexible
Cons
Less texture than embroidery
Slightly less durable over time
Printed patches
Printed patches use print methods like sublimation or DTG on fabric.
Pros
Full-color images and gradients
No stitch limitations
Cons
Less textured
It can fade faster with frequent washing
Chenille patches
Chenille patches are thick, fuzzy patches often seen on varsity jackets.
Pros
Bold, eye-catching style
Perfect for letters and numbers
Cons
Thicker and heavier
Limited design flexibility
PVC patches
PVC patches are made from molded plastic rather than fabric.
Pros
Waterproof and durable
Great for outdoor use
Cons
Not fabric-based
Limited compatibility with print-on-demand
Leather patches
Leather or faux leather patches are popular for hats and bags.
Pros
Minimal, premium look
Durable and stylish
Cons
Limited color range
Not ideal for complex artwork
How to make custom patches: A step-by-step guide

Below are practical steps to making custom patches, designed for creators who want a scalable print-on-demand approach rather than manual DIY production.
Step 1: Choose your patch size, shape, and border style
Start by defining the size and shape of your patch. Size affects cost, visibility, and placement.
Common shapes include:
- Circle
- Rectangle
- Shield
- Custom die-cut shape
Think about where the patch will be used. Hats usually require smaller patches, while jackets and bags allow for larger designs. Border style matters too. Merrowed edges are common for embroidered patches and help prevent fraying, while heat-cut edges work better for detailed shapes.
Choosing the right shape and edges early helps you create the perfect patch for your product lineup.
Step 2: Create your artwork and prepare designs
Your patch design determines how successful the final product will be. Start with clean, simple artwork that translates well to embroidery or print.
Artwork tips
- Use bold lines and clear shapes
- Avoid very small text
- Limit fine details if embroidering
- Design at actual size
If you are creating embroidered patches, your artwork must be digitized. Digitizing converts the image into stitch instructions for an embroidery machine.
Key considerations:
- File formats like PNG, SVG, or PDF
- Line thickness that supports stitching
- Limited color count to control thread changes
- Stitch direction and density
Pro tip
You can learn more about preparing custom embroidery files in our blog articles:
How to make embroidery designs
What is embroidery
Logo digitizing for embroidery
Step 3: Choose production method and supplier
This is where print-on-demand becomes the easiest and most scalable option.
Instead of buying a sewing machine, embroidery hoop, needle, thread, fabric, paper templates, and testing materials at home, you can upload your design to a print-on-demand platform like Printify.
With Printify, you can:
- Upload your own design
- Select embroidered patches or patch-ready apparel
- Choose backing options like iron-on or sew-on
- Order patches with no large minimum order
- Access bulk order discounts and wholesale prices as you scale
Printify handles production, quality control, and fulfillment, allowing you to focus on design and marketing rather than machines and manual labor.
This approach is ideal if you want to sell custom patches online, offer bulk discounts, or test multiple designs without upfront inventory.
Step 4: Order samples and test quality
Before selling, always order samples. This step protects your brand and ensures consistent quality.
What to inspect:
- Stitch density and stitch consistency
- Clean edges and border finish
- Color accuracy and thread quality
- Backing adhesion for iron-on patches
Test patches on the intended fabric. Apply heat using an iron or heat press and check peel strength. Wash and wear the item to evaluate durability for daily wear. High-quality custom patches should stay intact after multiple washes.
Step 5: Start selling your patches
Once samples pass inspection, you are ready to sell. With print-on-demand, you can list patches on your shop without holding stock.
Connect Printify to your online shop, upload product images, and set pricing. You can sell patches individually or apply them to hats, apparel, bags, and other products.
This method allows you to create your own custom patches, offer bulk options for teams or brands, and scale production automatically.
How much does it cost to make custom patches?

Costs depend on the patch type, materials, size, and quantity.
Typical cost factors:
- Patch size and shape
- Embroidery complexity and stitch count
- Backing type, such as iron-on or sew-on
- Production method
- Order quantity
Print-on-demand keeps costs predictable. There is no need to buy machines, fabric rolls, or thread in bulk. You pay per item, with access to bulk order discounts and wholesale prices as volume increases.
This makes it easier to price competitively while maintaining quality.
Tips for creating successful custom patches
- Always test designs before selling
- Match the patch type to the placement and use
- Focus on durable materials and quality stitching
- Experiment with unique shapes and borders
- Think beyond clothing and explore other accessories
Understanding your audience helps you decide whether embroidered patches, chenille patches, or printed patches make the most sense for your brand.
Frequently asked questions about custom patches
Conclusion
Learning how to make custom patches opens up creative and commercial opportunities for designers, brands, and entrepreneurs. While DIY methods are possible, print-on-demand offers the easiest way to create, test, and sell patches without high upfront costs.
By choosing the right patch type, preparing clean designs, and working with a reliable production partner, you can create high-quality custom patches that stand out. If your goal is to sell patches online or add them to a growing product line, print-on-demand patch fulfillment gives you the flexibility to scale with confidence.




