

Translating vibrant, detailed photos to fabric without losing integrity is a major challenge for photographers. To turn a low-resolution, cluttered photo into a professional hoodie design, follow a three-step pipeline: background removal, AI upscaling to 300 DPI, and stylization. Advanced AI tools like Nano Banana or C-Dream 4 clean and sharpen images specifically for DTF (Direct To Film) printing. This ensures your artistic vision translates perfectly to wearable art.
1. The background knockout rule
Why a clean background matters
For the 8,477 artists striving for truly integrated designs, never print the distracting rectangle of your original photo. This isn't just about aesthetics; it's about making your artwork feel like a natural, seamless part of the hoodie fabric, rather than simply pasted on. This critical first step ensures your photographic subject truly pops and connects with the garment, elevating your design from amateur to professional.
Using AI tools for flawless isolation
Achieving that seamless, integrated look starts with pristine subject isolation. Use AI background removers like Pixelcut or Photoroom to expertly isolate your subject. These tools can handle complex edges, fine details, and challenging backgrounds with remarkable precision, saving you hours in post-production while delivering print-ready transparency.
2. The 300 DPI standard
Why 72 DPI fails on fabric
For the 12,203 business owners aiming for commercial-grade quality, a standard 72 DPI photo is a recipe for a blurry mess on a hoodie. Your audience expects crisp, professional results that accurately reflect the detail and clarity of your original photographic work. Anything less compromises your brand, lowers aesthetic integrity, and hurts profitability.
AI upscaling: Achieving 300 DPI
This is where AI upscalers become indispensable for true quality. Tools like Adobe Firefly or Upscale.media intelligently add detail, sharpen your image, and ensure it meets the rigorous demands of professional printing. Crucially, use these tools to push your file to 300 DPI at the intended print size (typically 12" x 16" for a standard hoodie graphic). This ensures your high-resolution photos translate without blurriness or distortion, preserving every nuance, and boosting your product's appeal.
3. Stylization and print methods
Refining images with AI stylization
Beyond basic upscaling, AI tools like Nano Banana or C-Dream 4 can provide a stylization layer. This involves fine-tuning color profiles for garment printing, subtly enhancing sharpness without artificiality, and ensuring your photo's aesthetic translates perfectly to fabric. This step cleans and sharpens specifically for DTF's unique vibrancy and durability.
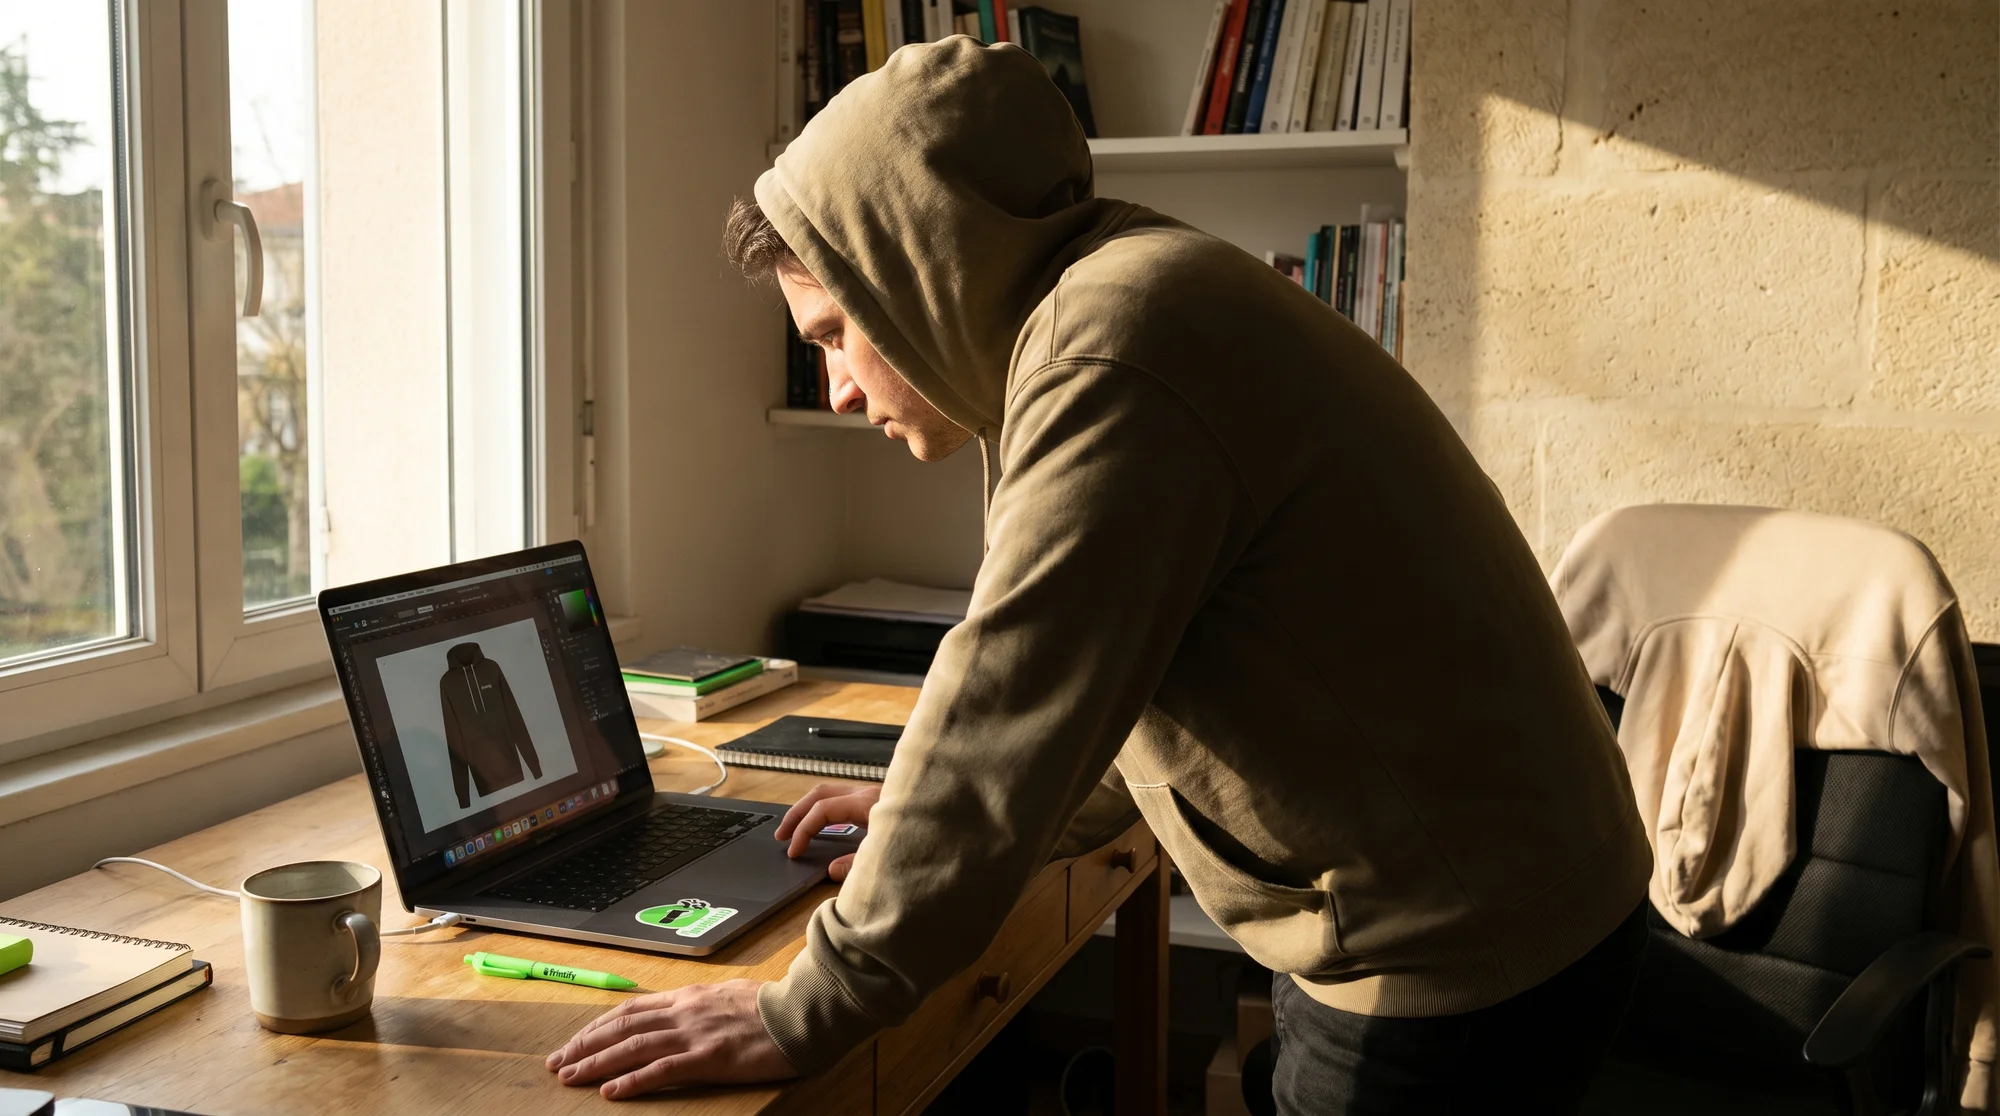
Bridging to Printify's Product Creator
Once your upscaled, transparent PNG is perfected, the final step is direct activation within your chosen print-on-demand platform. Head straight to the Printify Catalog and use the Product Creator to bring your vision to life. This seamless bridge ensures your meticulously prepared files are accurately represented, getting your art ready for sales with ease.
DTG vs DTF printing techniques
With your transparent, 300 DPI PNG uploaded, you will select the printing method. Each offers distinct advantages for your photographic art:
- DTG (Direct to Garment): Ideal for soft gradients, subtle color transitions, and a softer hand feel where the ink dyes the fabric directly. Choose this for painterly effects or photographs with delicate atmospheric nuances.
- DTF (Direct to Film): The go-to for bold, vibrant colors that demand to pop, intricate details that need to stay razor-sharp, and designs that won't crack on heavy fleece. For photographers, DTF often provides superior photographic fidelity and durability, which is essential for maintaining the integrity of your detailed work.
Avoiding common print pitfalls
Pre-press checklist for photographers
Before launching your designs, run through this quick checklist to ensure maximum quality and customer satisfaction:
- Verify true transparency: Double-check for any faint leftover edges or accidental semi-transparent areas from background removal. Your design should float cleanly.
- Color profile: Ensure your files are in sRGB (standard for most print-on-demand platforms) to prevent unexpected color shifts during the printing process.
- File type: Always export your final, print-ready image as a PNG to preserve transparency and detail.
- Test prints: Before a full launch, order a sample. Seeing your design on an actual hoodie is invaluable for final quality assessment, helping you maintain Printify's commitment to quality.
Scaling your art: Efficient workflows
Efficiently preparing multiple images for various products is key to scaling your eCommerce business. Develop a consistent AI-powered workflow for batch processing and file management. This consistency ensures quality across your entire product line, enhances your brand's professional image, and improves your margins and profitability.
Future-proofing your merch business
The landscape of AI and printing technology is constantly evolving. By adopting this advanced AI print pipeline, you're not just creating custom hoodies; you're future-proofing your business, maintaining a competitive edge, and ensuring your artistic vision is consistently delivered with the highest possible quality on every piece of merchandise.
Ready to transform your photographic masterpieces into stunning, high-quality hoodie merchandise? Head over to the Printify Catalog, select your garment, and click Start designing in the Product Creator, armed with your expertly prepared, AI-enhanced PNGs.


