


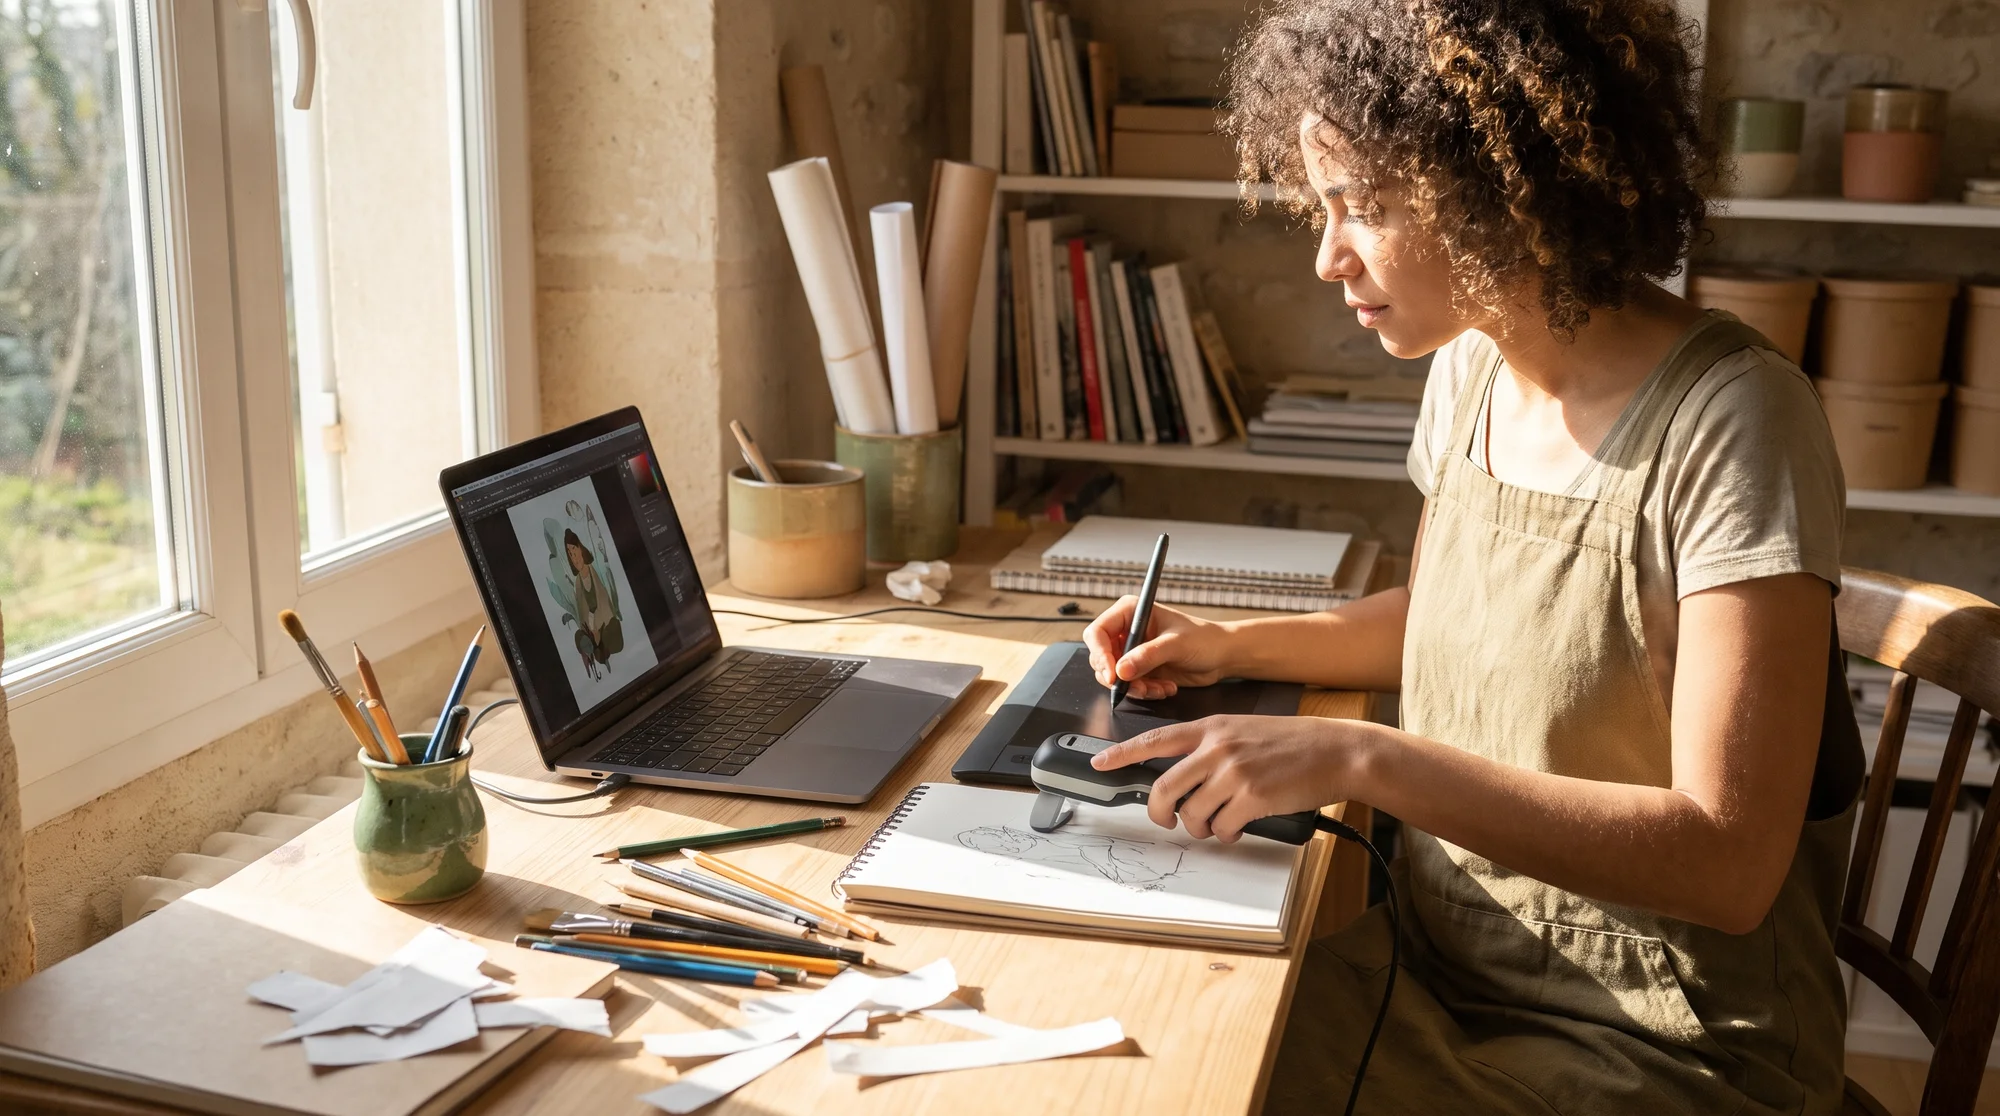
You have a shoebox full of drawings that could be paying your rent, but every attempt to digitize them pulls you into a three-hour Levels-and-Image-Trace rabbit hole that ends with nothing listed. The fix is a repeatable workflow: capture your art once at 600 DPI, run it down one of two cleanup tracks based on medium, and export a clean file your print on demand store can sell today. Below, you will capture, clean, audit for grey halos, and list on artist-grade blanks before dinner.
The shoebox problem: why your art isn't making money
The real enemy
Talent isn't your bottleneck. The afternoon-eating software maze is. You open three tutorials, tweak forty sliders, and close the laptop with zero products live. Meanwhile, the art stays in the shoebox and the shoebox stays broke.
The cure is a fixed sequence you never have to reinvent. When you know exactly which setting to touch and when to stop, digitizing becomes a 45-minute task instead of a lost day.
What sloppy digitization costs you
Rushing creates expensive problems you only discover after a customer complains:
- Refund requests from blurry art you upsized past its real resolution.
- Grey DTG halos glowing around your design on dark hoodies.
- One-star reviews asking "why is there a grey box around it?"
Each of these eats margin and kills repeat buyers. Clean digitization is not perfectionism; it is profit protection.
The one-sitting promise
Here is the whole plan: capture, clean, and list the same afternoon. You hit the capture standard once, pick the right cleanup track for your medium, run a 30-second halo check, and upload. No guesswork, no rabbit hole.
Before software: hit the capture standard
The non-negotiable resolution
Garbage in, garbage out. If you capture low, no amount of editing saves you, and your profit dies before you start. Set your standard and never drop below it.
- Scan at 600 DPI for standard art.
- Scan at 1200 DPI for small, intricate pieces you plan to blow up onto hoodies or posters.
High optical resolution means you can scale up without blur, which protects you from refunds and unlocks the big, high-margin products.
Flatbed scanner protocol
A flatbed is the fastest route to clean, flat capture for anything that fits on the glass. The goal is to preserve every bit of raw tonal range so your cleanup has room to work.
- Set color depth to 24-bit or 48-bit color.
- Save as an uncompressed .TIFF file, not a JPEG.
- Turn auto-sharpen OFF.
- Turn auto-color-correction OFF.
Disabling the "helpful" auto settings keeps your tonal latitude intact, so whites stay clippable and washes stay smooth.
Oversized art camera rig
Canvases larger than 8.5in x 14in won't fit a flatbed, so you build a simple copy stand instead. The aim is dead-flat, glare-free, color-accurate capture.
- Mount a DSLR or mirrorless camera parallel to the artwork on a tripod or copy stand.
- Place dual 5500K daylight lamps at 45-degree angles to kill specular glare.
- Shoot in RAW at ISO 100 for the cleanest file.
- Set the aperture to f/8 for edge-to-edge sharpness.
Parallel alignment plus even light means no keystone distortion and no hot spots, giving you a file as clean as a scan.
The dual-track cleanup split
Your medium decides your method. Crisp ink wants vectors; soft paint wants raster masking. Pick one lane and don't mix them.
Track A: crisp ink to vector
Black ink linework should become a vector so it scales from a sticker to a tapestry with zero blur. This is the highest-margin move for bold, clean illustrations.
- Open the file in Adobe Illustrator and choose Image Trace.
- Select the Black and White Logo or Line Art preset.
- Set Threshold to isolate the dark ink from the paper.
- Bump up Paths and Corners for crisp detail.
- Check Ignore White to drop the background.
- Click Expand, then export as .SVG or .AI.
A vector file never pixelates, so one drawing sells across every size in the Printify Catalog without a single reshoot.
Track B: paint to raster alpha
Painted and textured art lives in subtle tones, so a hard cutout leaves jagged, ugly edges on your washes. You need a soft alpha mask instead.
- Open the file in Adobe Photoshop and press Ctrl/Cmd + L for Levels.
- Drag the white-point slider until the paper texture hits pure #FFFFFF.
- Use Select greater than Color Range, or build contrast from the Green or Blue channel, to create an inverse alpha mask.
- Apply the mask to isolate your washes with soft, natural edges.
This keeps the delicate feathering of watercolor intact, so your art looks hand-painted, not cut out with scissors.
The export spec Printify loves
Printify runs an automated DPI verification, and hitting the spec means instant approval. Export to the exact target every time:
- Size: 4500 x 5400 px.
- Resolution: 300 DPI.
- Format: transparent PNG-24, or vector SVG/PDF.
Matching this once means you never see a low-resolution warning and your art prints crisp on every blank.
The DTG halo audit
Drop a black check layer
Stray paper grain is invisible on a white background and glaringly obvious on a black hoodie. Catch it before the customer does.
- Create a new layer filled with solid #000000 black.
- Place it beneath your isolated artwork.
Suddenly every faint pixel you missed lights up against the black.
Hunt down stray grey pixels
With the black layer showing, scan the edges of your art for semi-transparent paper grain and grey fringing.
- Zoom to 100 percent and inspect the outlines.
- Erase or re-mask any ghost pixels and soft halos.
- Re-check until the background is truly transparent.
This single step is the difference between five-star reviews and "why is there a grey box around it?" messages on dark apparel.
From clean file to live listing
Upload into the DPI verification
Your file is clean and correctly sized, so activation is fast. Upload your 300 DPI PNG or vector SVG into Printify, and the automated DPI verification confirms it is print-ready in seconds.
Let the Product Creator shoot it
No product, no camera, no studio needed. The Product Creator renders professional mockups for you, so you get a full catalog of listing images without owning a single blank. That is speed and quality working together to get you selling faster.
Drop it onto artist-grade blanks
Organic illustration deserves tactile, premium products that justify premium prices. Place your design on blanks built to flatter hand-drawn art:
- Comfort Colors 1717 Tee, a garment-dyed cotton that complements organic illustration.
- Lane Seven Heavyweight Hoodie for a premium, structured feel.
- Woven Tapestry Blankets for large, detailed pieces.
- Fine Art Matte Posters for gallery-grade wall art.
Higher-quality blanks mean higher margins and happier buyers, which protects your profitability.
Push to your store today
Once the mockups are set, publish straight to Etsy or TikTok Shop that same afternoon. Your shoebox art goes from drawer to live listing in a single sitting.
Your one-sitting battle plan
Follow the sequence and you will never lose another afternoon to the rabbit hole:
- Capture at 600 DPI (1200 DPI for tiny, intricate art).
- Pick Track A for ink or Track B for paint.
- Run the DTG halo audit against a black layer.
- Export at 4500 x 5400 px, 300 DPI, as PNG-24 or SVG.
- Upload, drop onto artist-grade blanks, and list.
When you are ready to turn that stack of drawings into live products, register and start the engine.
Articles in the Printify Knowledge Hub are researched, written, and published with the help of generative AI, and cover topics related to eCommerce and Print on Demand. They are for educational purposes only and do not constitute legal, financial, or business advice.
