Five Tips for Creating the Perfect Custom Design
Chapter 1
Five Tips for Creating the Perfect Custom Design
Let’s take a look at some precautionary steps you can take to ensure the best possible outcome for your custom design. These are five tips to consider when creating your artwork for printing purposes.
Reminder
Check out our Terms of Service and Intellectual Property Policy to make sure your designs comply with our guidelines. Our Print Providers will cancel any orders containing prohibited designs.
1. Pick Your Products and Materials Carefully
The same design can appear different after printing on two different products. This largely depends on the material printed.
For example, one t-shirt style may have awesome ink absorption, resulting in a sharp-looking finish. However, that same design on another product (maybe a thick hoodie) might appear less intense (DTG prints on blended fabric will look less crisp than on a 100% cotton material).
This discrepancy can be due to the fabric used (cotton, polyester, rayon, blend, etc.), the thickness of the cloth, differences in dying technologies/processes, and other factors.
Our printing partners currently offer direct-to-garment, all-over-print or dye sublimation, heat-press transfer, and direct-to-film printing and decorating methods, which are further explained in the upcoming chapters. Your design will appear slightly different with each technology and method.
Useful articles for picking the right product, material, or printing method
Pro Tip
An easy way to dodge this pitfall is to order a product sample before selling. This way, there will be a physical representation of that product and its design.
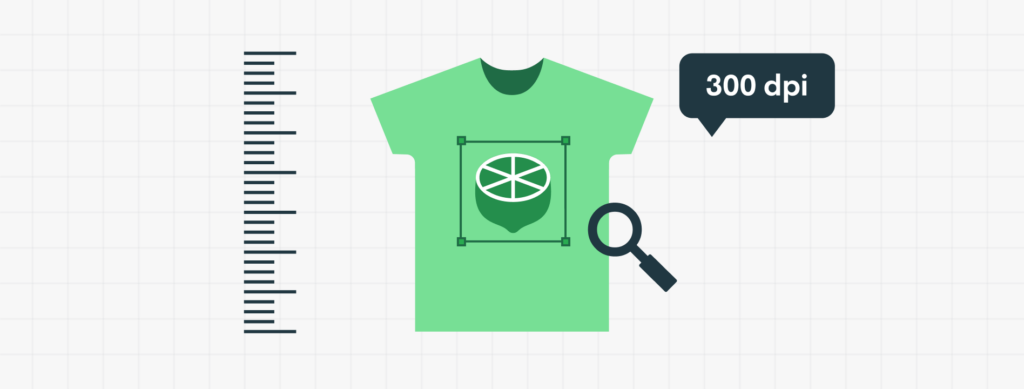
2. Use High-Quality Designs
A poor, low-resolution design will almost always produce a low-quality print. Make sure designs are of a high enough resolution to avoid this problem. Also, consider your background color for different styles of products.
Note
Please avoid small details, especially for mugs, as those tend to come out blurry in the final print. While this mainly depends on the product material surface, your artwork should be at least 5 pixels (ideally more).
The Product Creator displays print file requirements for each product once you click the Upload button in the top-left corner. It also shows the resolution of your uploaded design. The design tool has an image enhancer feature, automatically enhancing the print quality before sending it to production.
However, note that this is not a miracle tool that will make low-quality artwork appear flawless. We still encourage you to use high-resolution files since our tool will only enhance the quality slightly to be more suitable for printing.
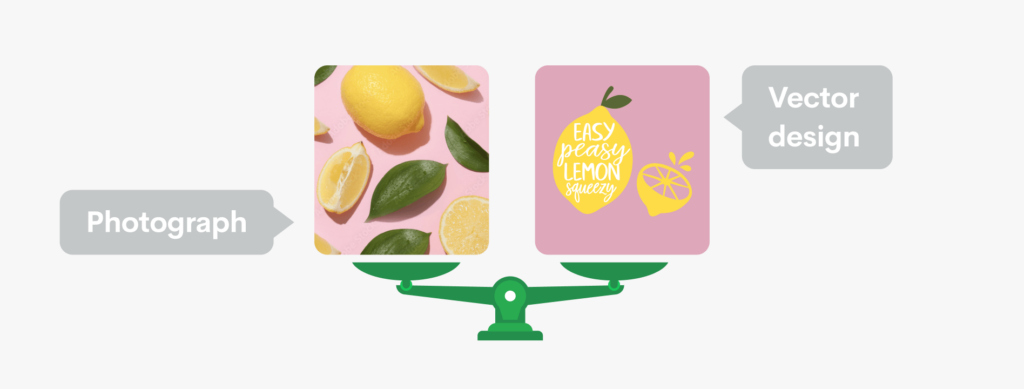
3. Weigh the Difference Between Digital Artwork and Photos
Digital artwork has the potential to look better than a photo. Graphics usually have larger solid color blocks. While photos tend to have more color gradients, mid-tones, and a wider color palette. And those need to be converted into a computer-friendly file. (Our Product Creator supports JPEG, PNG, and SVG formats).
However, we partner with the best printing companies worldwide, who use top-notch equipment to ensure crisp and sharp prints for photos and digital artwork.
4. Mind the Bleed Area
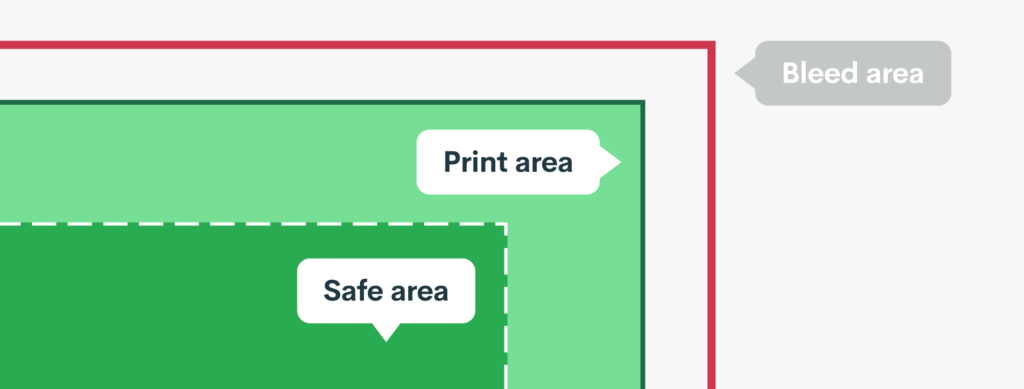
Products have multiple areas within their surface
- Safe Area. White area with a dotted line border where all the important design elements should be located.
- Print Area. The white area on the Product Creator that should be covered with your design.
- Bleed Area. The gray area surrounding the outside of the printable area. Important design elements should NOT be placed there.
! We strongly recommend covering the bleed area with your design. While this area is mostly used for inner seams and other elements not visible to the naked eye, covering it with your design will ensure full coverage and avoid unprinted areas !
Note
Products with the bleed area have downloadable templates where you can check if your design covers the entire surface. Find instructions here.
5. Troubleshoot Your Text
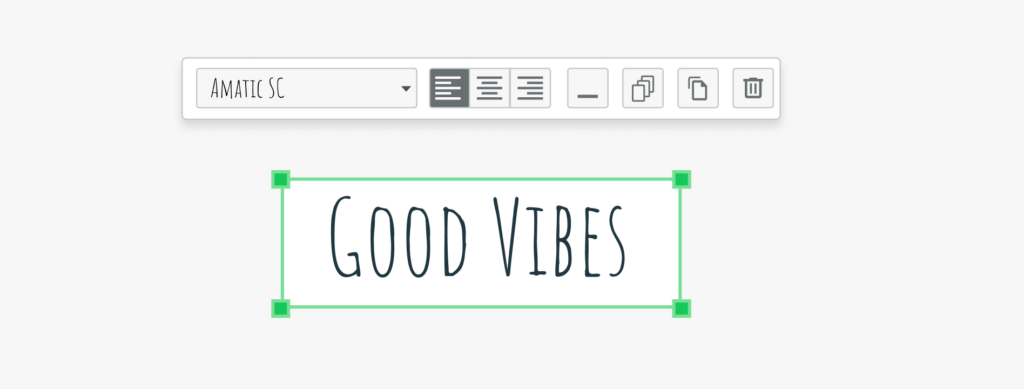
Our Product Creator allows you to add and edit text directly on the product – without uploading it as a separate file. Find the Add text button on the left side and choose among many font and color options. The text editor is multi-language and emoji-friendly.
From different fonts and colors to text size. Modify your message every way you want to create the perfect design for your custom products.