Print File Sizing
Chapter 2
Print File Sizing

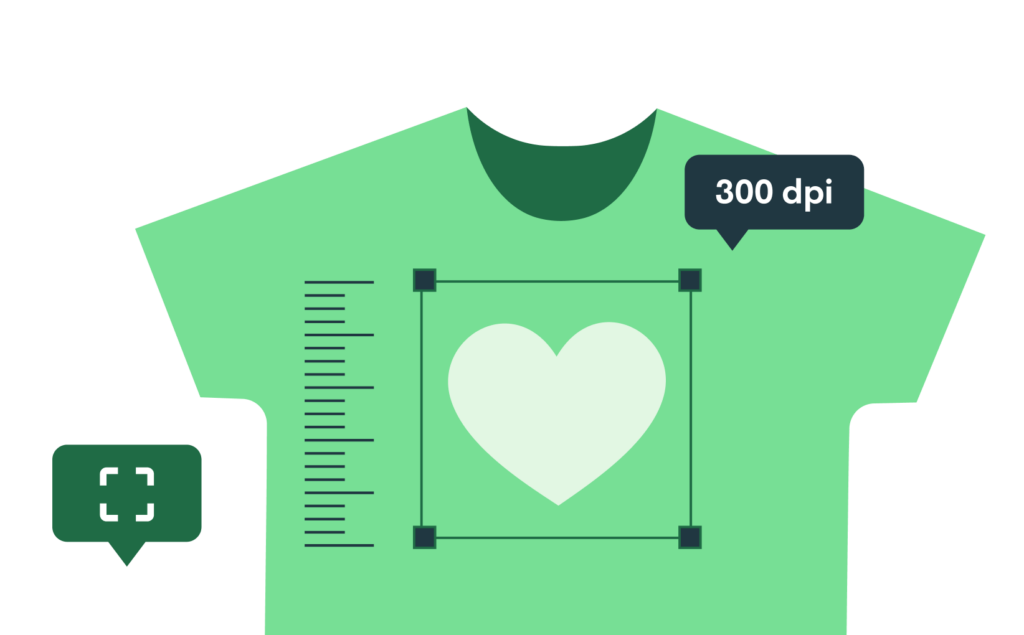
There’s nothing worse than building the perfect design than seeing an error message when trying to put that design on a product. This is what we mean by file sizing. It’s the quality of a design, its ability to be enlarged, translated, or printed without losing quality.
What to Consider
The recommended print size of a product is for the entire print area. Prepare the design to fit the recommendations and scale it however you need. Random pictures from the internet can be extra problematic, so we’ve prepared a short list of things to consider when sizing your print files.
Image Quality
Image quality can depend on multiple factors. First, is it a photo, scan, or digitally created file? While modern technologies can make nearly anything happen, remember to prepare the best quality images possible. Second, keep in mind lighting, positioning, and other elements that could affect the quality of your print design.
Zipper Area
If you don’t want prints to be printed over a garment’s zipper, please avoid that space. The printable area starts two inches for the front and three inches for the back down from the collar (in most cases).
Product Sizes
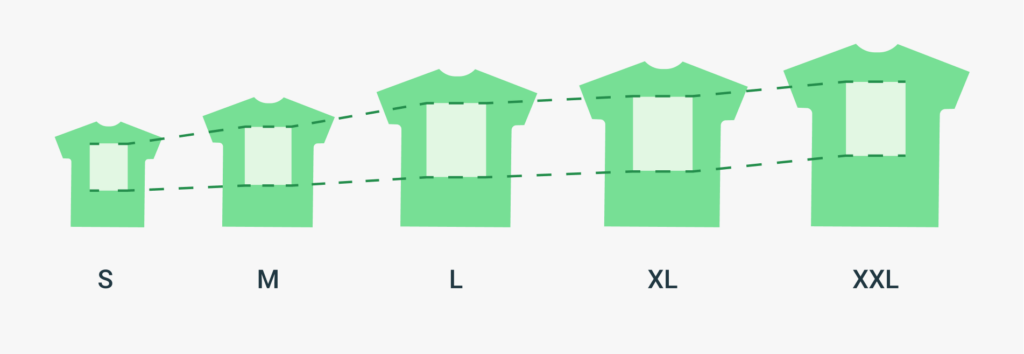
Keep in mind product sizes on the Product Creator. The design will look slightly different on S, L, or XL products. Our product creator shows the L apparel size and allows you to place the design on that size only.

Remember that the distance between the collar and the print stays the same, no matter the size. For this reason, avoid placing the design on or near zippers, pockets, or other places where a cutoff might occur when a smaller size is ordered.
Note
Consult our Help Center article to find out which printing partners don’t offer a scaled-down design version for their products and how to check the print area size for specific product variants.
How to Choose the Right Size for Your Custom Design
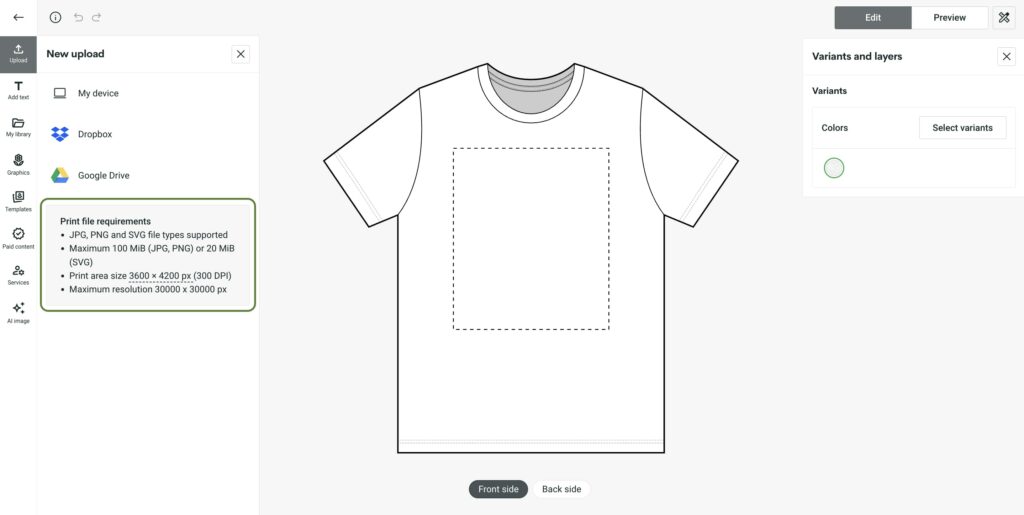
Take everything mentioned above into account when creating, uploading, or saving your design. Each printing company and custom product has different file requirements for reaching the best printing result. And those should be your ultimate guide for creating your design.
The Product Creator is your best friend for creating designs. It gives clear instructions on file requirements and allows you to customize the design in many different ways.
Our team keeps updating the tool and releasing new and useful features, ensuring you an easy and fast design process. From scaling possibilities and alignments to adding text and even creating patterns. Reduce time outsourcing designs and make your own artwork on the Printify platform.

How to Upgrade Your Design
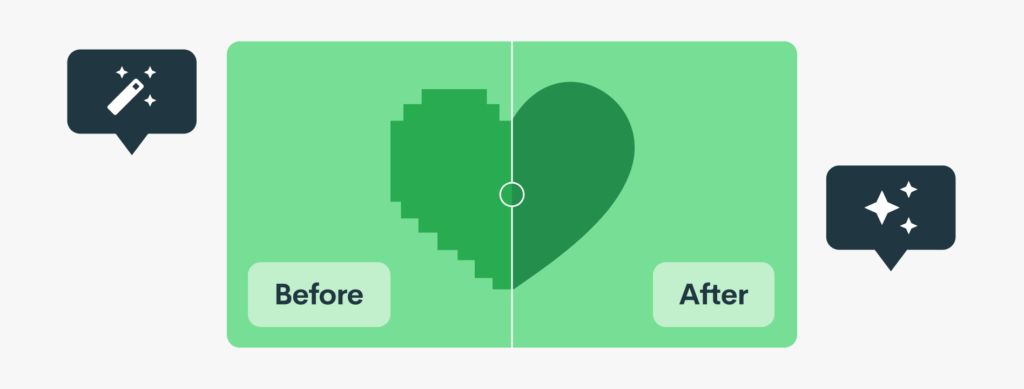
While starting with a high-resolution design is always better, various software can be used to improve things. It’s worth mentioning that these don’t have to be expensive, like Adobe Photoshop or our very own completely free Image Enhancer on the Product Creator.
Here are three solid alternatives for giving a design a boost and checking RGB vs. CMYK colors and color codes.
When a design is created via software, you won’t have a problem resizing (rescaling) it within that program. However, please make sure to export a large image file, so the design has some room to stretch or resize relative to POD products while staying consistent.

