


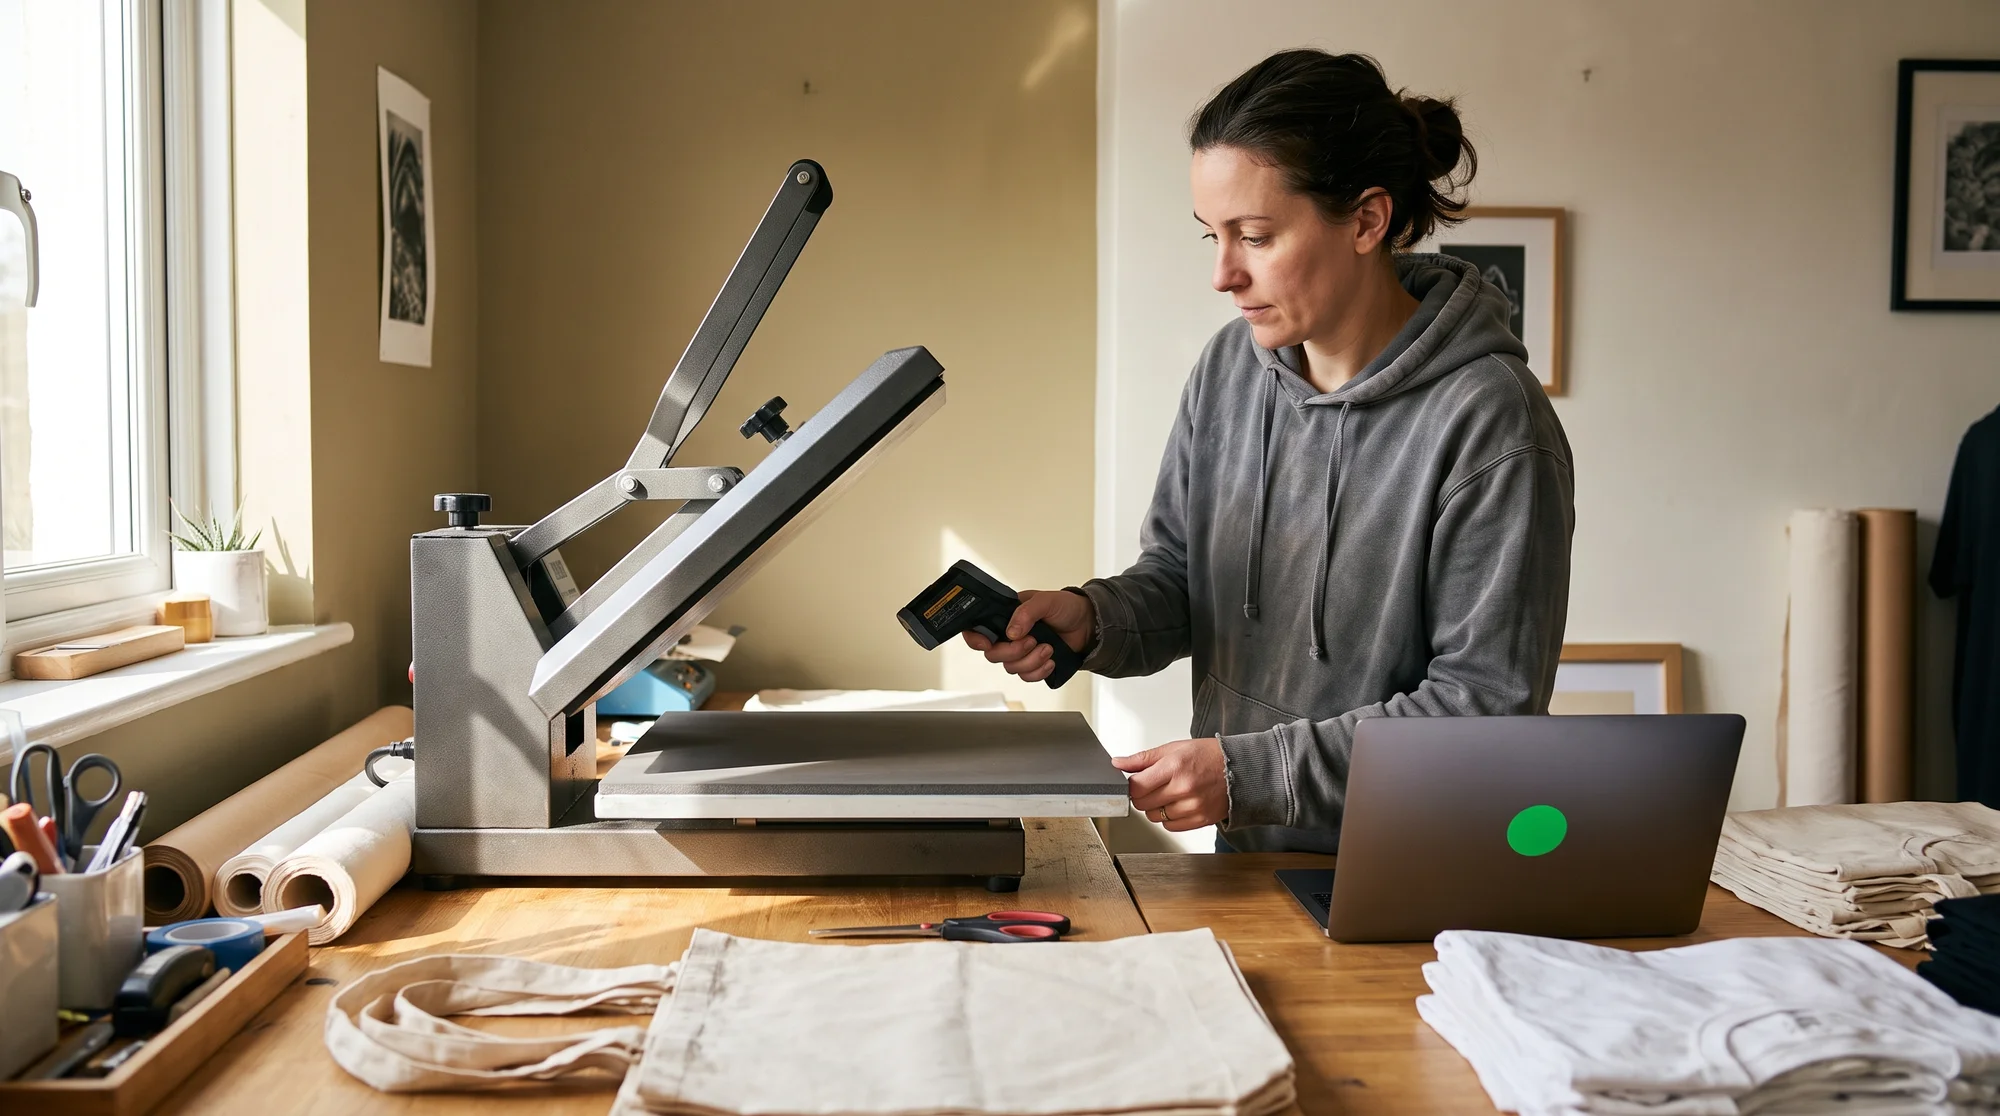
Your DTF transfer isn't sticking because of one of three faults: the platen never hit temperature (so the TPU adhesive powder never fully melted), the pressure was too low or uneven (usually from a thick seam or collar lifting the platen), or you peeled a cold-peel film while it was still warm. The fix is to calibrate your real surface temperature, kill trapped moisture with a pre-press, and match your peel type to your film. Below, we isolate the three faults that cause roughly 90% of failures so you can diagnose fast and get back to selling.
Why your DTF transfer isn't sticking
Every failed DTF press isn't a craft mistake — it's a hole in your margin: a wasted blank, a stalled order, and a one-star refund waiting to happen on Etsy or TikTok Shop.
Let's reframe the problem. This isn't a hobby setback. It's a profit leak. Every transfer that lifts after wash one is a reprint, a reship, and a hit to your reputation with the very platforms that feed your orders.
Here's why we skip the "12 reasons your transfer failed" listicle: you don't have time to audit a dozen variables between order drops. These three faults cause the overwhelming majority of failures. Nail them, and you diagnose any bad press in under five minutes.
The three faults:
- Temperature — Your platen never truly reached temp, so the adhesive powder never melted.
- Pressure — Uneven or insufficient pressure, often from seams and collars.
- Peel timing — You peeled a cold-peel film while it was still warm.
Fault 1: The temperature calibration audit
The hidden revenue killer
Digital displays on budget or aging commercial presses routinely drift by 15°F to 30°F. If your platen never truly hits temp, the TPU adhesive powder never fully melts — which means a print that looks perfect on the shirt will peel after wash one or two and trigger a refund.
That's the trap: the failure is invisible until it lands in your customer's laundry. By then, the one-star review is already written.
The 60-second fix
Do not trust your heat press dial. Verify your real surface temperature instead.
- Use an infrared heat gun or a thermal strip to confirm your platen reaches an actual temperature of 300°F to 325°F (150°C–163°C).
- Check all four corners. A cold corner means patchy adhesion on part of your design, even when the center looks flawless.
- If your corners read cold, your press needs recalibration or a heat plate service — don't keep running production on it.
Margin math
An IR heat gun costs around $20. One batch of reprinted, reshipped, refunded orders costs far more — plus the trust you lose on Etsy or TikTok Shop. This is the highest-ROI tool in your studio, and it pays for itself on the first save.
Fault 2: The seam and moisture trap
Trapped moisture sabotages the bond
Trapped fabric moisture acts like steam under heat, physically pushing the transfer away during the press. That's what causes micro-blisters and edge lift on prints that had the right temp and pressure.
The fix: Always run a five-second pre-press before you place your transfer. This flattens the fibers and drives out trapped humidity, giving the adhesive a clean, dry surface to bond to.
Seams and collars rob your pressure
If your graphic sits near a collar, zipper, or thick seam, those raised areas lift the flat platen off your design. The result is uneven pressure and patchy adhesion, no matter how dialed-in your temperature is.
The fix: Elevate the print area with a high-density pressing pillow. The pillow raises the graphic zone so the flat platen delivers full, direct pressure right where you need it, and the seams fall away to the sides.
Quick pressure sanity check
Run the paper test at all four corners. Slide a slip of paper under the closed platen — you should feel real resistance closing a clamshell. A light close means under-pressure, and under-pressure means peel.
Fault 3: Outsource the risk
You're bleeding hours instead of scaling
Every hour you spend troubleshooting adhesion is an hour you're not launching the next trend. The fastest-growing sellers don't just fix adhesion problems — they remove the risk from their workflow entirely.
Because here's the truth: even perfect settings fail on a bad blank. Thin fabric, factory coatings, and shrinkage cause silent adhesion failures that no IR gun will catch.
Source pre-vetted heavyweight blanks
Cheap blanks kill your margins twice: once at checkout, and again when they fail in the wash. The reliable fix is a dense, quality cotton blank that gives your adhesive something solid to grip.
- Source high-density cotton blanks like the Shaka Wear Max Heavyweight Tee or Comfort Colors 1717 through the Printify Catalog.
- Pair those premium, quality-controlled blanks with your calibrated heat press settings.
- The result: your localized or Print Provider DTF transfers achieve an unbreakable physical bond.
The outsource advantage
When you produce through Printify's vetted Print Providers, you offload the entire adhesion risk. No more wasted shirts, no more failed presses stalling fulfillment, no more staring at your equipment wondering if it's lying to you.
That's Printify's promise working for you: Quality blanks and vetted production, Profitability protected from reprints, Selection across the Catalog, and Speed so you get back to launching instead of troubleshooting.
The 5-minute DTF rescue checklist
Run this on your next press before you commit a batch:
- IR gun check: 300–325°F (150–163°C) across all four corners.
- 5-second pre-press to drive out moisture before placing the transfer.
- Pressing pillow near any seam, collar, or zipper to even out pressure.
- Match peel type to film — hot vs cold, and never hot-peel a cold-peel film.
- Source quality-controlled heavyweight blanks to eliminate the variable entirely.
Run the 5-minute rescue checklist on your next press. Then remove the adhesion variable for good — source pre-vetted heavyweight blanks like the Shaka Wear Max Heavyweight Tee or Comfort Colors 1717 through Printify, pair them with your calibrated settings, and get back to launching trends instead of troubleshooting them.
