


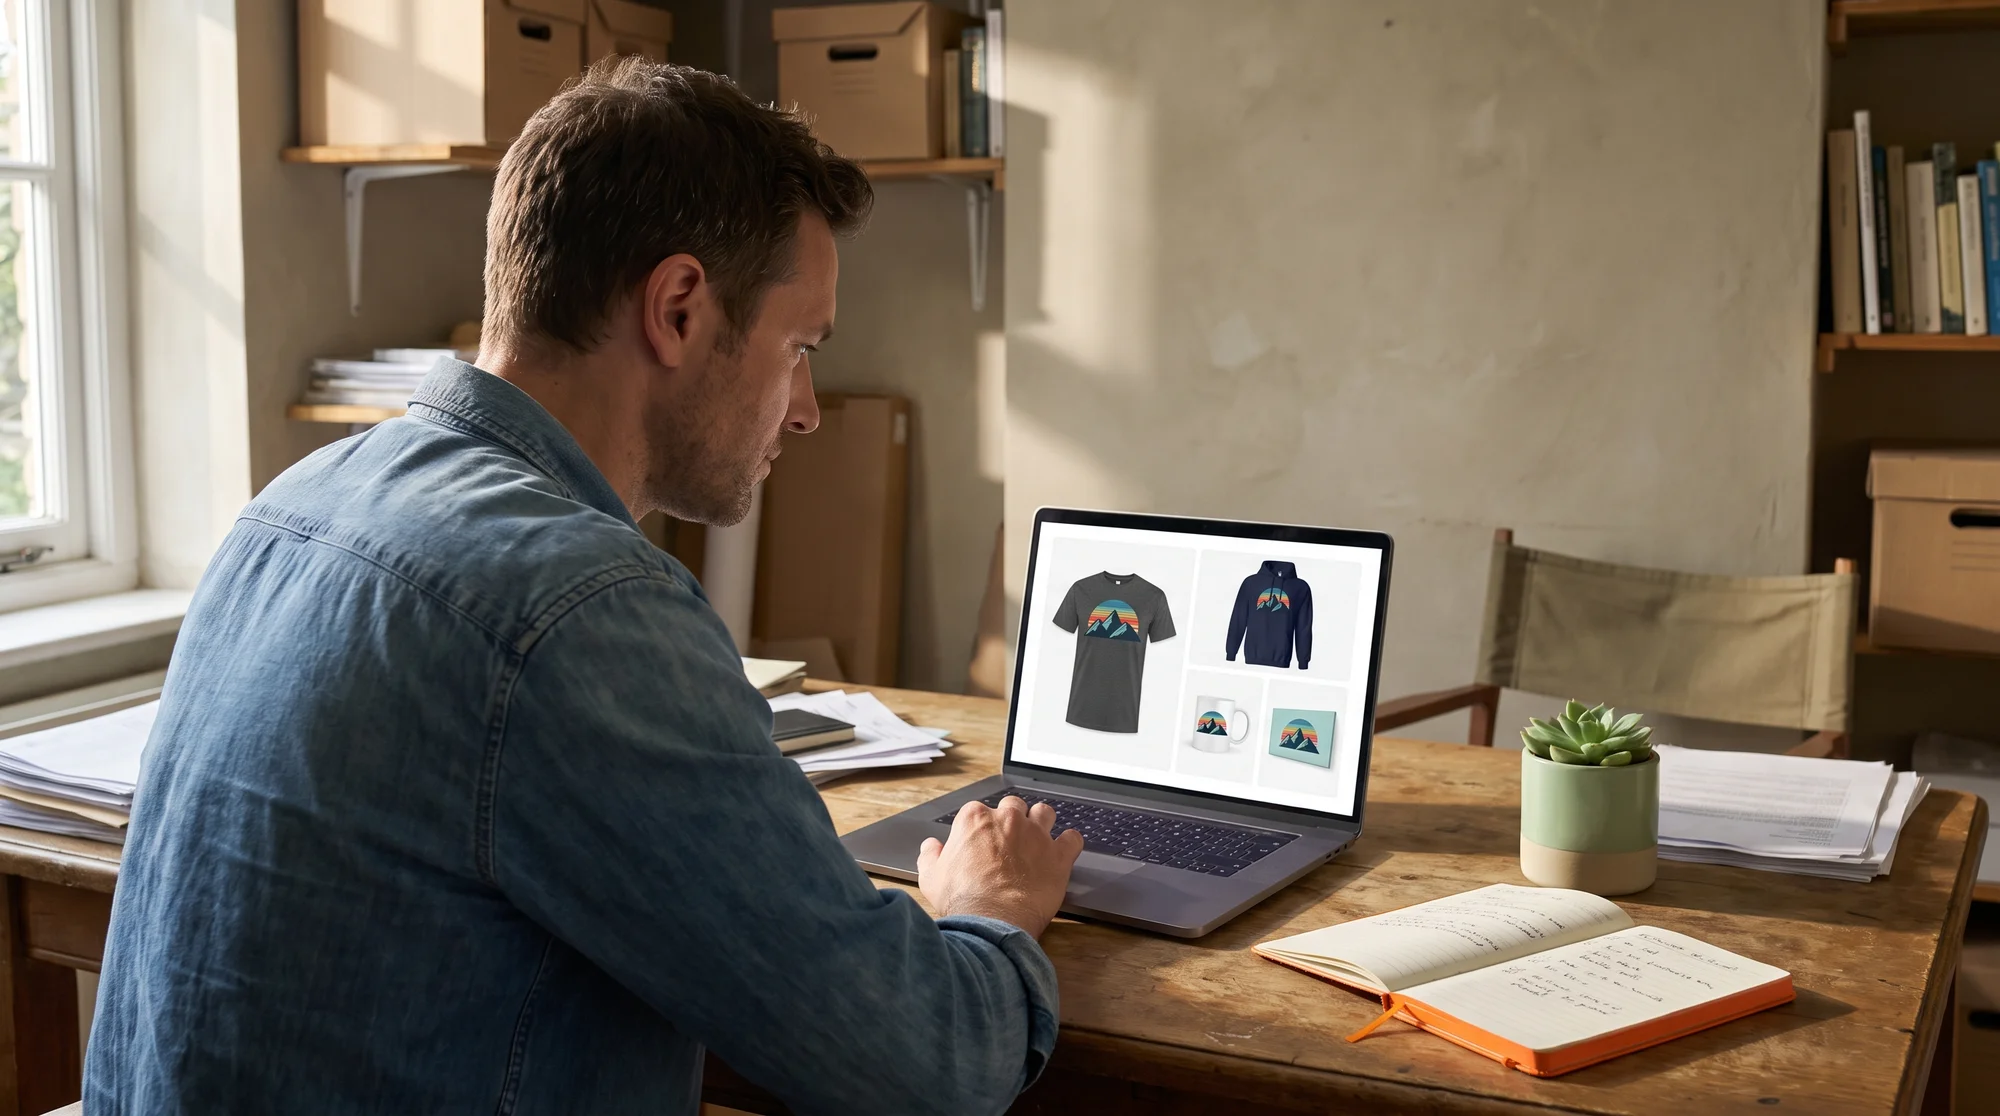
You already found a winning design, but it's only living on one t-shirt, which means you're leaving four high-margin products and a mountain of AOV on the table. The fix is a batch file-prep system: build one print-ready master file, then drop it across six products in about 10 minutes. Below, we'll cover what "print-ready" actually means, the three file errors behind most reprints, and the exact batch play to launch a full collection, so you can get back to testing your next winner.
The real reason your AOV is stuck
Sell your winner everywhere
Here's the painful truth: you did the hard part. You tested, you found a design people actually buy, and then you stopped at a single tee. That's leaving roughly 80% of the revenue on the table.
A buyer who loves your art on a shirt will happily grab the matching mug, hoodie, or canvas, if you give them the option. One winning design should be a collection, not a one-off listing.
The velocity trap
Every hour you spend rebuilding that same artwork for a mug is an hour you're not spending finding your next winner. That's the velocity trap, and it quietly caps your income.
Redesigning from scratch for each product feels productive. It isn't. It's slow, and slow is expensive when you're trying to scale.
The mindset shift
Stop treating file prep like a technician's chore. It's a catalog-expansion machine.
Get one compliant master file right, and every product downstream clears the quality bar automatically. One clean file equals a full collection drop, with no repeat design work.
What 'print-ready' actually means
The plain-English definition
A print-ready file is digital artwork formatted to match the physical print process with zero adjustments needed. Nail this once, and every product built from it prints clean.
That's the whole point: prep the master correctly, and you never fight file issues again.
The 5 non-negotiable specs
Bake these into every master file:
- 300 DPI at 100% scale. Never upscale a 72 DPI web graphic, it will print blurry. Design at full print size from the start.
- Exact pixel dimensions. Use 4500 × 5400 px for full-chest apparel prints.
- 8-bit transparent PNG. A transparent background kills the ugly white bounding box around your art.
- Color space awareness. Design in CMYK or use RGB profiles optimized for sRGB print engines, so screen colors match printed colors.
- Vector-converted font layers. Flatten and convert type so fonts don't shift on the Print Provider's machine.
Why this matters at velocity
A rejected order drains your margin twice: you eat the wasted sample fee and you burn days fixing files instead of scaling. That's the opposite of speed.
Get the master right once, and you protect both your profitability and your momentum.
The 3 file errors behind most reprints
Unflattened text fonts
If your fonts aren't flattened or converted to vector, the Print Provider's system may swap or shift them. What looks perfect on your screen renders differently on their machine.
Flatten your type into the artwork before exporting. No exceptions.
Semi-transparent halos and gradients
Soft edges, faint drop shadows, and semi-transparent pixels look fine on screen. But DTG white underbases convert those partial pixels into solid white noise on dark blanks, leaving a gritty halo around your art.
Keep edges crisp. Avoid feathered transparency and low-opacity gradients on dark products.
Low-contrast fine line work
Any line thinner than 1 pt can disappear or thicken unpredictably on fabric. Delicate detail that pops on screen turns muddy on a shirt.
Thicken thin lines and boost contrast on fine detail before you commit.
Errors on non-tee products
Here's what most guides miss: "it printed fine on the shirt" means nothing for mugs, canvas, and all-over-print (AOP). Those products have wrap seams, depth edges, and full-bleed cut zones a flat tee never touches.
A design that centers perfectly on a tee can leave a stark white gap where a mug meets itself, or blank edges on a canvas wrap. Every non-tee product needs its own placement check, which is exactly what the batch system handles next.
The batch system: one file, six products
Start with your winner
Build one 300 DPI transparent PNG master at maximum dimensions. Big matters here: you can always scale down without losing quality, but you can never scale up without pixelation.
This single file becomes the source for all six products. Get it compliant, and the rest is placement, not design.
Products 1 and 2: the apparel base
Drop your master straight onto the Comfort Colors 1717 Tee and the Lane Seven Heavyweight Hoodie. Confirm the Safe Zone, then export.
These heavyweight blanks carry serious perceived value. That lets you retail at $34+ against a $10–$13 base, protecting your margin from the start.
Product 3: the crewneck
Same file, same 10-second placement check on the Gildan 18000 Crewneck. Confirm the Safe Zone, export, done.
No new artwork. Just a quick placement confirm on a fresh blank.
Product 4: ceramic mugs
Watch the wrap-around trap. A mug wraps your art around a cylinder, and if the background stops short, you get a white gap where the mug "meets itself."
Extend your background past the seam bleed so the wrap is seamless all the way around. Keep critical elements away from the seam.
Product 5: canvas wall art
Canvas has a depth-wrap rule: the sides of the frame need coverage, or you get blank white edges. Your design must extend into the wrap edges.
Stretch your background to the outer bleed, not the trim line, so the sides look finished from every angle.
Product 6: cotton totes and AOP
For cotton totes, center the placement and confirm the Safe Zone. For all-over-print, stretch your full-bleed background to the outer bleed so normal cut and seam variance never leaves stark white strips.
Full-bleed thinking saves AOP every time. Never let the background stop at the trim line.
The 10-minute reality check
Because your master is already compliant, each new product is a placement-and-bleed adjustment, not a redesign. That's why six products take 10 minutes, not six hours.
You built the quality in once. Now you're just deploying it.
The zero-reprint batch checklist
Run this list before you publish, every single time:
- Master file confirmed: 300 DPI, transparent PNG, fonts flattened to vector, no semi-transparent halos.
- Per-product template pulled: Grab each blank's template from Printify's Design Print Specifications. Never reuse the tee template on a mug, each product has its own.
- Full-bleed products checked: For mug wraps, canvas depth, AOP, and totes, stretch the background to the outer bleed edge.
- Safe Zone confirmed: Keep all critical text and logos inside the Safe Zone on every SKU.
- Export and publish: Ship the full six-product collection, then get back to testing your next winner.
Turn compliant files into AOV
Collection drops beat single listings
A lone t-shirt listing is one sale. A matching mug, tee, hoodie, and canvas turns one impulse buy into a bundle.
Buyers who love a design want it in their life in more than one way. Give them the full set and watch cart value climb.
The margin math
High-perceived-value blanks like the Comfort Colors 1717 and Lane Seven Hoodie let you price at a premium. That headroom means you can absorb a promo discount and still raise cart value.
More perceived value plus more products equals more profitability per customer.
Speed compounds
Six products from one file means more catalog surface area to catch buyers, without more design hours. Every extra SKU is another chance to get found and sold.
That's the compounding win: more coverage, same effort, more living.
Upload once, print clean everywhere
One compliant master, every blank
Uploading a fully compliant master file into Printify's Product Creator guarantees clean physical production across your whole lineup: the Comfort Colors 1717 Tee, Lane Seven Heavyweight Hoodie, Gildan 18000 Crewneck, ceramic mugs, canvas, and totes.
Get the file right, and Printify's Print Provider network handles the rest, no reprint loops.
Pull the template, export clean
Inside the Product Creator, pull each product-specific template from Printify's Design Print Specifications. Toggle the guide layers for bleed, trim, and Safe Zone, confirm your placement, and export at 300 DPI.
Do this per product and your entire collection ships clean the first time.
Your next 10 minutes
Open your Printify Product Creator and build one 300 DPI transparent PNG master of your best-selling design. Then run the batch checklist to drop it across the Comfort Colors 1717 Tee, Lane Seven Hoodie, Gildan 18000 Crewneck, a ceramic mug, canvas, and tote.
Launch the full collection in 10 minutes, then get back to what actually grows your business, finding your next winner. More products. More AOV. More living.




