


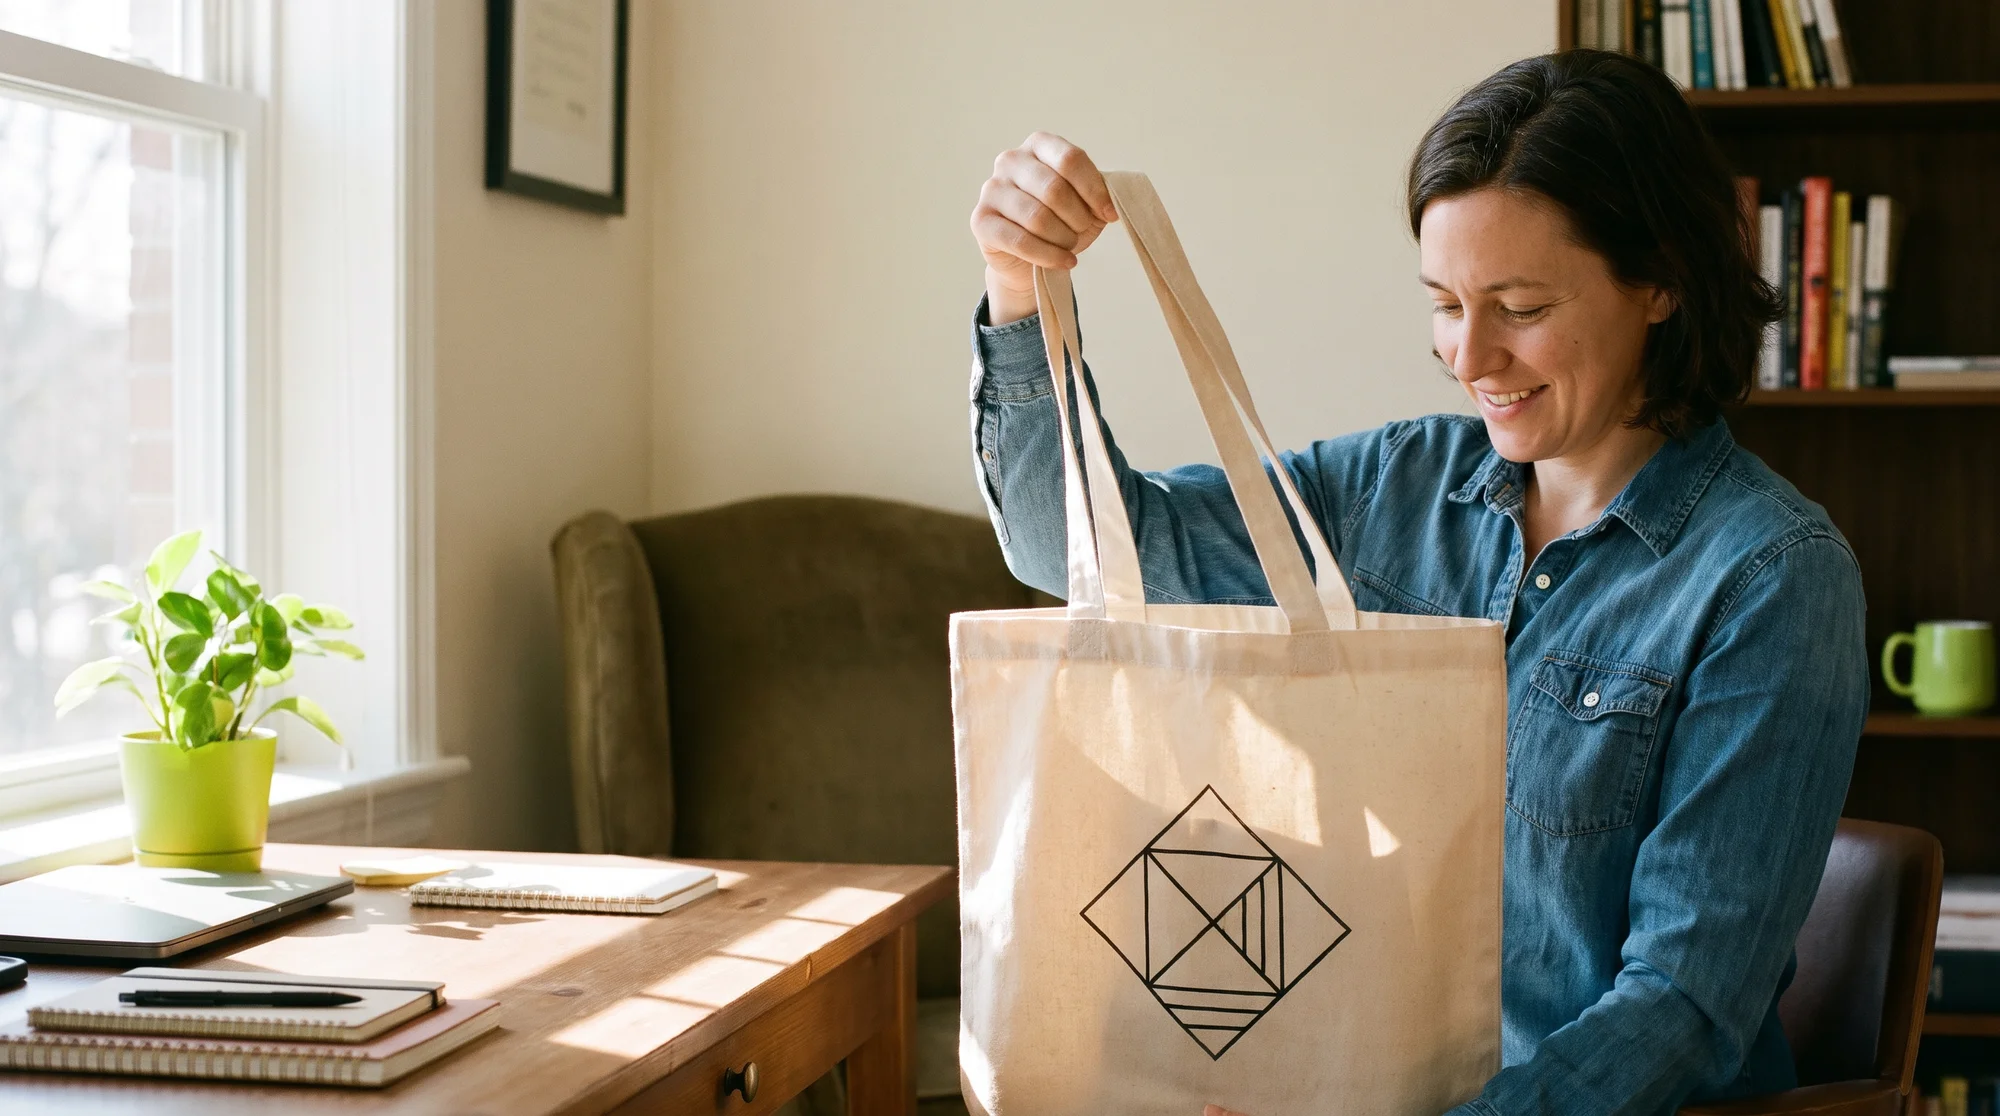
Off-center tote prints cost you twice: the refund you issue now and the sale you never make later. The fix is a seller-first spec sheet that locks your design to the exact print area and safe zones, so your first upload lands centered and professional. Below, you'll find standard tote sizes, typical print areas, safe-zone margins, and the file specs you need to publish clean listings fast.
Most size charts you find online are built for shoppers deciding if a bag fits their laptop, not for sellers trying to center a design that survives seams and handles. That gap is why so many first uploads come back crooked. With print on demand, you don't pay for inventory or test prints, which means the only real cost of a botched spec is your momentum and your reputation.
This guide closes that gap. Bookmark it, match your canvas to the numbers, and ship totes that look professional on the first try.
Why tote bag dimensions make or break your sales
Here's the real cost of guessing: one off-center print triggers a refund, a reprint, and a frustrated customer review. Multiply that across a batch of listings and you've traded your speed advantage for rework while competitors keep shipping.
The problem is that buyer-facing size charts tell you the bag is "15 x 16 inches" and stop there. They never tell you where the handles cut into your artwork, how wide the printable area actually runs, or how much margin keeps your design off the seams.
This spec sheet is built for the person uploading the file, not the one buying the bag. Dial in these numbers once and you remove guesswork from every future tote you launch.
The print-ready tote spec grid (bookmark this)
Standard tote bag dimensions at a glance
Most totes sold through POD fall into a few predictable size ranges. Knowing the overall bag size helps you frame mockups and set buyer expectations.
| Tote styleWidth x heightGusset (depth)Handle length | |||
| Standard tote | 15 x 16 in | None to 3 in | 20–24 in |
| Large shopping tote | 16 x 17 in | 3–5 in | 22–28 in |
| Mini/small tote | 12 x 13 in | None to 2 in | 18–20 in |
| Boat/canvas tote | 17 x 15 in | 4–6 in | 20–24 in |
Why handle length matters: longer handles sit higher in your mockup frame and can visually crowd the top of your design. If your artwork runs tall, leave breathing room near the top so the straps don't appear to clip it in the preview.
Typical front-print areas
The bag size is not your print area. The print area is the printable rectangle inside the bag, and it's always smaller than the full panel.
Use these as your working targets (always confirm the exact number on your chosen product page before uploading):
- Standard tote, front print: roughly 12 x 14 in printable area
- Large tote, front print: roughly 14 x 15 in printable area
- Mini tote, front print: roughly 10 x 11 in printable area
- All-over print totes: the design wraps the full cut panel, often 16 x 18 in or larger, including edges that fold into seams
Front print vs all-over print: a front print sits as a centered graphic on one panel, so you design to a rectangle. An all-over print covers the entire fabric, so you design to the full template with intentional bleed, knowing the edges disappear into stitching.
Safe zones that stop off-center prints
A "safe zone" is the inner boundary where your important design elements must live. Anything outside it risks getting trimmed by the cut, folded into a seam, or hidden behind a handle.
Follow these margins:
- Keep text and logos at least 0.5–1 in inside the print area edge. This protects against minor placement shifts.
- Leave extra room near the top where handles attach, so straps don't visually cut your design.
- For all-over prints, extend background art past the safe zone into the bleed. The bleed fills the edges so you never get a white sliver at a seam.
Design your focal point to the safe zone, and let only backgrounds reach the edges.
File size and resolution specs
Blurry or badly sized files are the fastest way to a rejected or amateur-looking product. Hit these specs and your first upload prints crisp.
- Resolution: 150 DPI minimum, 300 DPI preferred for sharp detail
- Pixel dimensions: size your canvas to the print area at 300 DPI (a 12 x 14 in area = roughly 3600 x 4200 px)
- File format: PNG for designs with transparency, so the fabric shows through where you want it
- Background: use a transparent background for front prints, so only your artwork lands on the bag — no white box
- Color: design in RGB; the Product Creator handles the preview so you see results before publishing
How to center your design the first time
The 3-step centering checklist
Centering isn't luck. It's a repeatable process you run on every file.
- Match your canvas to the print area. Set your document to the exact print-area dimensions at 300 DPI before you place a single element.
- Align to center guides. Use your design tool's center alignment (horizontal and vertical) so the focal point sits dead center inside the safe zone.
- Check the mockup before publishing. Upload into the Product Creator and view the mockup. If the design sits centered and clear of handles and seams, you're ready to list.
Common mistakes that trigger rework
A few repeat offenders cause most crooked prints. Skip these and you skip the rework.
- Oversized or mismatched files: uploading a square design into a tall print area stretches or shifts it. Match the aspect ratio first.
- Wrong aspect ratio: a 1:1 graphic in a 6:7 area forces awkward cropping. Build to the print-area ratio from the start.
- Ignoring safe zones: text touching the edge gets trimmed. Pull it in half an inch and it survives every print.
ROI: What centered prints save you
Every centered print you ship is a refund you never issue and a reprint you never pay for. That's direct savings on your bottom line.
The bigger win is momentum. When you nail the specs once, you stop re-uploading files and second-guessing dimensions, so your time goes into launching new listings instead of fixing old ones. While competitors troubleshoot crooked prints, you're already selling.
And professional listings simply convert better. A clean, centered tote looks like a brand, not a hobby — which means you can justify higher prices and keep more profit on every sale.
From measuring to selling: Tote design ideas
Specs get your design centered. The right concept gets it sold. Once your dimensions are dialed in, the next move is choosing artwork that fits a buyer who's actively shopping.
Clean, centered totes shine with themes like:
- Local pride: city names, neighborhood maps, hometown slogans
- Niche humor: jokes for teachers, nurses, book lovers, and plant parents
- Minimalist line art: single-color designs that look premium and print flawlessly
- Seasonal and event drops: farmers market, book club, festival, and holiday themes
For a deeper list of concepts built to sell, pair this spec sheet with our tote design-ideas guide and move straight from measuring to making money.
From spec sheet to storefront
You've got the dimensions, the print areas, the safe zones, and the file specs. Your design is centered, your mockup is clean, and your listing is ready to go live. Head to the Product Creator, upload your print-ready file, and turn a properly measured tote into a product people buy again and again.
Articles in the Printify Knowledge Hub are researched, written, and published with the help of generative AI, and cover topics related to eCommerce and Print on Demand. They are for educational purposes only and do not constitute legal, financial, or business advice.
