


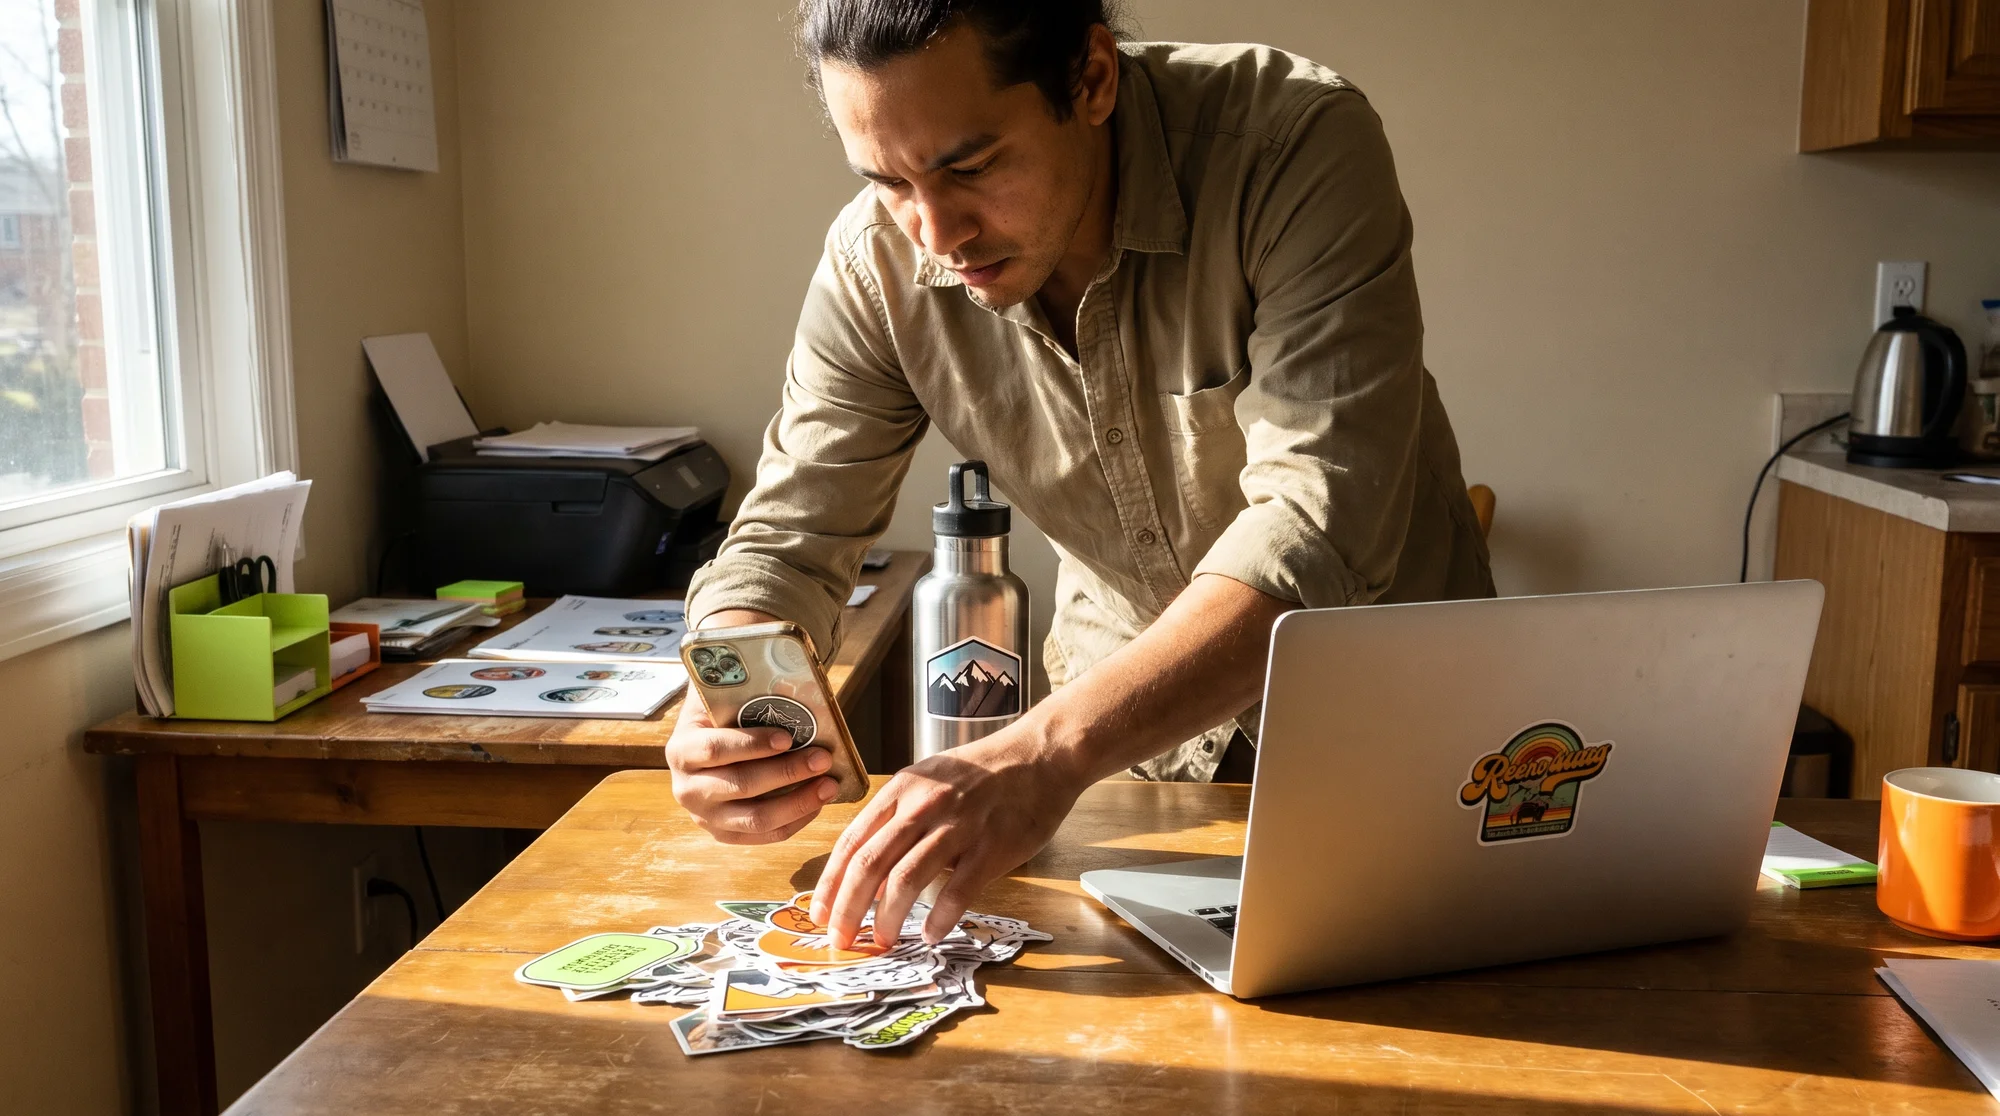
You don't need to guess at sticker dimensions or rescale a design ten times — you need to know which sizes buyers actually buy, what to price them, and how to list them fast. The fix is simple: pick sizes by where people stick them, design to the aspect ratio once, and publish. This guide hands you a scannable size cheat sheet, the one-upload workflow, and the exact sizes to list first.
Sticker size isn't a design detail — it's a profit decision. Get it right and your prints read clearly, fit where buyers want them, and price themselves into your margin. Get it wrong and you ship blurry, off-center stickers that tank your reviews.
With Print on Demand, you can list every sticker size without holding a single roll of inventory. You upload one file, offer multiple sizes, and only pay when a buyer orders. That means zero risk and full control over what you stock and price.
Why sticker size is a profit decision
Size decides whether your sticker looks sharp, fits its surface, and earns its price. Treat it as the first business choice, not the last design tweak.
What happens when you guess
Guessing at dimensions costs you sales in three ways:
- Blurry prints: A design built for 2" stretched to 6" turns pixelated and soft.
- Off-center designs: The wrong aspect ratio crops your artwork or floats it in dead space.
- Listings that scare buyers away: Shoppers can't picture a sticker when the size doesn't match a real surface, so they bounce.
The seller's rule: Size by surface, then price
Pick sizes by where buyers stick them, then price to match. A laptop accent, a water bottle, and a car window each want a different footprint. Match the size to the surface and your listing sells itself.
- Small accents go on laptops, phones, and planners.
- Medium stickers live on water bottles and notebooks.
- Large stickers become centerpieces on car windows and coolers.
- Oversized stickers claim bumpers and toolboxes.
List sizes without holding inventory
Print on Demand lets you offer every size on this list without buying stock first. You design once, publish multiple size variants, and Printify prints each order on demand. No wasted rolls, no storage, no risk — just profit on every sale.
The seller's sticker size cheat sheet
Use this as your quick reference. Each tier maps a size to a use-case and a price band so you can list with confidence.
Small stickers (1.5"–2.5")
- Best for: Laptop accents, phone cases, planner and journal stickers.
- Price tier: Entry / impulse buy.
- Why it works: Low price point drives volume and add-on orders.
Medium stickers (3"–4")
- Best for: Water bottles, notebooks, helmets.
- Price tier: Best-seller sweet spot.
- Why it works: Big enough to show off, cheap enough to grab — your fastest mover.
Large stickers (5"–6")
- Best for: Car windows, cooler lids, laptop centerpiece.
- Price tier: Premium.
- Why it works: More surface, more perceived value, higher margin.
Oversized / bumper (8"+)
- Best for: Bumpers, toolboxes, shop signage.
- Price tier: Highest margin, niche.
- Why it works: Low competition and standout size let you charge top dollar.
Quick-reference table
| SizeBest use-caseSuggested price tierRecommended upload ratio | |||
| 1.5"–2.5" (Small) | Laptops, phones, planners | Entry / impulse | 1:1 (square) |
| 3"–4" (Medium) | Water bottles, notebooks, helmets | Best-seller | 1:1 (square) |
| 5"–6" (Large) | Car windows, coolers, laptop centerpiece | Premium | 1:1 or match art |
| 8"+ (Oversized) | Bumpers, toolboxes, signage | Highest margin, niche | 3:1 wide for bumpers |
Upload once, at the right ratio
Rescaling the same art ten times wastes hours and invites errors. Design to the aspect ratio instead, and one clean file scales across every size option.
Design to the ratio, not the inch
Think in proportions, not inches. A square 1:1 design drops cleanly into 2", 3", and 6" stickers without cropping. Build once at a high resolution and let the size variants do the work.
- Use 1:1 (square) for most sticker shapes.
- Use a wide ratio (like 3:1) only for bumper stickers.
- Center your subject so it reads well at any scale.
Resolution and bleed basics
Sharp, centered prints come down to three numbers:
- 300 DPI: Set your canvas to 300 dots per inch at the largest size you plan to sell. This keeps every scale crisp.
- Safe margins: Keep important elements away from the edges so nothing gets trimmed.
- Bleed: Extend your background past the cut line so you never get a white sliver.
Common mistakes to avoid
- Uploading low-res art: A small screenshot blown up to 6" prints blurry.
- Text too close to the edge: It gets cut during trimming.
- Wrong ratio: A rectangular file forced into a square crops your design.
Fix these before you publish and your prints stay sharp, centered, and review-worthy.
Pick winners: Which sizes to list first
You don't need every size on day one. Launch the proven mover, then expand based on data.
Start with the medium 3" size
The 3" sticker is the fastest mover for most shops. It's large enough to showcase your design and priced in the sweet spot buyers reach for without hesitation. List this first and you'll see sales sooner.
Bundle sizes to raise order value
Turn one design into a bigger sale by bundling sizes. Offer a small + medium + large pack and lift your average order value without creating new art.
- Sell a "sticker pack" of three sizes at a slight discount.
- Pair a medium sticker with a small accent as an add-on.
Match price to buyer expectations
Shoppers on Etsy and TikTok Shop have price anchors in mind. A 2" sticker at premium pricing feels wrong; a 6" sticker priced like an impulse buy kills your margin. Match size and price to the platform norm so your margins hold and your listings convert.
From cheat sheet to live listing
Here's the whole workflow, start to finish. No rescaling, no guesswork.
Choose, set, upload, publish
- Choose your size from the cheat sheet based on your buyer's surface.
- Set the ratio (1:1 for most, wide for bumpers).
- Upload once into the Product Creator and apply it across size variants.
- Publish to your store.
Write titles and photos that sell
Show the sticker in its real use-case. A mockup of your 3" sticker on a water bottle sells faster than a flat image on white.
- Name the surface in your title: "Water bottle sticker, 3 inch."
- Photograph the sticker where buyers will stick it.
- Add a size reference so shoppers know exactly what they're getting.
Launch fast, then expand
Publish your medium size today, watch what sells, then add large and small variants based on real demand. Speed beats perfection — get live, then optimize.
Start selling stickers today
Here's your cheat sheet in one breath: size by surface, price by tier, design to the ratio, and upload once. Small stickers drive impulse buys, medium stickers are your best-seller, large stickers earn premium prices, and oversized stickers win high-margin niches.
With Print on Demand, you can turn one design into a full lineup of custom stickers — no inventory, no rescaling, no risk. Create your free Printify account and list your first sticker sizes in minutes.
Articles in the Printify Knowledge Hub are researched, written, and published with the help of generative AI, and cover topics related to eCommerce and Print on Demand. They are for educational purposes only and do not constitute legal, financial, or business advice.
