Translating intricate art to embroidered merchandise often leads to messy stitches, high node counts, and subpar quality that betrays a premium aesthetic. The solution is mastering precision vectorization, specifically node cleanup and high-contrast design, to create flawless, museum-quality embroidery. This guide covers node cleanup calibration, high-contrast design principles, and how to upload your art to Printify, ensuring every stitch reflects your brand's excellence.
The Printify-optimized vectorization blueprint
Why intricate art needs specialization
You create art that tells a story, often with intricate details and subtle nuances. The challenge comes when translating these complex designs into embroidery, where traditional gradients and fine lines can get lost or, worse, create a tangled mess. This isn't just about making your art fit; it's about preserving your artistic integrity and ensuring your premium aesthetic shines through on every product.
- The challenge for premium artists: Translating gradients, preserving detail, and ensuring stitch integrity means overcoming the technical limitations of embroidery machines, which thrive on clear, defined paths.
- The cost of compromise: Time wasted on manual corrections, damaged brand perception from subpar products, and a diluted artistic vision all chip away at your financial freedom.
- Beyond basic conversions: Generic one-click conversions simply aren't enough for the technical precision print-on-demand embroidery demands, especially if you aim for museum-quality merchandise.
The foundation: Embroidery's unique demands
Embroidery requires distinct, crisp boundaries for the machine to plot its stitching directions (satin stitches and tatami fills). Raw JPGs, with their inherent color gradients and compression artifacts, ruin stitch paths, leading to fuzzy edges and inconsistent thread outcomes. Understanding how an embroidery machine "reads" your design is the first step to unlocking superior quality.
- Crisp boundaries and clean paths: Raw JPGs fall short for machine plotting because they lack the mathematical precision needed for clean stitch lines.
- Satin stitches vs tatami fills: Guiding the embroidery machine with optimized SVGs means you're telling it exactly where to lay down thick, smooth satin stitches or broad, filled tatami patterns.
- The power of vector: Using mathematical precision ensures uncompromised artistic outcomes, allowing your art to be perfectly represented, stitch by stitch.
Phase 1: Node cleanup calibration
Why basic converters compromise quality
For the 8,477 artists striving for perfection, don't just rely on basic "one-click" online converters that create millions of messy vector nodes. While they seem convenient, they often introduce more problems than they solve for intricate artwork.
- The high node count trap: How millions of messy nodes cause needle stutter and thread bunching. This leads to frustratingly imperfect stitches and wasted material.
- Impact on intricate artwork: Losing definition and clarity in the translation means your unique artistic voice gets muffled, and your customers receive a product that doesn't live up to your brand.
Advanced software for node reduction
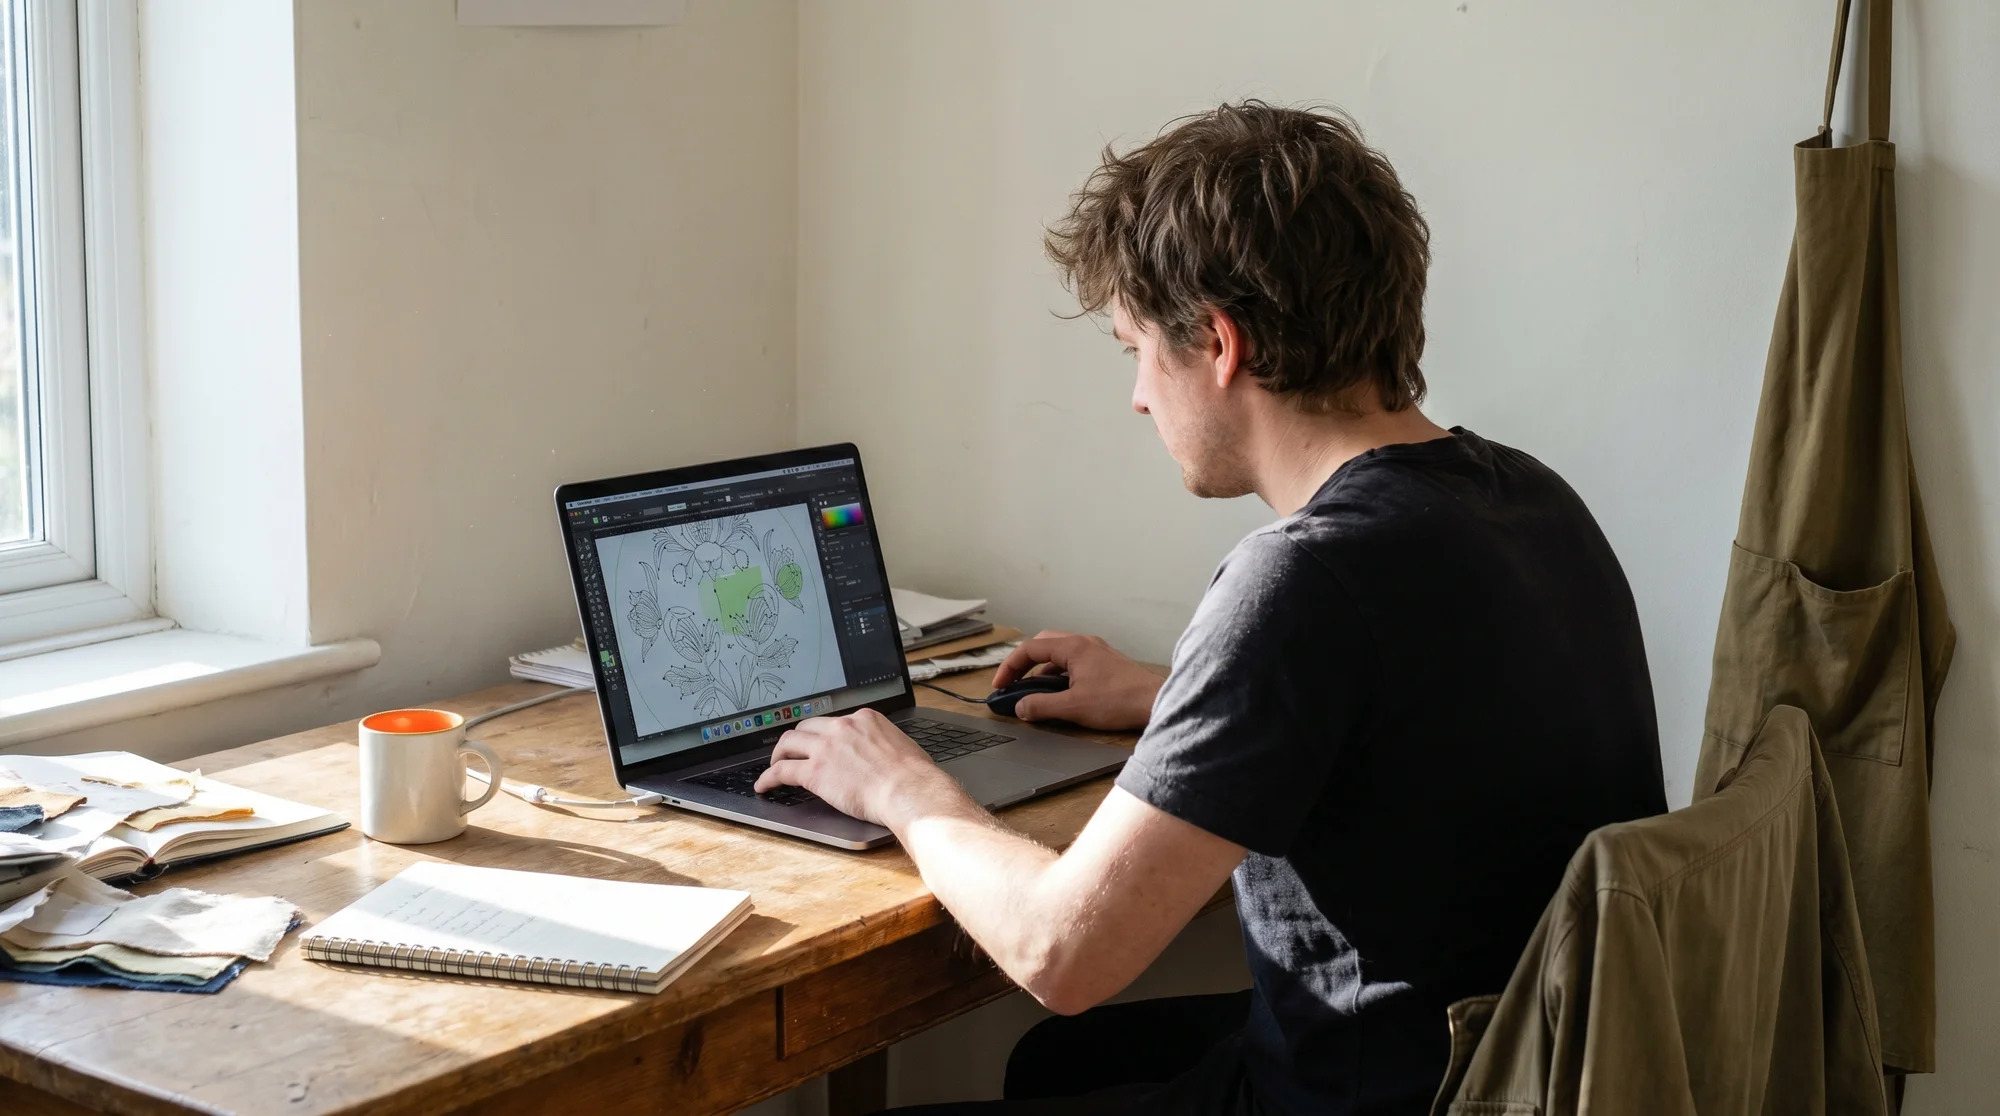
The key to precision is taking control. Specialized vectorization tools allow you to convert flat AI files into sharp SVGs, ensuring high-contrast lines, clean node reduction, and flawless thread outcomes. This process saves you time and elevates your final product.
- Vectorizer.ai: Use AI for intelligent path simplification, allowing the software to identify and smooth out unnecessary nodes efficiently.
- Adobe Illustrator's Image Trace engine: Master advanced settings for precision. Instead of the default, dive into settings like "paths," "corners," and "noise" to dictate how curves are handled and how many anchor points are created.
- Simplify paths and reduce node clutter strategically: Manually review paths to ensure they're as simple as possible without losing critical detail. Fewer, well-placed nodes mean smoother stitches.
- Merge similar color layers into solid, distinct blocks: This streamlines the digitization process and prevents color bleeding, resulting in cleaner, more vibrant embroidery.
- Techniques for transforming complex gradients into simplified, embroidery-ready color fields: Break down gradients into two or three distinct solid color blocks. Think of it as color-blocking your gradients to guide the embroidery machine clearly.
Phase 2: Designing for high contrast
Proactive design for embroidery
The best way to achieve flawless embroidery is to design with it in mind. This means a shift in perspective, moving away from subtle digital nuances towards the stark, impactful beauty of stitched textiles.
- Shifting from subtle gradients to defined solid blocks: Preserving aesthetic intent within embroidery constraints means embracing distinct color separations. This ensures your design holds its power and clarity when stitched.
- The "no gradients" mandate: Ensuring sharpness and clean transitions for flawless stitching is paramount. Embroidery machines don't "blend" colors like printers; they lay down distinct threads.
Crafting AI prompts for embroidery
For the 12,203 business owners using AI to generate logos, optimizing your prompts is a game-changer for embroidery. This proactive step can cut manual editing time down to zero, reclaiming your precious creative time.
- Use specific prompt modifiers: “Flat vector logo style, solid shapes, high contrast, no gradients, isolated on a white background.” These keywords guide the AI to generate images perfectly suited for vectorization and embroidery.
- Feeding a clean raster: Streamlining your vectorization pipeline for instant, seamless JPG-to-SVG translation begins with a clean, flat raster image. This pre-cleaned input minimizes post-generation work.
- Minimizing manual editing: Reclaiming your precious creative time and eliminating tedious corrections allows you to focus on scaling your business and enjoying more autonomy.
Phase 3: Activating your design in Printify
Your finalized SVG file
With your meticulously prepared SVG in hand, you're ready to bridge your artistic vision directly to high-quality merchandise. This is where your careful preparation pays off, translating into tangible, stunning products.
- Why SVG is non-negotiable: The format that empowers Printify’s automated digitization engine, allowing it to accurately interpret your clean paths and color blocks.
- Ensuring perfect representation: How your cleaned SVG guarantees your artistic vision is preserved, translating into a product that truly reflects your brand's commitment to quality.
Step-by-step upload to Printify
Your hard work culminates here. Uploading your optimized SVG is the final step to unlocking premium embroidery products that will delight your customers and boost your profits.
- Take your finalized, cleaned SVG file. This is the culmination of your node cleanup and contrast optimization.
- Upload it directly to Printify for products like the Yupoong 6089M Structured Snapback or the Champion S101 Crewneck Sweatshirt. Our intuitive platform makes it easy.
- Understanding Printify's engine: An SVG allows Printify's automated digitization engine to accurately calculate thread count and map clean stitch fields without color bleeding, ensuring consistent, high-quality results across all Print Providers.
Beyond the blueprint: Maintaining quality
Quality control and previewing
Even with optimal preparation, an artist's eye is irreplaceable. Our Printify Catalog boasts quality, but your vigilance ensures your unique designs achieve perfection.
- Previewing digitization: What to scrutinize in the Product Creator for detail and accuracy. Look for sharp edges, consistent color blocking, and faithful representation of your original design.
- Troubleshooting common stitch path issues: Even with optimization, knowing what to look for—like minor overlaps or areas that could benefit from further simplification—will help you make minor adjustments for flawless results.
Iteration and refinement
The journey to mastery is continuous. Each new design offers an opportunity to refine your process and deepen your understanding of how your art translates to embroidery.
- Learning from stitch samples: A critical step for high-end artists. Ordering samples allows you to see, touch, and evaluate your embroidery, providing invaluable feedback for future designs.
- Adapting your artistic style for optimal print-on-demand embroidery: A continuous evolution that helps you discover new ways to express your creativity within the medium's strengths.
Ready to transform your art into premium merchandise? Upload your optimized SVG to Printify and create flawless embroidery that reflects the quality of your brand.