


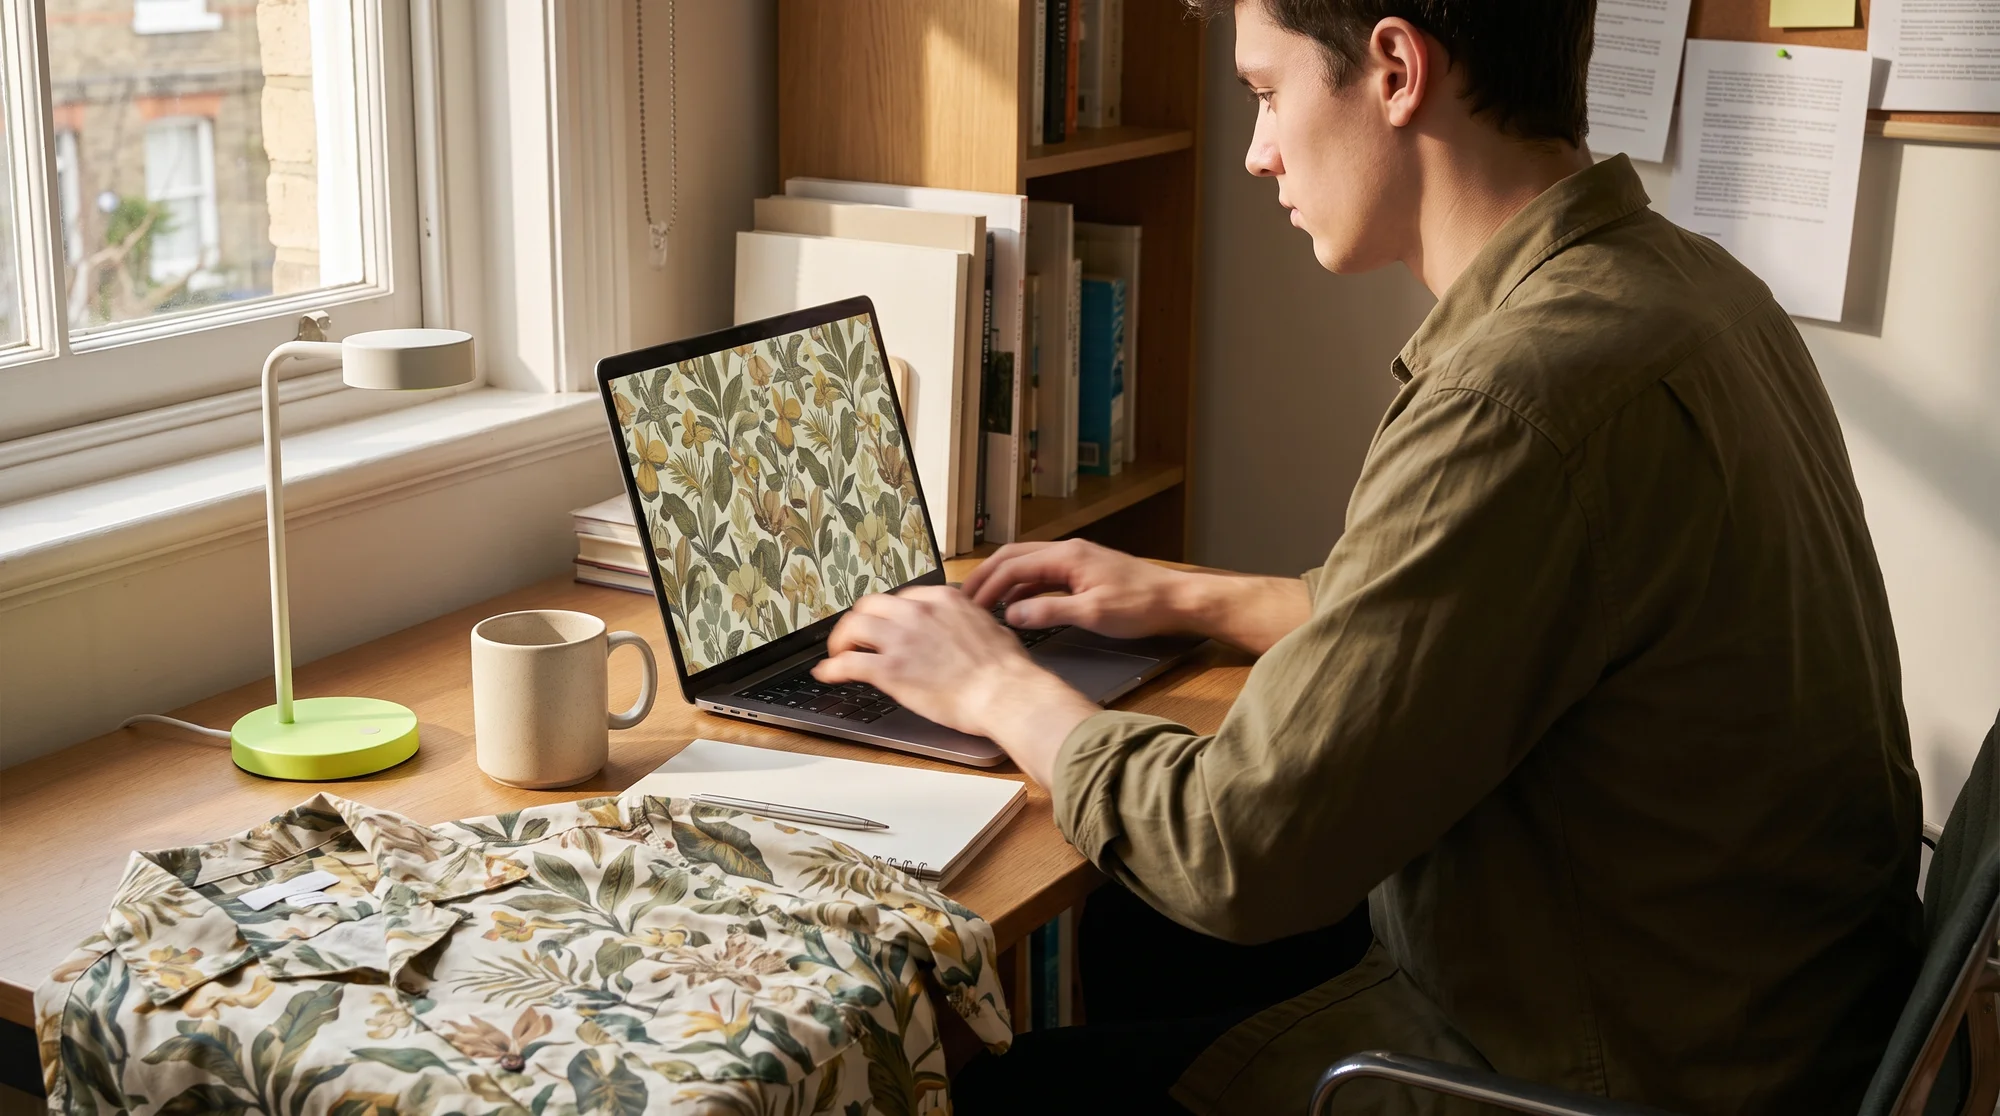
Broken seams and outdated tutorials are the two things stopping you from shipping a seamless all-over-print product today. Most guides hand you a single parameter, then leave you stuck when your pattern splits at the sleeve. This one gives you the exact prompt, the one rule that keeps seams invisible, and a direct path into the Product Creator — no design software, no plugins, no upscaling traps.
You don't need another 40-minute tutorial that ends with "and here's why the seams break." You need a prompt you can paste right now and a product live before the trend dies tonight.
Note: Midjourney is a third-party platform, separate from Printify. You'll run these prompts on Midjourney's site, then bring the finished image into Printify.
BLUF: your prompt-to-profit workflow
Here's the whole system in one line: run a tiled prompt in Midjourney v6, grab the base PNG (never the upscale), and drop it into the Printify Product Creator. That's it. No theory, no design-software detour, no broken seams. Just a copy-paste workflow you can finish in a single session — and repeat across four products before you log off.
Why other tutorials waste time
You've probably already tried this and hit a wall. Here's why most guides leave you stuck.
Docs stop at the parameter
Midjourney's own documentation tells you the --tile parameter exists and even warns that upscaling will break your seams — then leaves you hanging with no fix. Knowing the flag isn't the same as knowing the full workflow.
Old tutorials used wrong versions
Most tile tutorials floating around were written for v5 in 2023. The results were disappointing and full of AI errors — not because tiling doesn't work, but because they used outdated model versions and vague prompt language. v6 with the right flags fixes this.
Forums still ask about seams
Search any Print on Demand forum and you'll find people posting broken tiles, asking why the repeat is still visible. Nobody answers. Below, we give you the fix.
Step 1: the exact v6.0 syntax
Here's your base command. Paste it, add your subject, and go:
--tile --v 6.0 --ar 1:1 --style raw
Why --ar 1:1
A square aspect ratio gives the model equal tiling dimensions, so the pattern repeats cleanly on both the X and Y axes. Any other ratio risks an uneven repeat that shows a hard line on your garment.
Why --style raw
--style raw dials down Midjourney's default photographic depth-of-field effect. That keeps your floral pattern flat, sharp, and print-ready instead of soft and blurry around the edges — exactly what you want for surface design.
The rule that kills seams
This is the mistake that ruins most tile attempts: do not upscale. Upscaling re-processes the image and breaks the seamless edge. Grab the base PNG straight from the 2x2 grid instead.
Preview your pattern for free
Before you commit, check the full repeat so you never ship a broken seam:
- On midjourney.com, click the tile image twice to see it repeated.
- Or drop the PNG into a free online seamless pattern checker to view the tiled result edge to edge.
Step 2: keywords that stop ink build-up
A pattern that looks great on screen can still print like a cheap knock-off. The culprit is usually depth and shadow that piles up ink along sleeve seams and collars.
Avoid these — they look cheap
Skip these in your prompt or your finished garment will look muddy:
- Complex realistic lighting
- 3D drop-shadows
- Deep depth-of-field
Copy these flat-print modifiers
Add these instead to keep everything crisp and print-ready:
flat vector illustration2D surface patternvintage botanical print
Why this matters for AOP
AOP garments print edge to edge across sleeves, collars, and waistbands. Flat 2D art means clean printing with no visible ink pile-up on seams — the difference between a refund and a 5-star review.
Full example prompt
vintage botanical floral, flat vector illustration, 2D surface pattern --tile --v 6.0 --ar 1:1 --style raw
Step 3: PNG to Product Creator
Here's the part every other tutorial skips: what to actually do with your finished tile.
No Photoshop, no plugins
You don't need a seamless-repeat plugin or any design software. Upload your tiled PNG straight into the Printify Product Creator. The AOP tool automatically duplicates the pattern across the entire 3D garment mesh, so the design wraps the whole product cleanly.
The highest-converting blanks
The Printify Catalog gives you a wide selection of AOP blanks. Start with a proven seller:
- AOP Women's Leggings
- AOP Hawaiian Shirts
- AOP Hoodies
- AOP Tote Bags
Live in one session
Generate, upload, preview your mockup, and publish. Speed is the whole point here — you catch the trend before the market fills up.
The full 24-hour flip checklist
- Run the prompt in Midjourney v6.
- Add the flat-vector keywords.
- Grab the base PNG — never upscale.
- Preview the seam to confirm it repeats cleanly.
- Upload to the Printify Product Creator (AOP).
- Add it to a top blank (Leggings or a Hawaiian Shirt).
- Publish.
Margin math behind the flip
Speed isn't just convenient — it's your margin.
Time saved equals trend caught
Every hour you spend fighting broken seams in design software is an hour the trend keeps saturating. Finishing in one session means you list while demand is still high and competition is thin.
One design, four products
The best part: a single tile spins across every blank. One prompt session gives you Leggings, a Hawaiian Shirt, a Hoodie, and a Tote Bag — four products from one design, all with zero upfront inventory cost. That's profitability with no risk.




