


Your best item isn't selling because shoppers default to your cheapest tee — not because your bundle is bad. Fix it with decoy pricing: Add a third "loser" option that makes your high-margin bundle feel like a steal. Below, you'll copy two proven price ladders, build them in the Product Creator, and check your tier split in seven days.
The real reason your best item isn't selling
You've watched it happen a dozen times: A shopper lands on your listing, ignores your high-margin bundle, and grabs the cheap $24 tee — turning what should've been a real payday into pocket change.
Why shoppers default to cheapest
When a shopper sees two prices with no context, they pick the lower one to feel safe. That instinct silently drains your margins because your cheapest tee is almost always your worst earner.
The problem isn't your product. It's that you've given shoppers nothing to compare your best offer against. Without a reference point, "cheap" always wins.
The 60-second version of decoy pricing
Decoy pricing (also called the asymmetric dominance effect) works by adding a third option that's clearly worse than the one you want to sell. Shoppers stop comparing "cheap vs expensive" and start comparing "bad deal vs great deal."
That shift is all you need. The decoy does the selling for you — no discounting, no ad spend, and no begging.
The decoy pricing strategy in one sentence
Add a slightly-worse third option just below your target price, and your high-margin tier suddenly looks irresistible.
How a 'loser' option converts
Your target tier needs a villain. The decoy is that villain — priced close to your target but offering visibly less value, so choosing the target feels obvious.
Shoppers don't just buy the target. They feel smart buying it. That feeling is what lifts your average order value.
The only rule that matters
The decoy must sit just below your target price with visibly less value. That's it.
- Too far below and shoppers buy the decoy.
- Too close in value and the target loses its edge.
- Get the gap right, and the target wins by a landslide.
Price ladder 1: The classic popcorn structure
This is the same trick cinemas use on popcorn sizes. It works on print-on-demand apparel just as well.
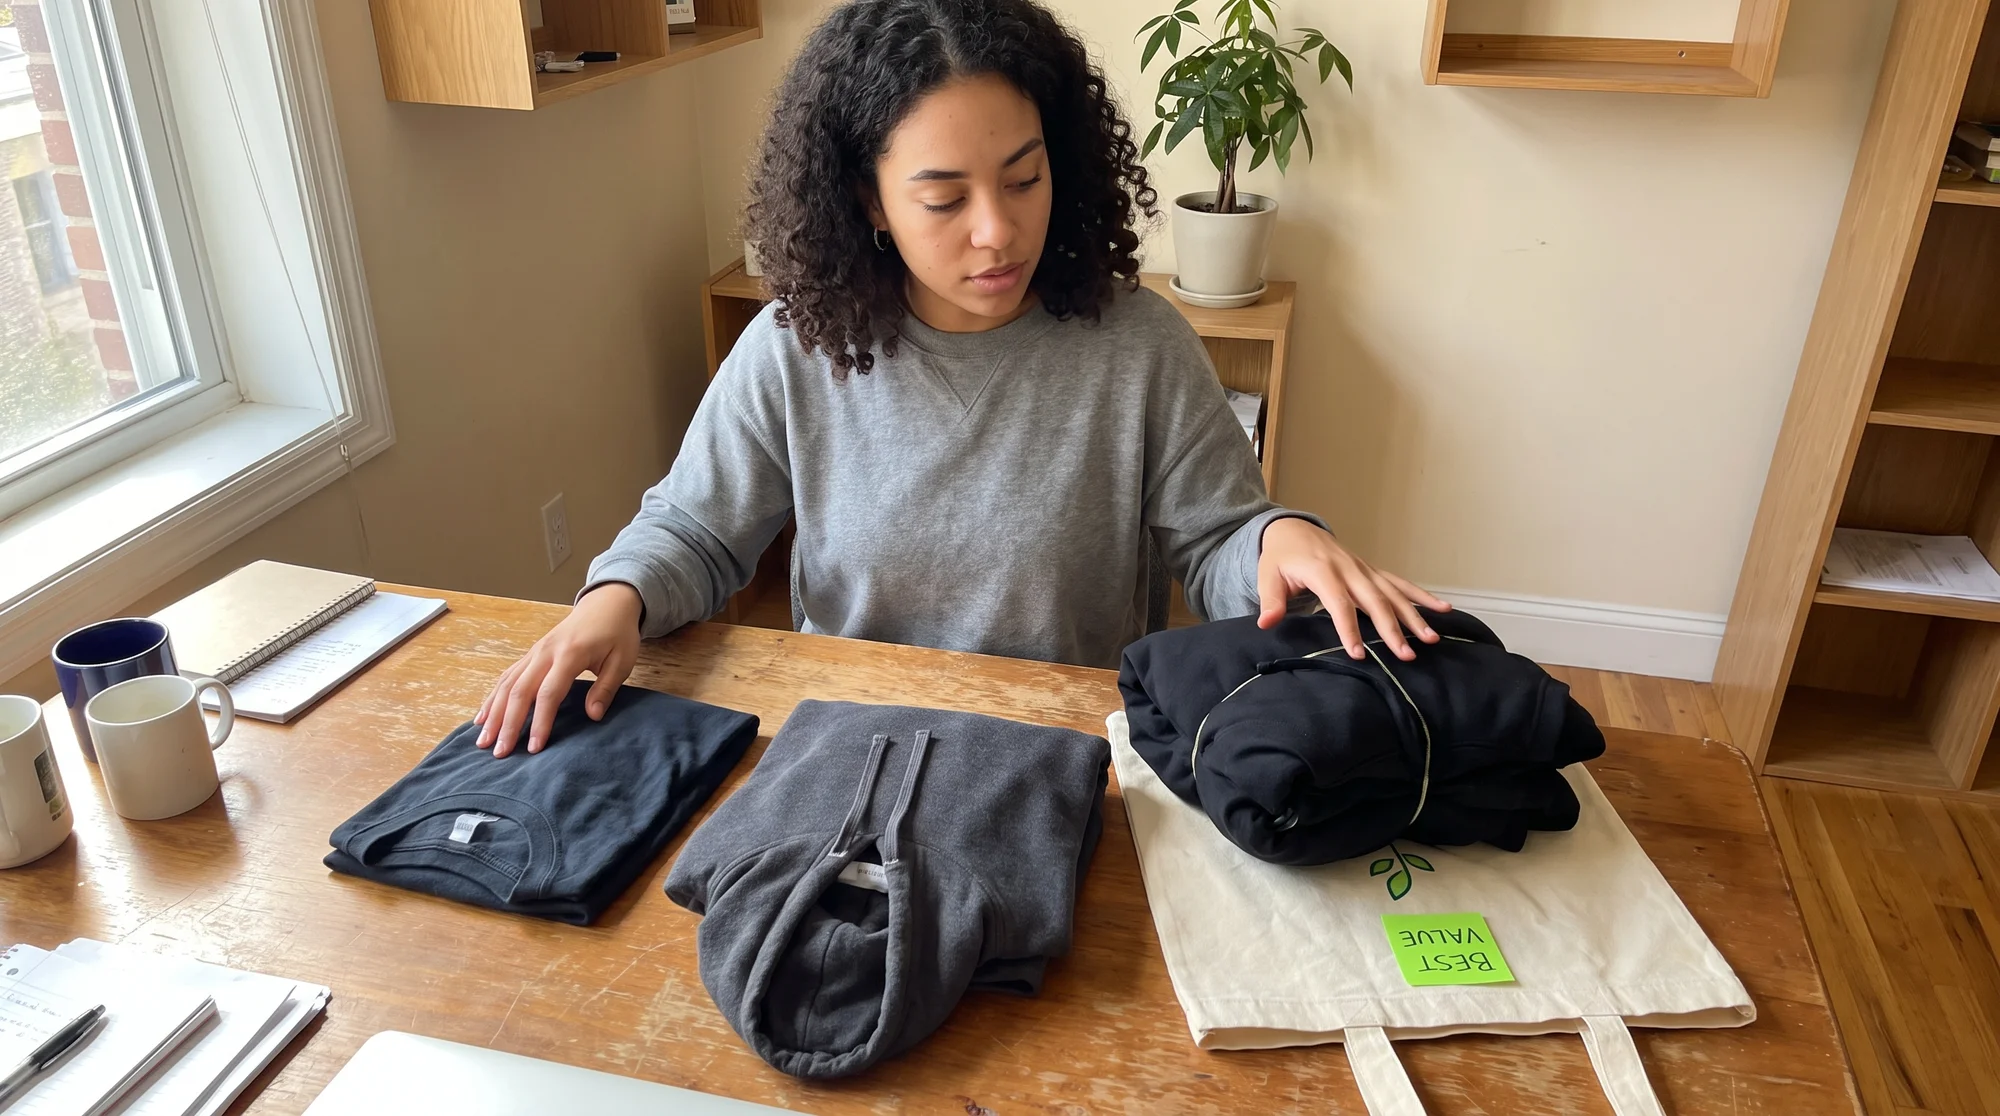
Tier A (standard tee): $24
This is your low-margin floor. It sets the "cheap" reference point but shouldn't be your goal.
Its only job is to make the higher tiers look substantial by comparison.
Tier B (decoy hoodie alone): $48
Here's your villain. A heavyweight hoodie by itself at $48 looks reasonable — until shoppers see the next tier.
Nobody should actually pick this. It exists to make your bundle shine.
Tier C (target hoodie + tote): $52
For just $4 more than the hoodie alone, shoppers get the hoodie plus a matching tote. This is your highest-margin tier and where you want volume to land.
The math is instant in a shopper's head: "Why pay $48 for one item when $52 gets me two?"
Why the $4 gap works
A small gap between the decoy and target makes the upgrade feel free. The extra $4 barely registers, but the extra product feels like a win.
Test it:
- Start with the $4 gap ($48 vs $52).
- If too many shoppers pick the decoy, tighten the gap toward $3.
- If margins allow, test $6 or $8 gaps to see how far you can stretch before conversion drops.
- Watch your decoy selection rate — if it climbs above ~10%, your gap is too wide.
Price ladder 2: Perception-driven sizing
Artists selling canvas prints, fleece blankets, and framed prints can run the same play using size instead of bundles.
Small canvas print: $45
Your entry anchor. It sets the low reference point and appeals to budget shoppers.
Medium canvas print (decoy): $72
Your decoy. A jump in size and price — but priced dangerously close to the large.
Large canvas print (target): $78
For $6 more than the medium, shoppers get a dramatically bigger piece. This is your target and your best margin.
Why 'more inches for $6' converts
On visual products, size is the value. When the large costs only $6 more than the medium but delivers far more wall presence, the upgrade sells itself.
This works because home decor buyers already imagine the piece on their wall — bigger feels better, and $6 feels like nothing.
Build it with the Product Creator
You can set up a full decoy ladder in a single sitting. Here's how.
Step 1: Pick your target product
Start with the bundle or the largest size — the tier you actually want to sell. Build everything else around it.
Choose from the Printify Catalog and confirm your margins with your Print Providers before you set prices.
Step 2: Set up three tiers
In the Product Creator, create three price anchors: Your entry, your decoy, and your target. Line them up in order so shoppers see the ladder clearly.
Set the decoy price just below the target to create that no-brainer gap.
Step 3: Bundle complementary products
Pair products that feel like a natural set. For example:
- A Comfort Colors 1717 Garment-Dyed Tee and an insulated tumbler.
- A heavyweight hoodie and a matching tote.
Complementary bundles raise perceived value and lift your overall store margins.
Step 4: Publish cohesive tiers
Publish your three tiers together to Shopify or Etsy so shoppers compare them side by side. That comparison is where the decoy earns its keep.
Naming and photo tricks
Make the decoy look inferior at a glance:
- Name the target clearly: "Hoodie + Tote Bundle (Best Value)."
- Use richer, fuller mockups for the target using the Mockup Generator.
- Keep the decoy's photo plain and single-item.
- Let the target's image do the visual heavy lifting.
Don't torch your margins: 3 ways decoys backfire
Decoy pricing is powerful, but a sloppy ladder costs you money. Avoid these traps.
When the gap is too big
If the decoy is far cheaper than the target, shoppers buy the decoy — or bail entirely. Keep the gap tight so the upgrade feels effortless.
When COGS can't carry a SKU
You don't need to stock inventory to run a decoy. With Print on Demand, use non-stocked variants so your third option costs you nothing until someone buys it.
That's the zero-risk advantage: You list the decoy, but you only pay when it sells.
When repeat buyers spot it
Loyal shoppers may notice the same ladder every time. Rotate your ladders — swap bundles, shift sizes, or change the decoy — so the trick stays fresh.
Test it today, read the data tomorrow
You don't need weeks to know if your ladder works. The data shows up fast.
The 3 numbers to watch
- Tier conversion split — what percentage of sales lands on each tier.
- Decoy selection rate — how often shoppers pick the decoy (you want this low).
- Average order value — your total revenue per order should climb.
How to know within a week
Within seven days, your target tier should pull ahead of the entry tee. If it does, your trap is printing money. If the decoy is winning, tighten the gap and test again.
FAQ
Is decoy pricing 'ethical'?
Yes. You're not lying or hiding anything — every price and product is real and clearly listed. You're simply structuring choices so your best offer looks as good as it actually is. Shoppers still get genuine value; they just feel great about the upgrade.
What's the fastest ladder to publish?
The popcorn structure: $24 tee, $48 hoodie, and $52 hoodie + tote bundle. It's simple, it converts, and you can build it in one sitting.
Does this work on Etsy or TikTok?
Both work, but the play differs slightly. On Etsy, shoppers actively compare variants, so your ladder shines in the listing. On TikTok Shop, momentum is faster, so lead with the target bundle in your video and let the decoy seal the deal at checkout.




