


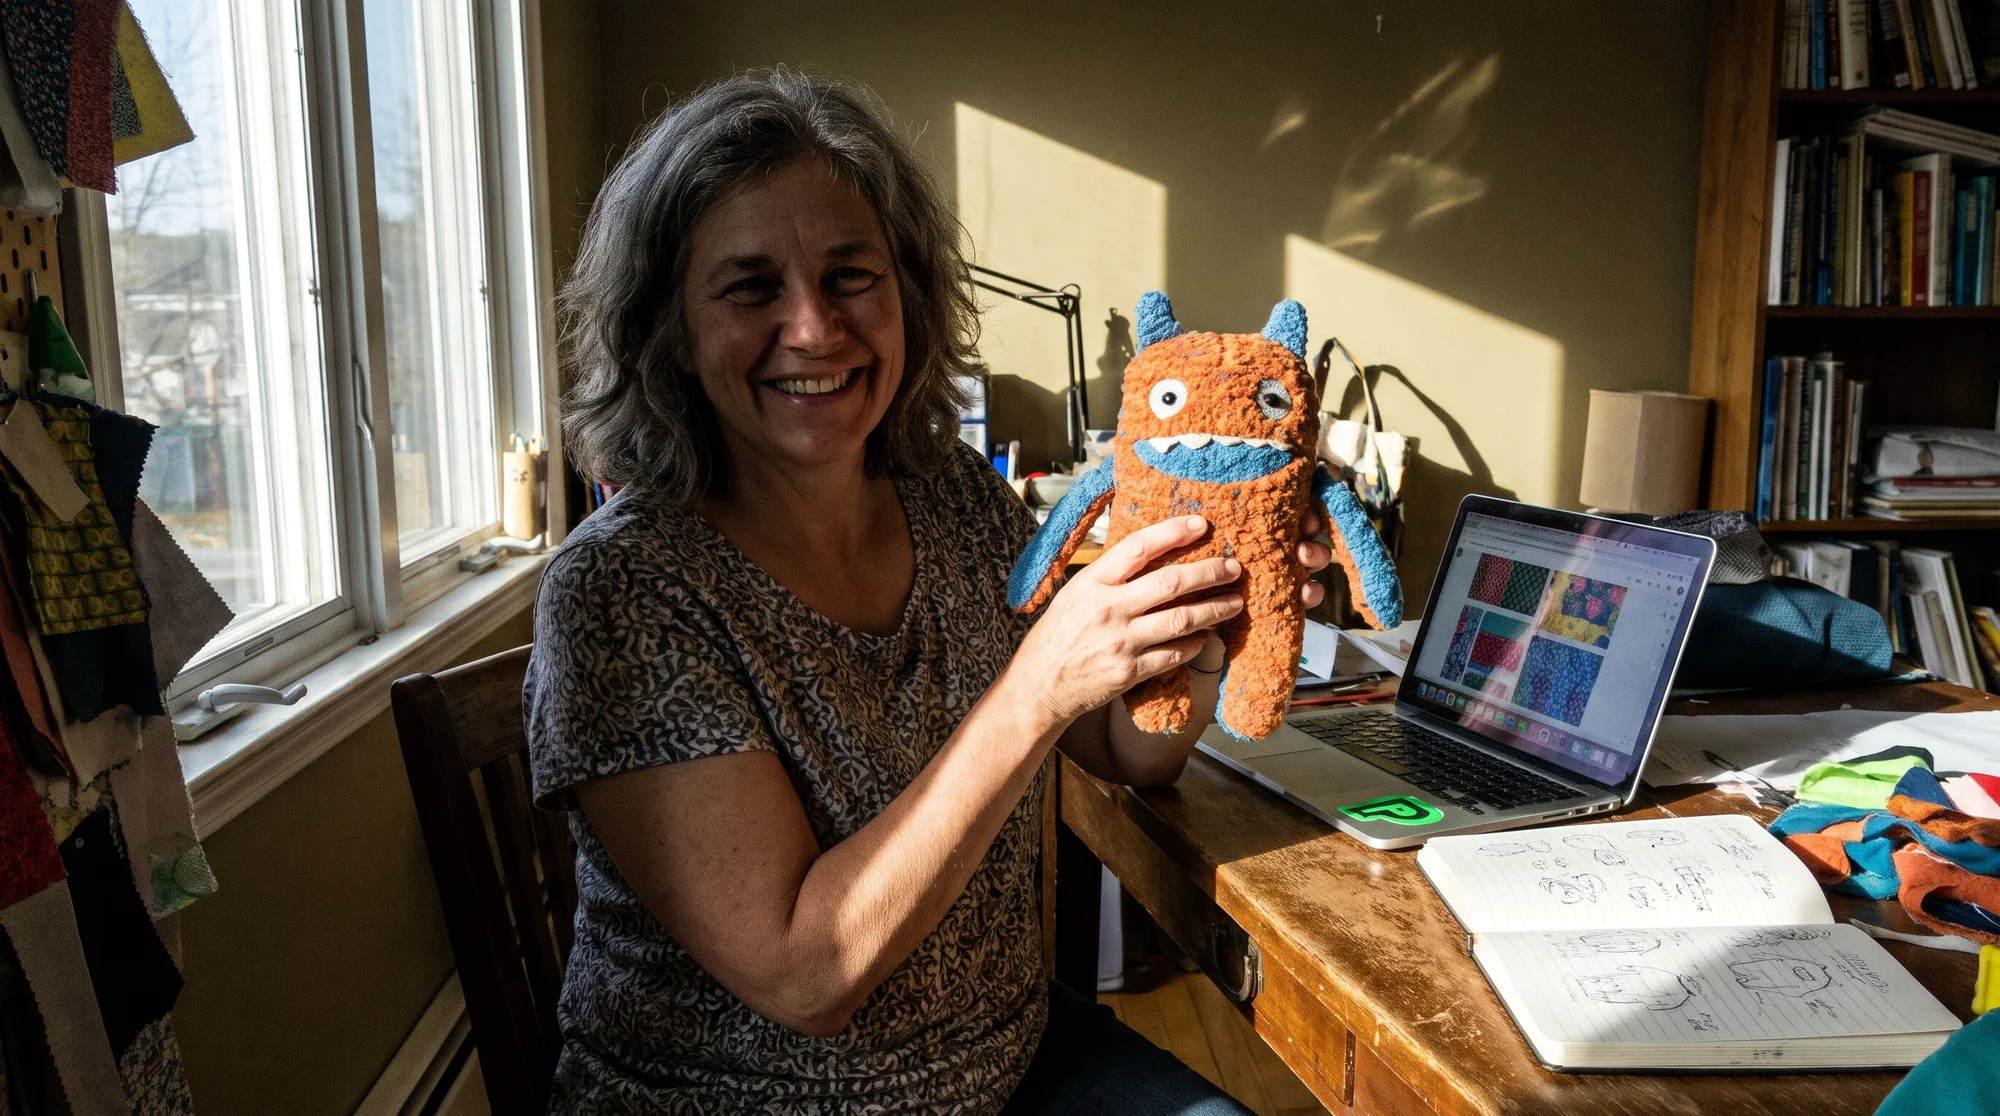
You've been burned before — MOQ orders that drained your bank account, factory runs that landed after the trend already died, and sourcing headaches that ate every dollar of margin before you ever made a sale. The fix is a two-track system: launch zero-inventory cut-and-sew plush products through print on demand today, then use that profit to fund a low-MOQ 3D factory run you pre-sell to collectors. This article shows you both tracks, the exact materials and safety specs you need, and how to build the whole machine this week.
Custom plushies are one of the hottest collector categories right now — but the old way of launching them puts your cash on the line before a single customer says "yes." Let's change that.
Why most plushie launches die
Most plushie dreams die not from bad designs, but from cash-flow math that never had a chance. Here's where creators get trapped — and how to sidestep every landmine.
The MOQ trap
Traditional plush factories demand minimum orders of 500, 1,000, or more units before they'll even start production. That means you're wiring thousands of dollars for inventory you hope will sell.
The problem: you're betting your savings on an unvalidated design. One wrong guess and you're sitting on 500 unsold plushies and an empty bank account.
The fix is simple — never front money for inventory you haven't already sold. The two-track system below makes that possible.
The slow-fulfillment killer
Even if you survive the MOQ, overseas production and shipping can take 60 to 120 days. By the time your pallet clears customs, the trend that sparked your idea has already peaked and faded.
You end up competing on a dead trend with a warehouse full of stock. That's how margin evaporates.
The solution: sell now with automated fulfillment, and reserve factory runs only for proven, pre-sold demand.
The fix — a two-track system
Here's the whole idea in one sentence: Track 1 banks profit today with zero inventory, and that profit funds Track 2's factory run — which you've already pre-sold.
You never risk a dollar you don't have. You validate before you manufacture. And you keep every advantage of speed and control.
The two tracks at a glance
Both tracks protect your cash flow and capture collector demand. The difference is timing and product type. Read these three sections and you'll know exactly where to start.
Track 1 — cut-and-sew plush pillows
This is your zero-risk entry point. You design die-cut, contour-shaped plush pillows filled with soft polyfill, upload the artwork, and list them. There's zero MOQ, zero upfront cost, and fulfillment is 100% automated through Printify.
When a customer orders, the product gets made and shipped for you. You hold no stock. You pay nothing until you've already made the sale.
Track 2 — hybrid 3D pre-order model
This is your high-margin collector play. You commission a physical 3D prototype for $150–$300, run a 30-day Kickstarter or Shopify presale, and then order a low-MOQ production run of 50–100 units at $4–$8 landed cost — paid for with buyer cash, not yours.
This is how you make true 3D sculpted plushies that collectors pay premium prices for, without the old MOQ trap.
How Track 1 pays for Track 2
Here's the flywheel: Track 1 sales generate real profit and prove which designs people want. You take that profit and that proven demand, then commission a Track 2 prototype with confidence.
The presale pays for the factory run. The factory run delivers premium margins. Those margins fund the next prototype. The machine keeps spinning — and every rotation is funded by money you've already earned.
Track 1 — bank profit today
The hardest part of any business is starting without risking your savings. Track 1 removes that barrier entirely — you can launch today for $0.
Launching on the cut-and-sew catalog
Printify's cut-and-sew catalog gives you a full lineup of plush-adjacent products ready to design and sell:
- Die-cut shaped pillows — contour-cut to your artwork, filled with soft polyfill, perfect as your first plush product.
- AOP plush blankets — all-over-print designs that pair beautifully with your character line.
- Companion totes and hoodies — upsells that let fans wear and carry your characters.
Every one of these carries zero upfront cost, automated fulfillment, and no stock to hold. You design it, list it, and Printify handles production and shipping when orders come in. That's profitability and speed working for you from day one.
To get started, create your free account at Printify and open the Product Creator to design your first shaped pillow.
Validation math before you spend
The whole point of Track 1 is to learn what sells before you commit to manufacturing. Use real sales data, not gut feeling.
Watch for these signals:
- Sell-through rate — which designs convert visitors into buyers.
- Repeat demand — characters that get re-ordered or requested in different forms.
- Add-to-cart vs purchase — where people hesitate, and which designs they can't resist.
A design that sells steadily on Track 1 is a design worth sculpting into a 3D collector plush. A flop tells you to move on — and it cost you nothing to learn that.
Reinvesting sales into your prototype
Once a design proves itself, route your Track 1 profit into a Track 2 prototype. This is the moment the flywheel kicks in.
Action steps:
- Pick your best-selling Track 1 character.
- Set aside profit until you hit the $150–$300 prototype budget.
- Build your 3-view turnaround sheet (covered below) and commission the prototype.
You're now funding your factory run with pure profit — exactly as planned.
Core manufacturing and materials
Collectors feel the difference between a cheap plush and a premium one the second they touch it. Knowing your materials lets you spec quality that commands premium pricing — and keeps you legal.
Standard plush fabrics
Your fabric choice defines the look, feel, and price point of your plush:
- Crystal Super Soft / Velboa — ultra-soft with a short 1–3mm pile. Durable and the ideal surface for crisp embroidered facial features.
- Minky — a tactile, dimpled plush that feels premium in hand.
- Sherpa / Faux Fur — textured fabric perfect for hair, manes, and fluffy accents.
Filling and weight
The right fill makes a plush feel substantial rather than cheap:
- 100% hypoallergenic PP polyfill — soft, safe stuffing that holds shape and suits all ages.
- Optional polypropylene bottom beads/pellets — add weighted balance so seated characters sit upright and feel premium.
Face details that sell
Faces make or break a plush — and they're also a safety flashpoint. Use machine embroidery for every facial feature.
Why it matters: embroidery delivers high-end, crisp definition and protects young users by avoiding the choking hazards of loose plastic safety eyes. It looks better and keeps you compliant. That's a win on both fronts.
Safety standards and testing
Selling plush legally means meeting toy-safety law. This is not optional.
- United States: ASTM F963 and CPSIA compliance.
- Europe: EN71 and CE compliance.
- Mandatory sewn-in tracking labels detailing batch number, fiber content, and manufacturer location.
Build these requirements into your factory spec from the start. It protects your customers, your brand, and your ability to sell across markets.
The 3-view turnaround sheet
A vague design brief is how you get a prototype that looks nothing like your art — and burn $300 on a reorder. A proper turnaround sheet prevents that. This is your factory blueprint.
Vector artwork at 300 DPI
Give your factory three clean views of the character:
- Front view — the hero angle.
- Side profile — defines depth and silhouette.
- Back view — shows seams, tails, and rear details.
Deliver all three as vector artwork at 300 DPI so nothing gets lost in translation.
Spec callouts that prevent reorders
Precise callouts are the difference between a perfect first run and an expensive do-over. Include every one of these:
- Pantone solid coated color codes — so your colors match exactly, every unit.
- Embroidery line thickness — specify greater than 1.5mm for clean, durable stitching.
- Fabric seam placement — mark exactly where seams fall.
- Finished height — standard collector size is 8in–10in / 20–25cm.
Nail these specs and your prototype comes back right the first time.
Track 2 — pre-sell, then produce
Now the fun part — turning a proven design into a premium collector product funded entirely by buyer cash. This is where your margins get serious.
Commissioning the prototype
Your prototype is your proof. It's the physical sample that turns a flat design into a tangible plush your audience can see and want.
Action steps:
- Send your 3-view turnaround sheet and material specs to your Print Provider.
- Budget $150–$300 (paid from Track 1 profit).
- Review the sample against your Pantone codes and finished-height spec before approving.
Running a 30-day presale
A presale validates demand and collects the cash you need to produce. You're selling the dream before you spend on the run.
Action steps:
- Photograph your prototype in lifestyle and detail shots.
- Set a 30-day presale window to create urgency.
- Launch on Kickstarter or your Shopify store with clear collector pricing and delivery timelines.
Ordering the low-MOQ run
Once the presale closes, you know exactly how many units to order — and you're ordering with money your buyers already handed you.
Place a 50–100 unit run at $4–$8 landed cost. You're never guessing, never over-ordering, and never risking your own savings. Every unit is pre-sold.
Margin breakdown
Here's why the hybrid model is worth the effort. Collectors happily pay premium prices for limited, well-made plush.
A quick illustration:
- Landed cost: $4–$8 per unit.
- Collector price: often $35–$60 per unit.
- The spread stays in your pocket — and since the run was pre-sold, that spread is pure profit.
That margin funds your next prototype and keeps the flywheel spinning.
Build the machine this week
Enough theory. Here's how to stand up the entire two-track machine in the next seven days.
Step 1: Launch Track 1 products today
Open your free account, head into the Product Creator, and design your first die-cut shaped pillow, AOP plush blanket, or companion tote. List them across your store with zero upfront cost. You can register in minutes at Printify.
Step 2: Route profit into your prototype
As Track 1 sales roll in, track which design wins. Set aside profit until you hit your $150–$300 prototype budget, then commission the sample using your 3-view turnaround sheet.
Step 3: Run the presale and flip
Launch your 30-day presale, collect buyer cash, order your 50–100 unit low-MOQ run, and pocket the collector margin. Reinvest and repeat. The machine is now running.
FAQ
How much do I need to start?
$0 for Track 1. Printify's cut-and-sew products carry no upfront cost and no inventory. You only pay for a product after a customer has already paid you. Track 2's prototype comes later — funded by Track 1 profit, never your savings.
Isn't Print on Demand slow?
No. Fulfillment through Printify is automated and completely hands-off. When an order comes in, it's produced and shipped for you — no pallets, no customs waits, no warehouse. You design once and let the system handle the rest.
What if my first design flops?
That's exactly what Track 1 is for. Validation costs you nothing, so a flop simply tells you to move on to the next design — before you've spent a single dollar on a factory run. You only commission a prototype for designs that have already proven they sell.
