


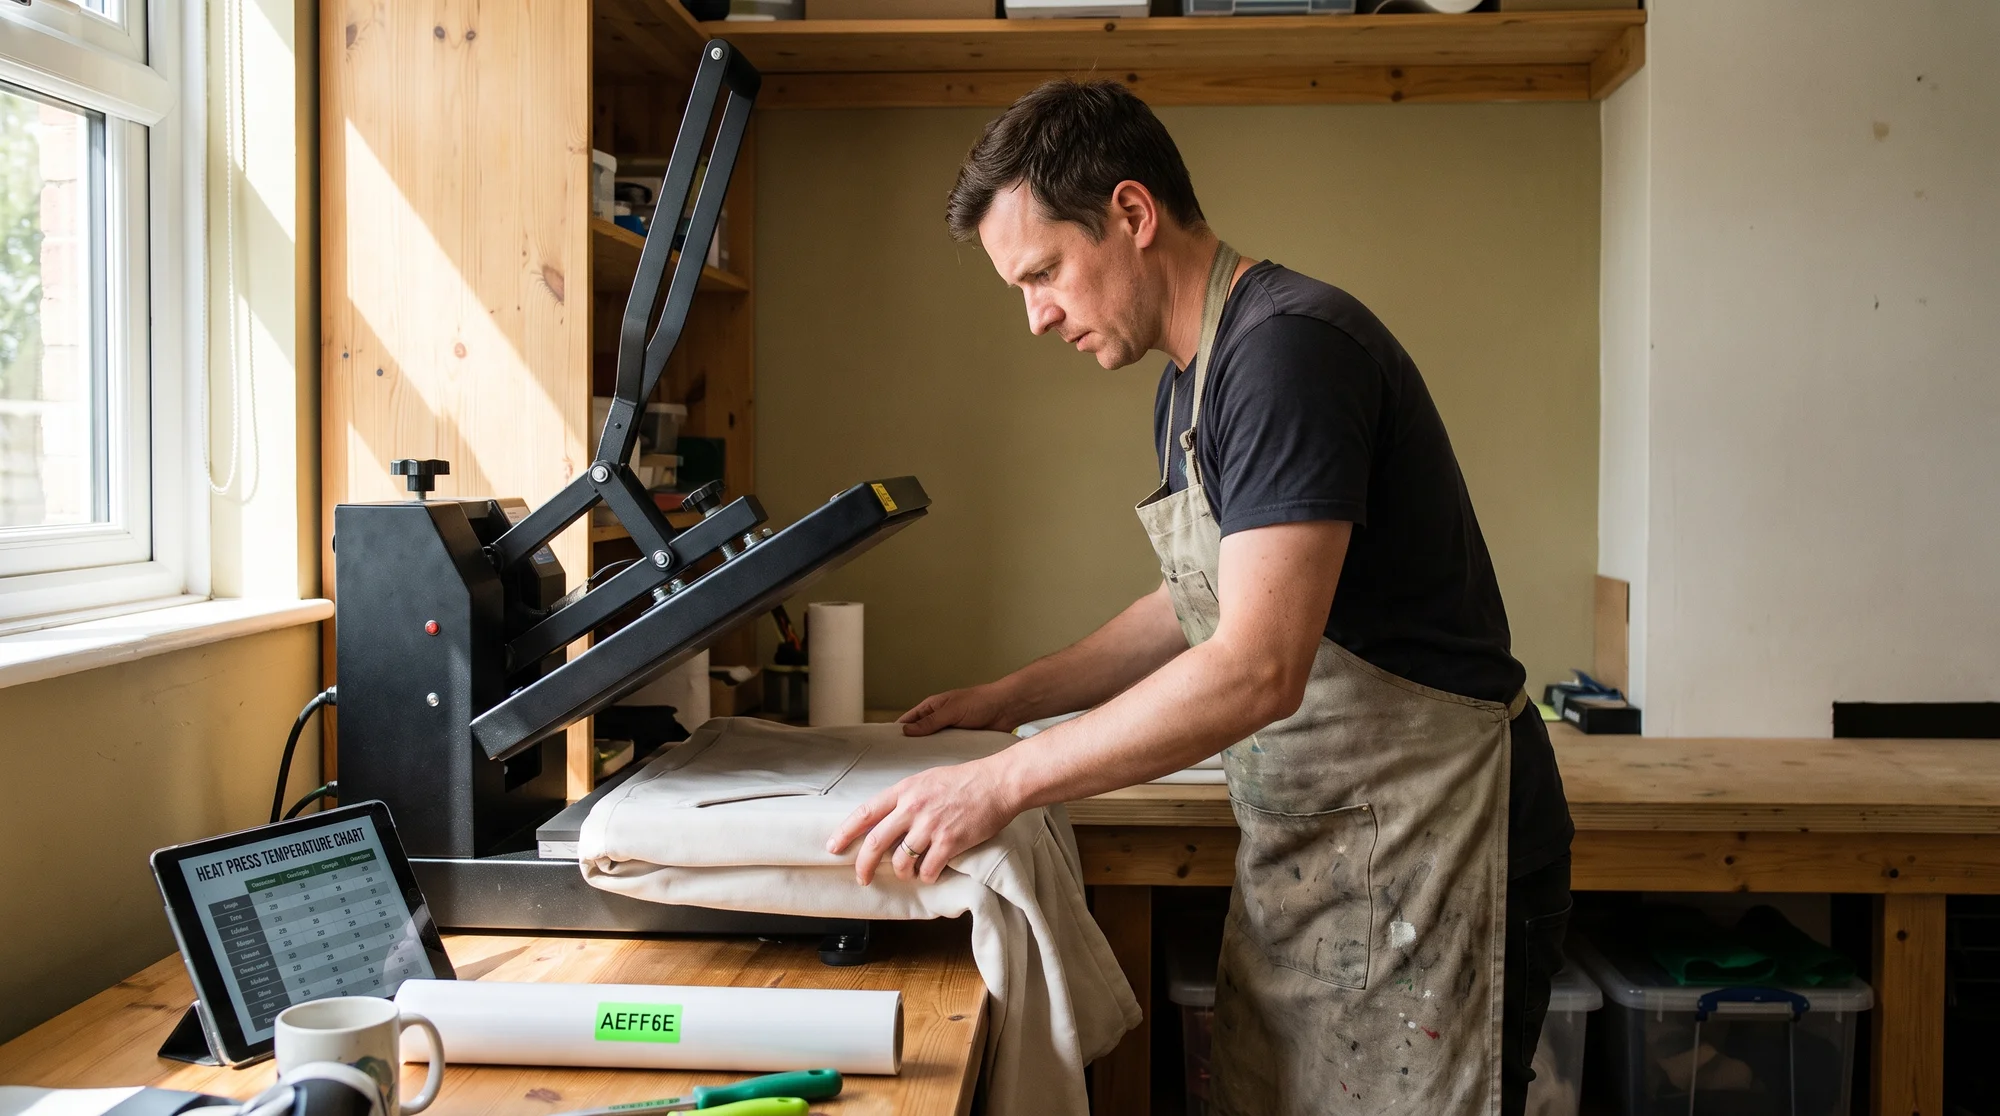
Every wrong temperature setting on your heat plate isn't just a ruined shirt — it's a wasted blank, a refund request, and a chunk of the thin margin that was supposed to buy your way out of the 9-to-5. Master heat-press application by matching exact temperature, press duration, pressure levels, and peel methods (hot vs cold) to the specific vinyl type and fabric substrate. Get any one of those four wrong, and you'll fight vinyl lifting, scorched garments, or adhesive breakdown in the wash — so below you'll find a scannable master chart, the peel-method rules that protect fine-line art, a pre-press checklist, and the real math on what each failed press costs you.
BLUF: the 10-second summary
If you only read one paragraph, read this: temperature, time, pressure, and peel method are the four dials you must set correctly for the exact material and fabric in front of you. Miss the temperature and you scorch cotton or bleed dye through polyester. Miss the peel method and you lift the finest lines of your artwork right off the shirt.
But here's the part every settings chart on the internet skips: this is a profit-per-hour decision, not just a numbers list. Cricut, HTVRONT, and Singer dump the temperatures and walk away. We're going to show you what each press actually costs, why your revenue ceiling is bolted to how fast one person can babysit a heat plate — and the moment it makes more sense to scale sales instead of scaling your labor.
The master temperature chart
Print this, tape it to your press, and stop guessing. Every row includes a hot peel vs cold peel flag — the single most-missed detail that ruins detailed designs.
Note: Always confirm the manufacturer's spec sheet for your exact vinyl. Formulas differ by brand. Use this chart as your fast reference, not a replacement for the label.
Standard HTV
- Temperature: 305°F–315°F
- Time: 10–15 seconds
- Pressure: Medium (firm)
- Peel: Check the roll — most standard HTV is warm/hot peel, but budget rolls often require cold peel
Standard heat transfer vinyl is your workhorse for cotton tees. The higher temperature range activates the adhesive fully, so it survives repeated washing.
Low-bleed performance vinyl
- Temperature: 275°F–290°F
- Time: 10–15 seconds
- Pressure: Medium
- Peel: Usually cold peel — verify the label
The lower temperature here is the whole point. Polyester and performance blends contain dyes that migrate (bleed) when they get too hot, turning your white design pink on a red shirt. Low-bleed vinyl is engineered to apply at 275°F–290°F specifically to keep the fabric below the temperature where dye migration starts.
DTF transfers
- Temperature: 300°F–320°F
- Time: 10–15 seconds
- Pressure: Medium to firm
- Peel: Cold peel — let it cool completely, then peel
Direct-to-film transfers print full-color designs onto a film you press onto the garment. They almost always require a cold peel and often a second "post-press" with a Teflon sheet to lock the finish.
Sublimation
- Temperature: 385°F–400°F
- Time: 45–60 seconds
- Pressure: Light to medium
- Peel: Hot peel — remove the paper immediately
Sublimation works only on polyester or poly-coated blanks. The high heat turns solid ink into gas that dyes the fibers permanently. Because it dyes the fabric, it can't print white and won't show on cotton.
Fabric-by-substrate adjustments
Your fabric decides how much heat you can safely use:
- 100% cotton: Handles the full standard HTV range (305°F–315°F). Most forgiving.
- 100% polyester: Scorch- and bleed-prone. Drop to low-bleed vinyl at 275°F–290°F.
- Cotton/poly blends: Split the difference. Test with low-bleed vinyl first to avoid migration.
- Tri-blends: The most delicate. These scorch easily and mark with press lines — use the lowest safe temperature, light-to-medium pressure, and always a Teflon barrier.
Precision heat and pressure
If you're one of the artists protecting fine-line work, this section is your insurance policy. The problem: temperature requirements vary widely by material, and one setting does not fit all. Standard HTV needs 305°F–315°F to bond, while low-bleed performance vinyls need 275°F–290°F to avoid cooking dye out of the fabric. Run performance vinyl at standard-HTV heat and you'll bleed the shirt. Run standard HTV too cool and it lifts in the wash.
The peel method is where detailed designs live or die:
- Hot peel: Remove the carrier sheet immediately while it's still hot. Fast, and it's what most standard and sublimation transfers use.
- Cold peel: Let the design cool completely before you touch the carrier. Cold peel gives the adhesive time to set — critical for fine lines, small text, and intricate cuts.
Peel a cold-peel vinyl while it's hot, and you'll drag the thinnest lines of your artwork right off the shirt with the carrier. That's an unrecoverable ruin.
How to verify peel method
- Read the roll or box first. Manufacturers print the peel method on the packaging or core.
- Check the spec sheet. Every reputable brand publishes a downloadable settings sheet with temp, time, pressure, and peel.
- Run a test press on a scrap of the same fabric. Peel a corner slowly. If any part of the design lifts, stop, let it cool fully, and treat it as cold peel.
Scorching prevention and pre-pressing
If you're a business owner protecting inventory, a single scorch mark turns a $12 blank into landfill. The fix is boring and mandatory: pre-press and protect.
Pre-press every garment for 3–5 seconds before applying any vinyl. This purges moisture from the fabric and smooths wrinkles, so your design lands on a flat, dry surface. Skip it, and trapped moisture causes lifting and adhesion failure down the line.
Use a Teflon sheet or butcher paper barrier between your heat plate and the garment. This stops the platen from scorching light-colored and delicate fabrics, and it protects the vinyl's finish on the final press.
The pre-press checklist
- Set the correct temperature for your fabric, not just your vinyl.
- Pre-press the blank 3–5 seconds to remove moisture and wrinkles.
- Position your design (use a heat-resistant tape if needed).
- Cover with a Teflon sheet or butcher paper.
- Press for the exact spec time at the correct pressure.
- Peel using the correct method — hot or cold.
- Post-press through the Teflon sheet for durability.
The hidden math of failed presses
Here's what the settings charts never tell you: a botched press isn't one loss, it's five stacked losses.
- The wasted blank ($8–$18 for a quality tee)
- The wasted vinyl or transfer ($1–$4)
- Your labor time — weeding, cutting, positioning, pressing (10–20 minutes gone)
- A potential refund if the failure ships and shows up in the wash
- Dead inventory if you pre-bought blanks that now sit unsellable
Now run the profit-per-hour reality. Say you sell a shirt for $28 and your material cost is $12, leaving $16. If weeding, cutting, pressing, and peeling take you 15 minutes per shirt, you top out at four shirts an hour — and that's assuming zero mistakes. One botched press in that hour and you've knocked 25% off your output and eaten the cost of the ruined blank.
That's the bottleneck no chart can fix: your revenue ceiling is bolted to how many shirts one person can babysit on a heat plate. You can't out-work thin margins when your production time is the cap.
The scaler's pivot
Here's the moment the math flips. The manual press protects your margin on the shirts you're already committed to making by hand. But scaling sales while doing every press yourself just means scaling your own labor — and your evenings and weekends with it.
Printify's automated fulfillment removes the bottleneck entirely. Our DTG and DTF Print Provider network handles the weeding, the cutting, the temperature, the pressure, and the peel — with none of it on your hands. No blanks to pre-buy. No scorch risk. No inventory sitting in your spare room.
Scale sales on premium blanks
You list the products. Your Print Providers make and ship them only after a customer buys. That means you can sell premium apparel your customers actually want, with zero production overhead:
- Comfort Colors 1717 — the garment-dyed heavyweight tee buyers pay a premium for
- Lane Seven Hoodie — a soft, retail-quality hoodie that sells itself
Connect them to your store through the Product Creator, build your mockups, and publish. That's the whole workflow.
Manual pressing vs Print on Demand
| Manual pressing | Printify fulfillment | |
|---|---|---|
| Time per order | 10–20 min of your labor | Minutes to list, then hands-off |
| Blank inventory | Pre-bought, at risk | Zero — printed on demand |
| Scorch/lift waste | On you, every time | On the Print Provider |
| Output ceiling | Capped by your hands | Scales with your sales |
The Hustler's whole goal is more money, more autonomy, and more living. You don't get there by standing at a press for 12 hours. You get there by scaling sales while your Print Providers scale the production — backed by our promises of Profitability, Quality, Selection, and Speed.
FAQ
What temperature for HTV on polyester?
Use low-bleed performance vinyl at 275°F–290°F. Standard HTV temperatures (305°F–315°F) are hot enough to trigger dye migration on polyester, which bleeds the fabric color up into your design. Lower heat plus low-bleed vinyl keeps the shirt below the migration point.
Hot peel vs cold peel: which one?
Check the vinyl's packaging or spec sheet first — the manufacturer prints it there. If you can't find it, run a test press and peel a corner slowly. If any part of the design lifts, let it cool completely and treat it as cold peel. When in doubt, cold peel is the safer choice for fine-line work.
Why does my vinyl lift after washing?
Almost always one of three things: temperature too low to fully activate the adhesive, not enough pressure, or moisture left in the fabric. Fix it by pre-pressing 3–5 seconds to purge moisture, confirming your temperature and pressure against the spec sheet, and doing a post-press through a Teflon sheet.
How do I stop scorching light garments?
Drop your temperature to the lowest setting your vinyl allows, always cover the garment with a Teflon sheet or butcher paper, and reduce your press time. Tri-blends and light polyester scorch fastest, so test on a scrap of the same fabric before pressing your finished blank.
Is DTF or DTG better for scaling?
Both remove the manual weeding and pressing bottleneck, so either beats hand-pressing for scale. DTF handles bold, full-color designs on a wide range of fabrics, while DTG produces soft, detailed prints on cotton-rich blanks. With Printify, you don't have to pick a machine — you connect to a network of Print Providers that run both, and you scale sales without touching production.




