


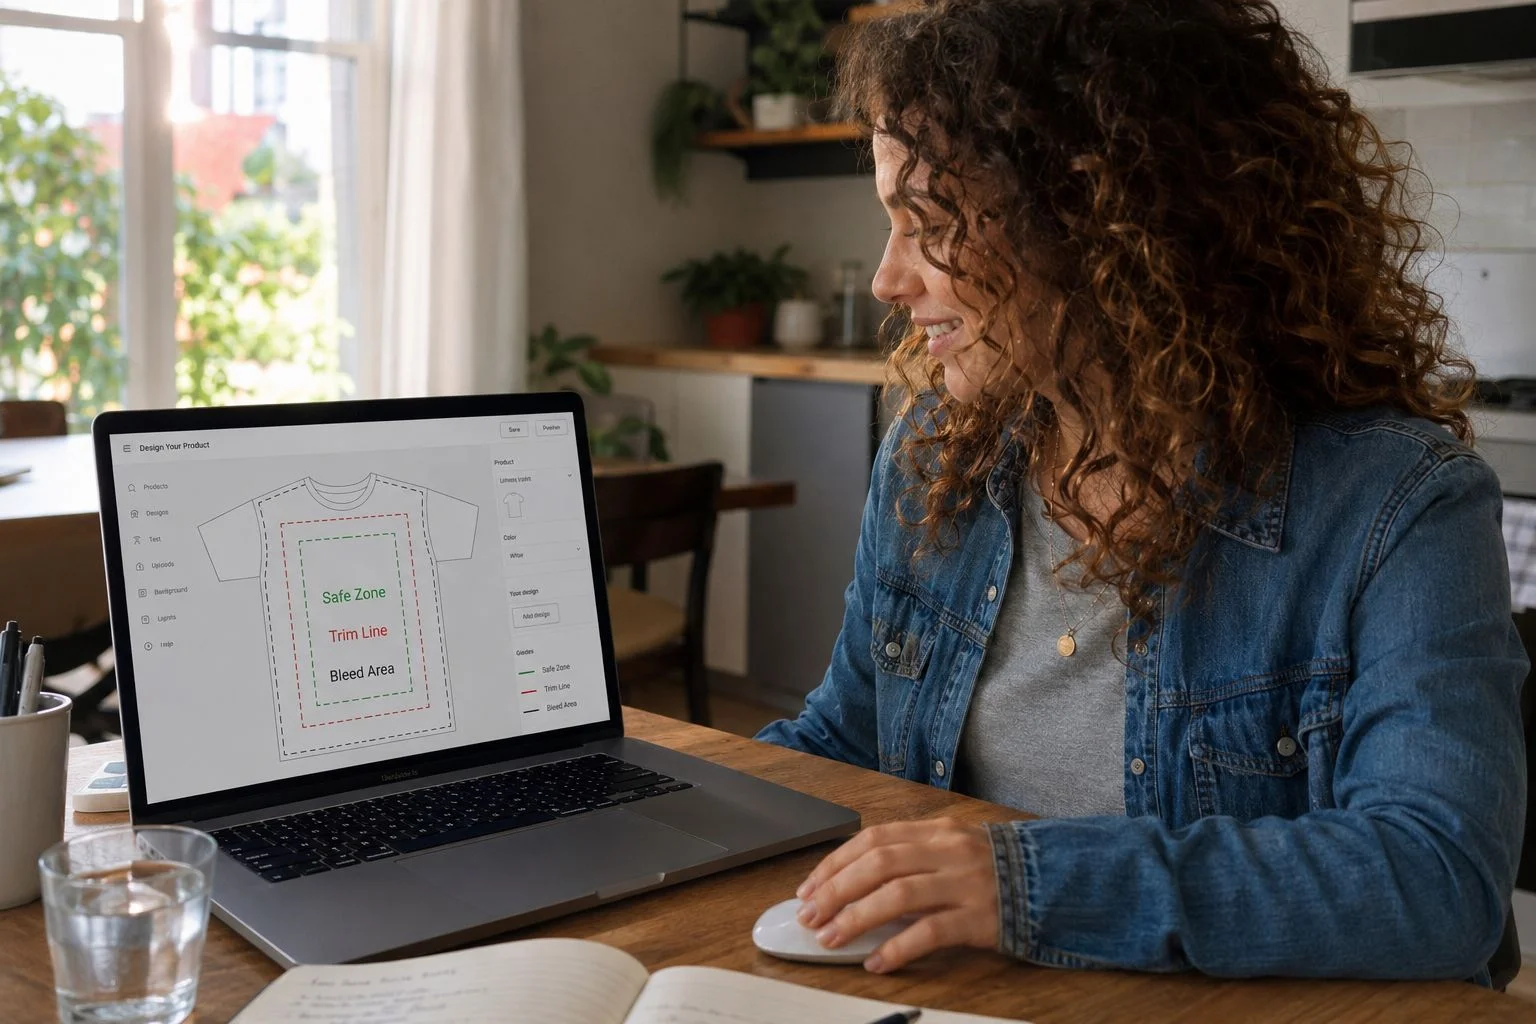
Every rejected order drains your margin twice: once for the wasted sample, and again for the days you burn fixing it instead of testing your next winner. The fix is a 60-second pre-flight check you run inside the Printify Product Creator before you export a single file. Pull the product template, confirm your resolution hits 300 DPI, keep critical elements inside the Safe Zone, stretch full-bleed backgrounds to the bleed edge, then export and launch.
Why redo loops eat your velocity
You didn't start selling to become a file-repair technician. But every reprint pulls you back into that exact trap.
The real cost
A rejected order isn't one line item. It's the wasted sample fee, the shipping you already paid, and three days you'll never get back testing the product that could've been your next winner. Speed is your biggest advantage as a Print on Demand seller, and redo loops quietly kill it.
3 errors behind 90% of reprints
Almost every rejection traces back to the same three mistakes:
- Fuzzy edges from low DPI (blurry, pixelated prints).
- White border strips from missed bleed (stark unprinted edges).
- Chopped logos from Safe Zone violations (text and marks sliced off).
The mindset shift
File prep isn't design theory. It's a profit checklist. Treat it like a pilot's pre-flight run: 60 seconds, every time, before you launch. Skip it and you gamble your margin on machine tolerances you can't see.
3 terms you actually need
You only need three words to protect every launch. Here they are, no jargon.
Print Bleed
Print Bleed is the extra artwork area extending beyond the final trim line. It prevents unprinted white edges when products are cut. Your background needs to run past where the blade lands.
DPI (dots per inch)
DPI measures image resolution. 300 DPI is the universal print standard for sharp, non-fuzzy output. Anything lower risks a blurry print and a rejected order.
Safe Zone
The Safe Zone is the interior boundary where all critical text and logos must stay. It keeps your important elements from getting chopped off during mechanical cutting or seam stitching.
Rule 1: The Safe Zone barrier
If you're an artist scaling designs across mugs, tees, and posters, this rule protects your signature look on every SKU.
The ±0.125-inch problem
Physical print equipment has a slight mechanical movement tolerance, typically ±0.125 inches. That means the cut line shifts a hair on every single order. You can't control it, so you design around it.
Never hug the cut line
Never place critical typography, signature marks, or focal elements right along the cut line. That's exactly where the machine variance eats your artwork.
Keep key visuals in the green
Keep every key visual safely inside the inner Safe Zone (the green box). When the cut shifts, your logo and text stay untouched.
Quick gut-check when scaling
Simple rule: if it matters, keep it in the green. When you're launching SKUs quickly, that one line saves you from batch rejections.
Rule 2: The bleed extension principle
If you're a business owner selling edge-to-edge products, this rule kills white strips before they start.
What counts as full-bleed
Full-bleed printing covers the entire product surface with no borders. Think canvas wraps, all-over-print (AOP) tees, and acrylic blocks.
The white-strip killer
Here's the trap: if you only extend your design to the expected trim line, microscopic cutting variations will leave stark white unprinted strips along the edges. The machine moves; your design doesn't cover the gap; the customer gets a defect.
The fix
Stretch your background graphics all the way to the outer bleed edge (the red line), every time. When the cut shifts, there's always color where the blade lands. No white strips, no reprints.
The shortcut: Use the Product Creator
You don't have to guess at any of this. The Printify Product Creator gives you the exact guide layers to check alignment before you export.
Step 1: Download the template first
Before you open Photoshop or Illustrator, download the design template directly from the Product Creator. Each product has its own template, so pull the one for the exact item you're launching.
Step 2: Toggle the guide layers
Turn on the template guide layers to verify alignment:
- Bleed Area — the red line (outer edge).
- Trim Line — the dashed line (where the cut lands).
- Safe Zone — the green box (keep critical elements inside).
Step 3: Confirm placement
Confirm your logos and text sit inside the green box. Confirm your full-bleed backgrounds reach the red line. Two checks, no exceptions.
Step 4: Export and launch
Export a 300 DPI PNG and launch. That resolution locks in sharp, non-fuzzy output that clears the quality bar every time.
The 60-second zero-reprint checklist
Run this scan before you export a single file:
- Template pulled — product-specific template downloaded from Product Creator.
- DPI at 300 — resolution confirmed for sharp output.
- Safe Zone respected — logos and text inside the green box.
- Bleed extended — full-bleed backgrounds reach the red line.
- PNG exported — saved at 300 DPI.
- Launch — publish and move on to the next winner.
What this protects
This check isn't extra work. It's the thing that gives you time back. No redo loops means faster launches, cleaner margins, and more products tested per week. That's how you find winners faster and keep more of every sale.
Open your Printify Product Creator right now, download the template for the product you're about to launch, and run the 60-second guide-layer check before you export a single PNG. Then get back to testing winners instead of fixing rejects.




