


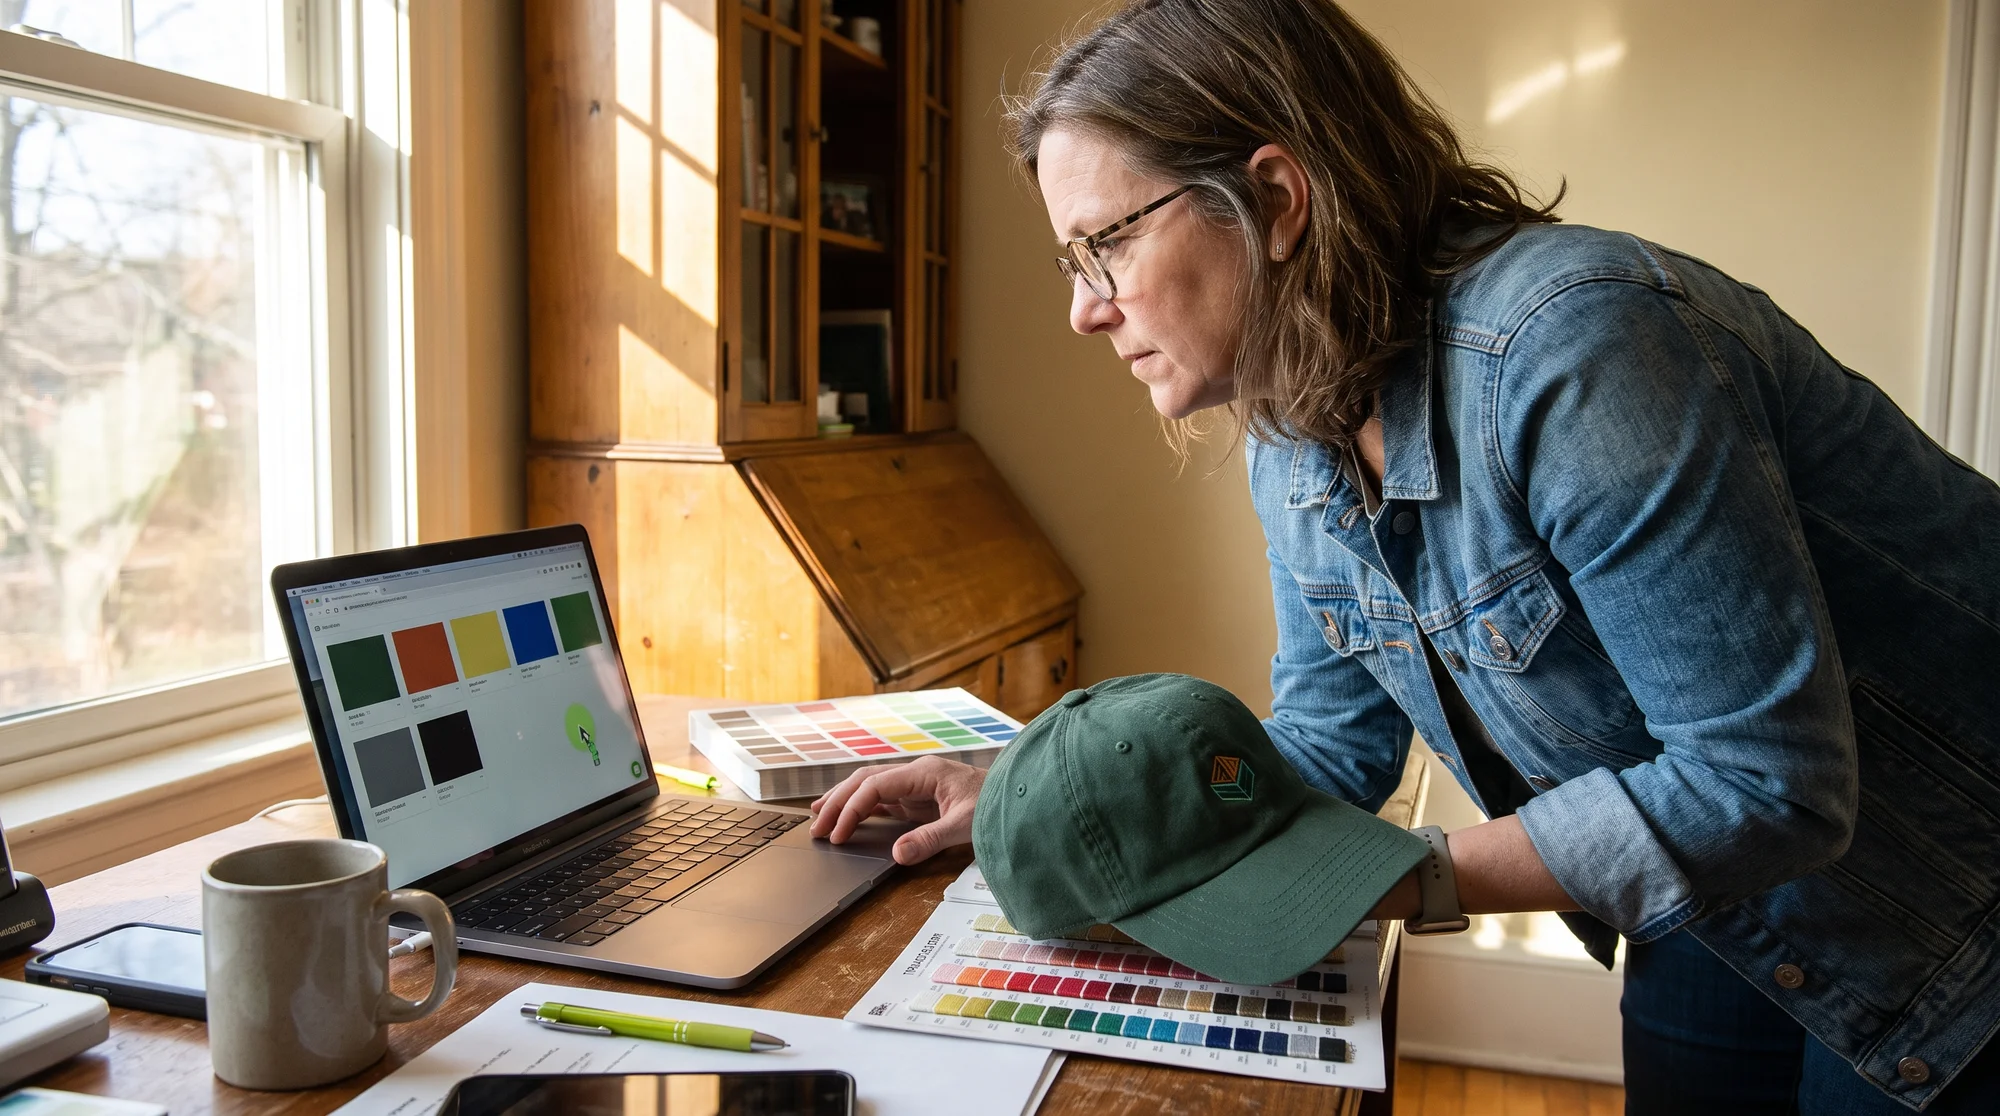
You keep losing margin every time an embroidered order ships back with colors that don't match your mockup. The fix isn't a bigger brand-to-brand conversion chart — it's building your design inside a standardized thread palette, assigning Pantone codes, and matching them directly in Printify's embroidery color system so the physical output matches your preview. Below, we'll walk through the three rules: limit your palette to solid blocks, use Pantone as your universal bridge, and activate pre-matched threads right inside the Product Creator.
The real problem: Margin lost on reprints
Every time an embroidered order comes back with colors that don't match your mockup, you're not just eating a reprint — you're eating the design time, the re-upload, and the margin you were counting on to scale. The chart isn't your problem. The workflow is.
Why conversion tools slow you down
Tools like OESD, All Threads, and Thread Exchange are third-party tools built for one person cross-referencing their own thread stash at home. They assume you own physical spools and want to swap one brand for another.
You don't. You route production to a fulfillment partner. Trying to manually convert Madeira to Isacord to Robison-Anton is solving a problem you don't even have — and it burns hours you could spend selling.
The three margin-killers
Here's what's actually eating your profit:
- Wasted re-uploads: You upload, it looks off, you tweak, you re-upload. Repeat.
- Wrong-looking colors on delivery: The mockup looked great, the stitched product didn't.
- Reprint and rejection cycles: Customers send it back, and you pay twice to ship once.
The mindset shift
Stop thinking like a hobbyist cross-referencing a spool drawer. Think like a seller routing production. You don't need to own thread — you need to speak a language your Print Providers already understand. That language is Pantone, and we'll get there in Rule #2.
How thread color matching works
Before you fix your workflow, you need to know what happens between your screen and the finished hat. It's simpler than the charts make it look.
The three-step translation
Every embroidered design follows the same path:
- Digital hex/RGB — the color on your screen.
- Standardized Pantone (PMS) codes — the universal middle language.
- Physical thread inventory — Madeira, Isacord, or Robison-Anton spools your partner actually stocks.
Skip the middle step, and every partner guesses. Lock it in, and everyone routes to the same thread.
Why thread doesn't look like ink
Here's the hidden reason your mockup shade shifts: thread reflects light differently than printed ink. A flat digital swatch has no texture. A stitched thread catches light across thousands of raised fibers, so the same "color" reads darker, brighter, or more saturated in the real world.
This is why you can't trust a raw hex value alone. You need a standardized reference built for thread.
The takeaway
Build inside a standardized 15-to-30 color thread palette, or gamble on shade shift every single order. The sellers who win pick the palette on purpose.
Rule #1: Kill the gradients
If your embroidery files keep getting rejected or mangled, your palette is too complex. This is the number one reprint trigger for the 8,477 Artists in our community.
Most partners cap at 15 colors
Most commercial Print Providers limit embroidered artwork to a maximum of 6 to 15 solid thread colors per design. That's not a bug — it's how needles work. Every color is a physical spool and a thread change.
Why gradients get mangled
A subtle gradient or a 50-color vector palette can't stitch. There's no such thing as a "faded" thread — a needle either lays a color or it doesn't. When you send blends, the machine either rejects the file or approximates it into a chaotic mess of color swaps that looks nothing like your screen.
The solid color block rule
Restrict your artwork to 6 to 15 solid, high-contrast color blocks. This gives you:
- Clean needle transitions
- Zero chaotic color swaps
- A file that ships on the first try
Quick self-audit
Ask yourself before every upload:
- Does my design use more than 15 colors? Reprint-bait.
- Does it rely on gradients or soft fades? Reprint-bait.
- Is every color a distinct, solid block? Ship-ready.
Rule #2: The Pantone bridge
If you're a business owner tired of the email back-and-forth with digitizers, this rule ends it. This is the move for the 12,203 Business owners scaling a product line.
Why PMS Solid Coated works everywhere
Pantone Solid Coated (PMS) is the single value that works across every fulfillment partner and thread supplier. Hex changes with your monitor. Brand thread codes change with your partner. PMS stays fixed. It's the one number everyone speaks.
How PMS auto-routes the thread
When you assign a specific PMS code to each color, your fulfillment partner automatically routes the closest physical thread from their preferred supplier — no guesswork, no email chains. You send PMS 186 C, they pull the matching red spool. Done.
The PMS-to-thread quick-reference
Here are 15 high-use seller colors mapped to standard thread inventory. Lock these into your source file:
| Color | PMS (Solid Coated) | Madeira Classic | Isacord |
|---|---|---|---|
| Bright red | PMS 186 C | 1147 | 1902 |
| Navy | PMS 289 C | 1043 | 3543 |
| Royal blue | PMS 293 C | 1134 | 3335 |
| Kelly green | PMS 348 C | 1250 | 5510 |
| Gold/yellow | PMS 116 C | 1124 | 0700 |
| Orange | PMS 165 C | 1278 | 1300 |
| Purple | PMS 268 C | 1112 | 2920 |
| Pink | PMS 205 C | 1421 | 2153 |
| Black | PMS Black C | 1000 | 0020 |
| White | White | 1001 | 0015 |
| Light gray | PMS 421 C | 1811 | 0142 |
| Charcoal | PMS 425 C | 1888 | 0134 |
| Teal | PMS 320 C | 1091 | 4610 |
| Maroon | PMS 202 C | 1084 | 2224 |
| Tan/khaki | PMS 4525 C | 1157 | 0552 |
Use these as your starting reference — always confirm the exact match in Printify's editor before you publish.
How to lock PMS codes into your file
Do this before you ever upload:
- Open your design file in your editor of choice.
- Replace every fill with a solid swatch set to its PMS Solid Coated value.
- Name each layer with its PMS code (for example, "186 C").
- Save the file so the codes travel with the artwork.
Rule #3: Activate inside Printify
The charts and codes get you 90% of the way. Printify closes the loop so your mockup equals your physical output — guaranteed.
Where to find the color editor
Open the Product Creator and add an embroidered product. When you upload your design, Printify's built-in embroidery color palette editor appears, showing pre-matched thread options for each color area.
Selecting pre-matched threads
This is the part that kills the guesswork: inside the Mockup Generator, you select from pre-matched thread colors, not raw hex values. What you see in the mockup is the physical thread that gets stitched. Mockup equals output.
- Click each color zone in your design.
- Choose the closest pre-matched thread (use your PMS reference to guide the pick).
- Preview the mockup — that shade is what ships.
Walkthroughs for your best sellers
Yupoong Classic Dad Hat: Add it in the Product Creator, upload your solid-block logo, then assign each block a thread color from the palette editor. Preview the front embroidery mockup — that's your stitched hat.
Champion Mesh Shorts: Load your design onto the leg placement, match your 6-to-15 blocks to pre-matched threads, and confirm the mockup shade against your PMS reference.
Heavyweight crewneck sweatshirts: Upload your chest or sleeve design, select solid thread colors per block, and preview. Thick fabric loves solid, high-contrast blocks — they read clean every time.
Why this ends the re-upload loop
Because you pick the actual thread inside the editor, there's no "hope it matches" gap. You've removed the guesswork before you ever publish. No re-uploads. No reprints. That's Quality and Speed working together to protect your margin.
The ship-fast workflow
Here's the whole system in one repeatable flow. Run it on every new design.
The four-step workflow
- Design in 6-to-15 solid blocks — no gradients, high contrast.
- Assign PMS codes — lock them into your source file.
- Match in Printify's editor — select pre-matched threads inside the Mockup Generator.
- Publish — the mockup is your physical output.
The margin math
One avoided reprint isn't a small win. Every reprint costs you the product, the reshipping, the design time, and the customer's trust. Multiply one avoided reprint across a product line of 20, 50, or 100 designs, and you're protecting real profit — the margin you were counting on to scale.
Turn it into an SOP
Save this as a checklist and run it every time:
- ✅ 6 to 15 solid color blocks only
- ✅ Every block assigned a PMS Solid Coated code
- ✅ Threads matched inside Printify's editor
- ✅ Mockup previewed and approved before publish
Do this once, and every future design is profit-ready on the first try.
Your first-try action step
Open Printify's embroidery color palette editor, grab the copy-paste PMS-to-thread quick-reference above, and rebuild your top-selling design — Dad Hat, Mesh Shorts, or crewneck — in 15 solid color blocks. Then publish knowing the physical output will match the mockup on the first try, no reprints. That's more margin, more autonomy, and more living. Kiss the reprint cycle goodbye.




