


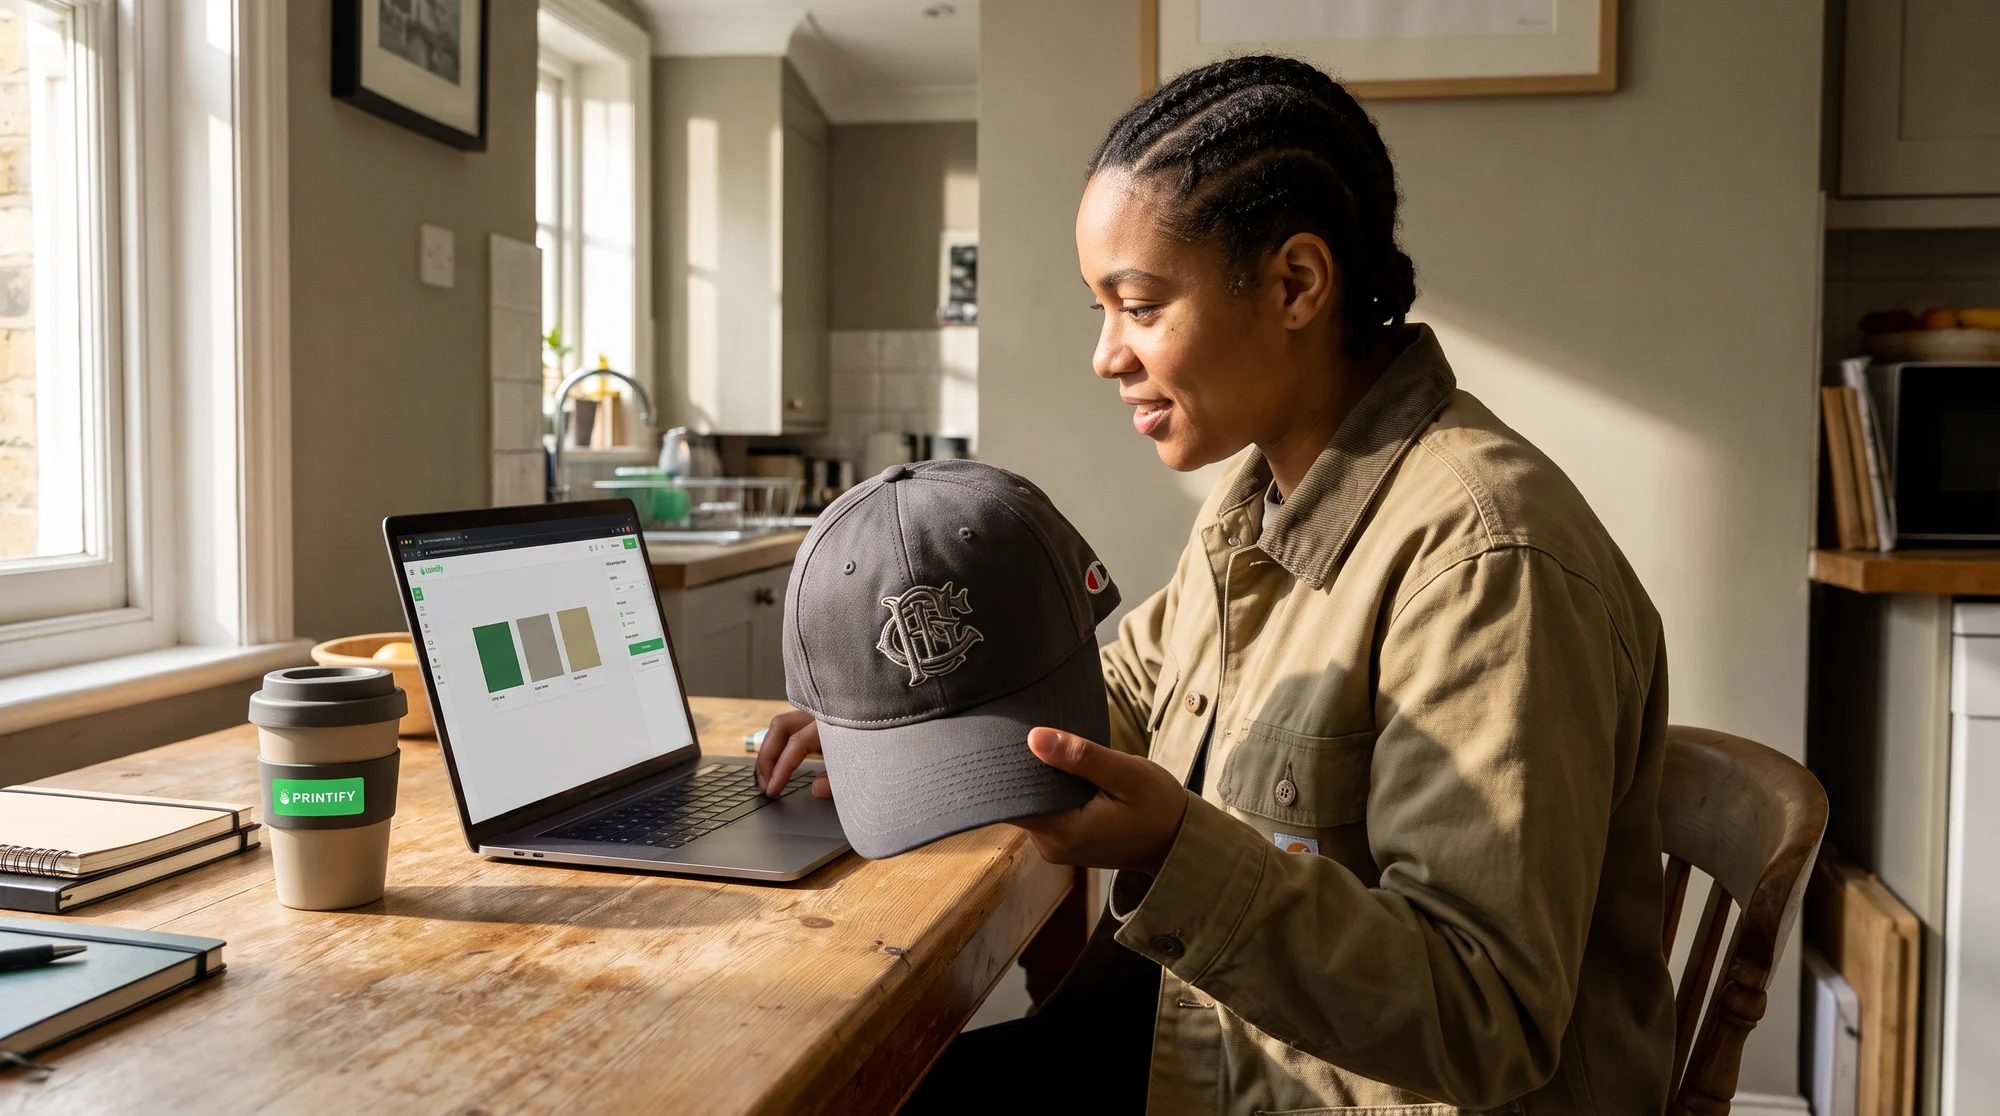
You didn't get into Print on Demand to spend your Saturday learning why your logo puckered on a $28 crewneck — you got in to sell, and every hour you burn fighting stitch density is an hour your competitor is banking sales. The fix is simple: embroidery digitizing is the technical process of translating flat vector art into a mathematical sequence of machine commands (files like .DST or .PES) that tell the needle where to travel, what density to use, and how to layer underlays — and you can either outsource it to a professional human digitizer for $10–$30 flat, or drop $1,000+ on software like Hatch or Wilcom (both third-party tools, not built by Printify) and spend weeks learning stitch physics. This breakdown shows you which choice gets you selling embroidered blanks in under 24 hours: pick your path, get a clean file, and upload it straight into the Printify Product Creator.
The real cost of DIY stitches
The software price tag is the smallest part of the bill. The real cost is measured in the hours you lose, the refunds you eat, and the trends you miss while you're still troubleshooting a jump stitch.
The hidden time-tax
The problem: Digitizing isn't drawing — it's engineering. You're setting pull compensation, density spacing, and underlay layers by hand, and getting one 3-inch chest logo right can eat five-plus hours on your first attempts.
The solution: Those five hours are your most valuable asset. Spend them building listings, running ads, and sourcing trends — not wrestling stitch paths that a professional nails in minutes.
The action: Track how long your last DIY digitize took. Multiply by your target hourly rate. That number is what you're really paying to "save" $15.
The refund trap
The problem: A bad file doesn't fail quietly — it fails on a paying customer's product. Wrong density causes thread bunching. Missing underlay causes fabric puckering. Both trigger refunds that wipe out your margin.
The solution: A properly engineered file stitches cleanly across automated fulfillment, so what your customer receives matches your mockup.
The action: Never let an untested file hit a live order. A clean, human-digitized file protects the quality promise your buyers expect.
The trend clock
The problem: Embroidery trends move fast. If it takes you a week to fix your file, you launch after the trend has already saturated — and you're competing on a wave that's already crashed.
The solution: Speed wins. Outsource the technical work so you can go from artwork to sellable product before your competitors even notice the trend.
The action: When you spot a trend, send your art to a digitizer the same day. Aim to launch within 24 hours.
Path 1: The professional outsourcing play
This is the hustler's shortcut. For the business owner whose time is worth more than the fee, outsourcing is the fastest route to a clean, sellable product.
What you get for $10–$30
The problem: You don't know what "good" stitch settings look like — and you shouldn't have to.
The solution: For a flat $10–$30 per design, a human expert sets the three things that make or break embroidery:
- Pull compensation — so shapes don't distort as thread pulls the fabric.
- Density spacing — so fills look smooth, not gappy or bulletproof-stiff.
- Underlay stitching — the hidden foundation that keeps your design flat and crisp.
The action: Send your logo, note the final size, and let the expert handle the physics.
Why manual beats auto-digitizing
The problem: Auto-digitizing tools generate inefficient stitch paths, excessive thread jumps, and uneven fills that ruin fabric — and those errors surface on the customer's finished product.
The solution: Manual digitizing produces clean files that run across automated networks like Printify or Printful without errors. A human reads your artwork's intent; software just guesses.
The action: Ask any digitizer directly: "Is this manually digitized?" If the answer is vague, walk.
The 24-hour turnaround math
The problem: Slow fulfillment means a slow launch.
The solution: Most professional digitizers return files within 24 hours. That means artwork in the morning, sellable product by tomorrow.
The action: Send art today, expect your file by tomorrow, and have your Etsy or TikTok Shop listing live before the trend peaks.
How to vet a digitizer fast
The problem: Not every service is worth $15.
The solution: Judge them on four things:
- Turnaround — 24 hours or less.
- Format options — they must deliver .DST and .PES.
- Free revisions — at least one round included.
- Money-back guarantee — they stand behind the file if it doesn't stitch clean.
The action: Pick one service that checks all four boxes and make them your go-to.
Path 2: The creative software trap
Software has its place — but for most sellers, it's a $1,000 detour that delays your first sale by weeks.
When Hatch or Wilcom makes sense
The problem: Some artists need absolute control over every stitch to protect a signature brand aesthetic.
The solution: If you're a high-volume artist digitizing dozens of designs a month, desktop software like Hatch Embroidery or Wilcom EmbroideryStudio gives you granular control that outsourcing can't match. Both are external, third-party tools — not part of Printify.
The action: Only invest if your volume is high enough that the per-design savings clearly beat the outsourcing fee.
The auto-digitizing warning
The problem: Many buy software expecting the "auto" button to do the work.
The solution: It won't. Auto-digitizing produces inefficient paths, thread jumps, and uneven fills that pucker and bunch on real fabric. The pros in these programs still digitize by hand.
The action: If you buy the software, budget time to learn manual digitizing — the auto tools alone won't protect your quality.
The learning curve reality check
The problem: Mastering stitch physics is a genuine technical skill, and it takes weeks of practice.
The solution: Those are weeks you could spend selling. For most sellers, the math favors outsourcing.
The action: Ask yourself honestly: do you want to become a digitizer, or do you want to run a store?
The decision framework
Quick gut-check
Answer this: is your time worth more than the $15 fee?
- If yes — you'd rather sell than learn stitch physics — outsource.
- If no — you genuinely enjoy the craft and want brand control — buy the software.
Most business owners answer yes. Most artists answer no. Both are right for their goals.
The break-even math
The problem: "But the software pays for itself eventually, right?"
The solution: Do the math before you buy. At $20 per design outsourced, a $1,000 software package breaks even at 50 designs — and that ignores the weeks of learning and the ruined blanks along the way.
The action: Count how many unique designs you realistically launch per year. Under 50? Outsource. Well over 50, and you love the process? The software may earn its keep.
From .DST file to live listing
Here's the loop that takes you from raw logo to live listing inside Printify's embroidery ecosystem.
Step 1: Buy a clean .DST file
Send your logo to a vetted manual digitizer. Confirm the final stitch size and request the file in .DST (and .PES as backup). Expect it back within 24 hours.
Step 2: Upload into the Product Creator
Open the Product Creator and upload your digitized file directly. Bypassing amateur file setups means your automated fulfillment runs smoothly from the very first customer order — no surprises, no puckering.
Step 3: Map onto trend-proven blanks
Choose premium embroidery blanks from the Printify Catalog. A crisp chest logo lands hard on a Champion Dad Hat or a heavyweight crewneck sweatshirt — proven sellers that carry high perceived value and healthy margins.
Step 4: Launch on Etsy or TikTok Shop
Publish your listing to Etsy or TikTok Shop the same day. You're live while the trend is still climbing — not after it's saturated.
Why this loop runs smoothly
Because you started with a clean, professionally engineered file, every order flows through automated fulfillment without manual fixes. That's the whole point: profitability, quality, selection, and speed working together while you focus on selling.
FAQ: fast answers for sellers
What file format do I need?
Use .DST — it's the universal embroidery standard and the safest choice for automated fulfillment. Keep a .PES copy as backup. When you order, ask your digitizer for both.
Can I resize a digitized file?
Not safely. Embroidery files aren't like images — resizing changes the stitch density and count, which causes puckering or gapping. If you need a different size, ask your digitizer to re-scale the file properly (many include this in their fee).
How many revisions should be included?
At least one free revision. A professional stands behind their work and will tweak density or spacing until the file stitches clean. If a service charges extra for every small fix, find another.
What info does the digitizer need?
Give them three things upfront:
- Final stitch dimensions (e.g., 3.5" wide chest logo).
- Fabric type (hat, crewneck, tee) so they set the right underlay.
- Thread color preferences or a reference image.
The more you specify, the fewer revisions you'll need — and the faster you launch.




