


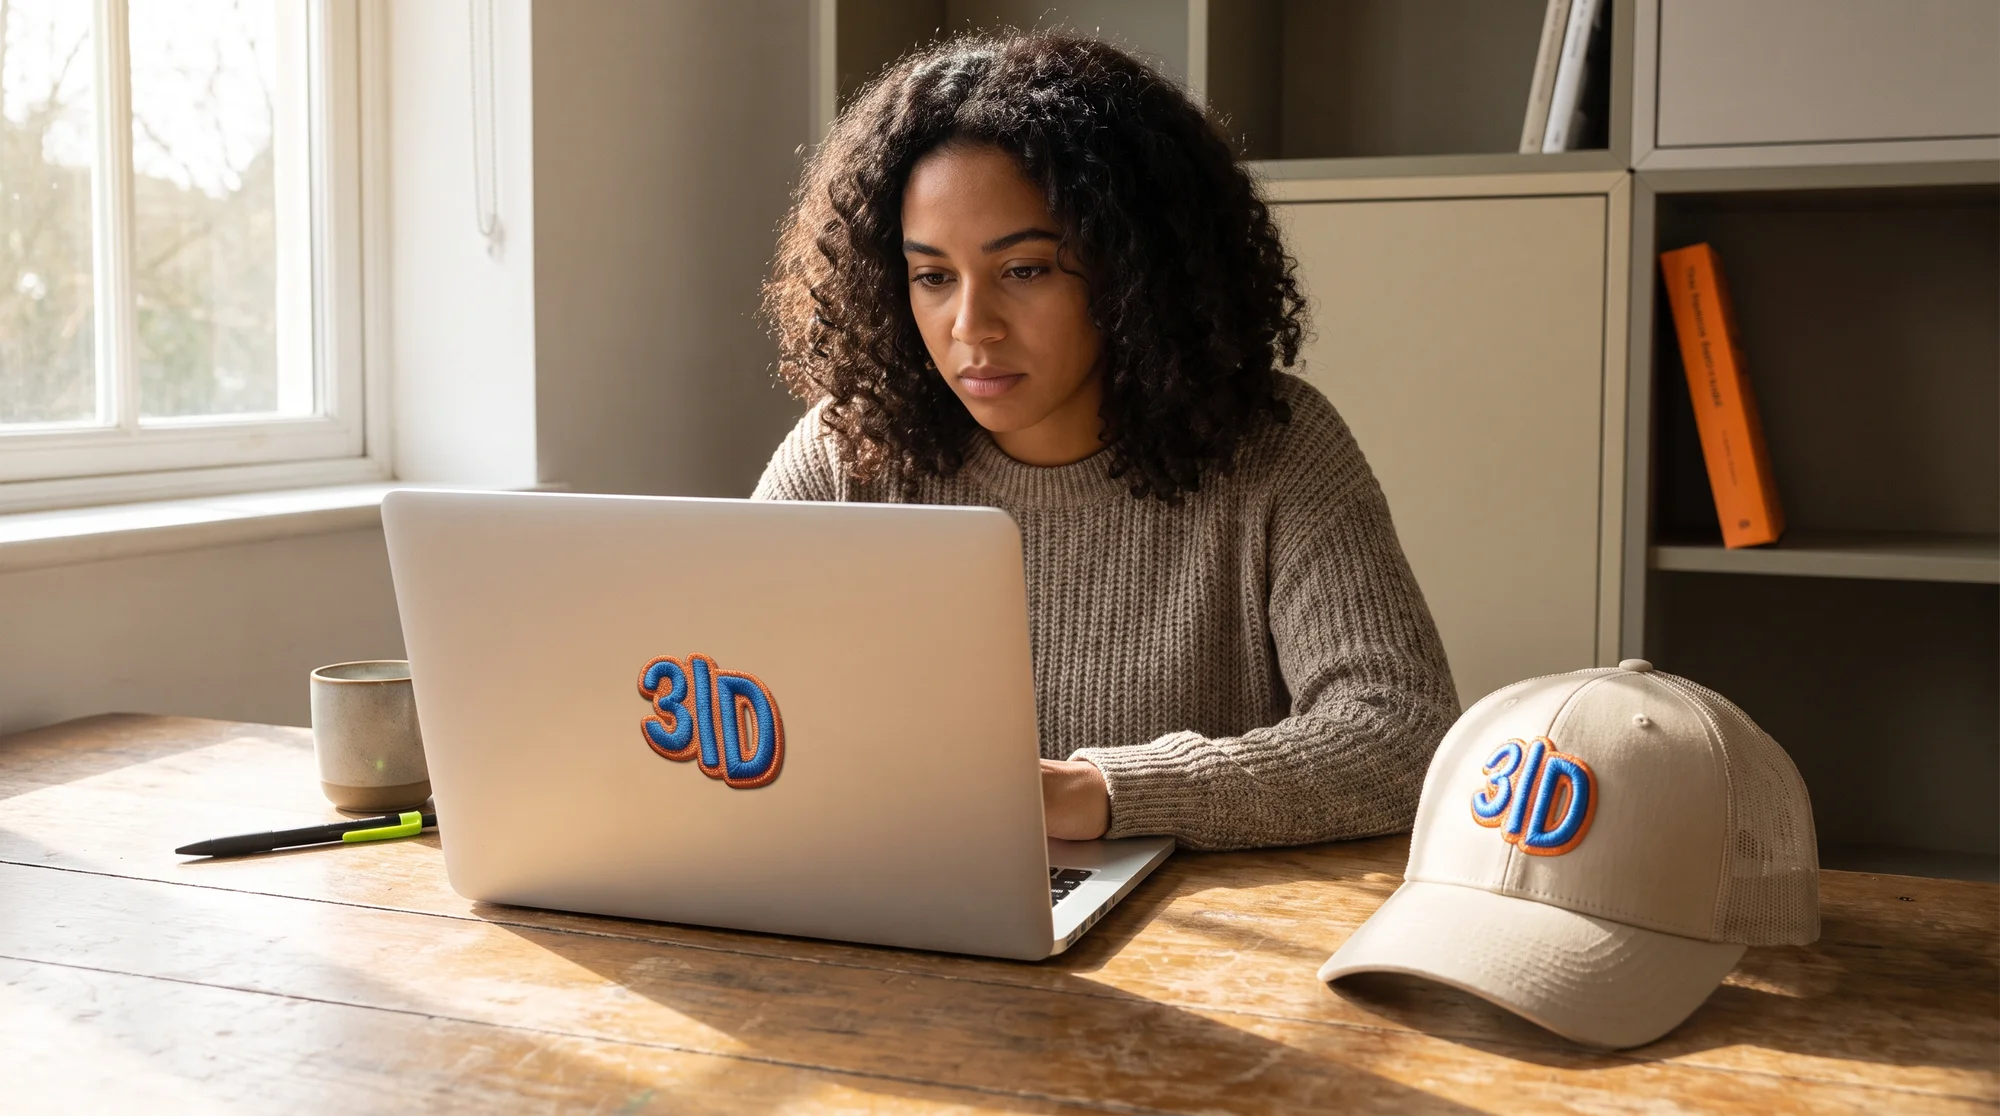
Right now, another seller is uploading the exact trend you spotted this morning—and while you're still fighting displacement maps in Photoshop, they've already published, sold, and moved on to the next drop. High-converting patch mockups need three realistic 3D tactile details: raised thread highlights, merrowed border shadows, and natural fabric texture mapping—and you can nail all three without any software using Printify's built-in 3D engine. Below, we break down the three routes to studio-quality mockups (Photoshop, web generators, and Printify), then hand you a same-day listing playbook.
BLUF: The 3-minute mockup vs the 3-hour Photoshop rabbit hole
Here's the truth most patch tutorials won't tell you: buyers don't buy flat vector art. They buy the feel of a patch—the raised stitch, the rope-like merrowed edge, and the soft sheen of polyester thread. You can create that realism through three routes:
- Photoshop Smart Objects — full creative control, but slow.
- Online mockup generators — medium speed, monthly fees.
- Printify's Product Creator — fastest, zero software, connected to fulfillment.
The speed math is brutal. Three hours in Photoshop vs three minutes in Printify. Every hour you spend tweaking bevel-and-emboss settings is an hour your competitor is already listed and collecting sales.
Which method fits you?
| You are... | Your goal | Best method |
|---|---|---|
| The Artist | One flagship hero image, brand-building | Photoshop Smart Objects |
| The Hustler | Speed-to-market, riding trends | Printify Product Creator |
If you're racing a trend, skip straight to Method 3.
Why realism is the only thing that converts
Flat vector art screams "dropshipper" and kills buyer trust instantly. On Etsy and TikTok Shop, shoppers scroll fast, and a lifeless graphic gives them zero reason to stop. Before anyone adds to cart, they need to feel the stitch through the screen.
Buyers subconsciously scan for three tactile signals:
- Raised thread highlights — proof the design has real dimension.
- Merrowed border shadows — that rope-edge lift that says "quality patch."
- Natural fabric texture — the sheen of real 40 wt polyester embroidery thread.
Here's your edge: SERP competitors sell finished patches, and free PSD mockup sites still demand Photoshop skills. Nobody is showing the automated, list-same-day workflow. That gap is your opening.
Method 1: The Artist path—Photoshop Smart Objects
Skip this if you're racing a trend. But if you're building a brand, keep reading.
When this route makes sense
The Photoshop path earns its keep for custom hero images, brand-building, and that one flagship listing you want to look flawless. If you have the time and the design chops, hand-tuned realism is hard to beat.
The workflow at a glance
- Convert flat vector art into realistic stitch designs using Smart Objects.
- Apply bevel-and-emboss layer styles to fake raised thread depth.
- Add directional drop shadows to replicate the merrowed border lift.
- Overlay subtle fabric texture at 15%–20% opacity to mimic the sheen of 40 wt polyester embroidery thread.
Note: Adobe Photoshop is a third-party tool, not a Printify product.
The catch
The learning curve is steep, and each mockup can eat hours. Worse, you get zero speed-to-market advantage—by the time your masterpiece is done, the trend may already be saturated. For the Hustler, this route is a trap.
Method 2: Web-based mockup generators
If Photoshop feels like overkill but you still want realism, web generators split the difference. Third-party tools like Placeit and Smartmockups auto-warp your vector art along blank contours and apply realistic lighting gradients—no graphics software required.
Pros:
- Faster than Photoshop.
- Decent, believable realism.
Cons:
- Monthly fees eat into thin patch-niche margins.
- Extra steps: export the mockup, then re-upload into your Print on Demand store.
- Fully disconnected from fulfillment—the mockup lives in one place, and your product in another.
You're saving time on rendering but losing it again on the manual hand-off.
Method 3: The Hustler's cheat code—Printify's Product Creator
This is the winner for speed-to-market, and here's why: mockup, fulfillment, and publishing all live in one pipeline. No exporting, no re-uploading, and no monthly software bill.
Why speed-to-market wins
When you generate your mockup inside Printify's Product Creator, the same file is already tied to a real Print Provider and ready to publish. One tool covers realism and delivery. That's how you turn a design idea into a live Etsy listing before lunch.
From vector art to live listing
- Prep clean vector graphics. This is the one thing you can't skip—sharp, crisp art in the right format is the foundation of every realistic render.
- Upload directly into the Product Creator. No displacement maps. No bevel settings. Just drop it in.
- Let the 3D engine work. It auto-maps stitch textures and patch borders onto trend-ready blanks for you.
- Choose your winning blank. Reach for the Yupoong 6606 Retro Trucker Cap (a TikTok Shop favorite) or the Gildan 18500 Hoodie (an evergreen outerwear seller).
- Publish the same day. Send it straight to Etsy or Shopify.
Margin math on saturated niches
Patch niches get crowded fast, and thin margins punish anyone paying for extra tools. Because Printify runs on Print on Demand, you hold zero inventory and pay zero upfront—you only produce a patch after a customer buys. Pair that with a mockup engine that costs you nothing extra, and you protect your profit even when the niche is packed. That's profitability with zero risk.
Trend-window playbook
Trends have a shelf life measured in hours, not weeks. The sellers who cash in are the ones already listed when demand peaks. Here's the rapid-fire checklist:
- Spot the trend early on TikTok, Etsy, or your niche communities.
- Create clean vector art of the concept.
- Generate the 3D mockup in Printify's Product Creator.
- Publish before the market saturates.
Pro tip: Build a reusable blank template—one 6606 cap and one 18500 hoodie—so only the patch art changes per drop. When the next trend hits, you're swapping one file, not rebuilding from scratch. That's how you win on speed.
FAQ
Do I need Photoshop for real mockups?
No. Printify's Product Creator uses a 3D rendering engine that auto-maps stitch textures, merrowed borders, and fabric sheen onto your blanks—no layer styles, no displacement maps, and no Adobe subscription.
Will Printify mockups convert on Etsy?
Yes. The 3D render adds the exact tactile signals buyers scan for—raised thread highlights, border shadows, and natural fabric texture. That realism builds trust and gives shoppers a reason to stop scrolling and buy.
What file format does art need?
Upload clean vector graphics. Sharp, high-resolution art is the one input you can't cut corners on—the cleaner your file, the more convincing the final render.
Can I list the same day?
Yes. Because your mockup and fulfillment live in the same pipeline, you can go from finished art to a published Etsy or Shopify listing in minutes—no exporting, no re-uploading, and no delay.
