

Embroidery offers a timeless and durable way to add a premium touch to your products. It’s a versatile method that creates high-quality, long-lasting designs. However, achieving the best results with embroidery requires careful planning and design choices.
In this guide, we’ll walk you through the key aspects of Printify embroidery, including selecting the right products and making sure your designs result in a crisp, professional finish.
When to use embroidery?

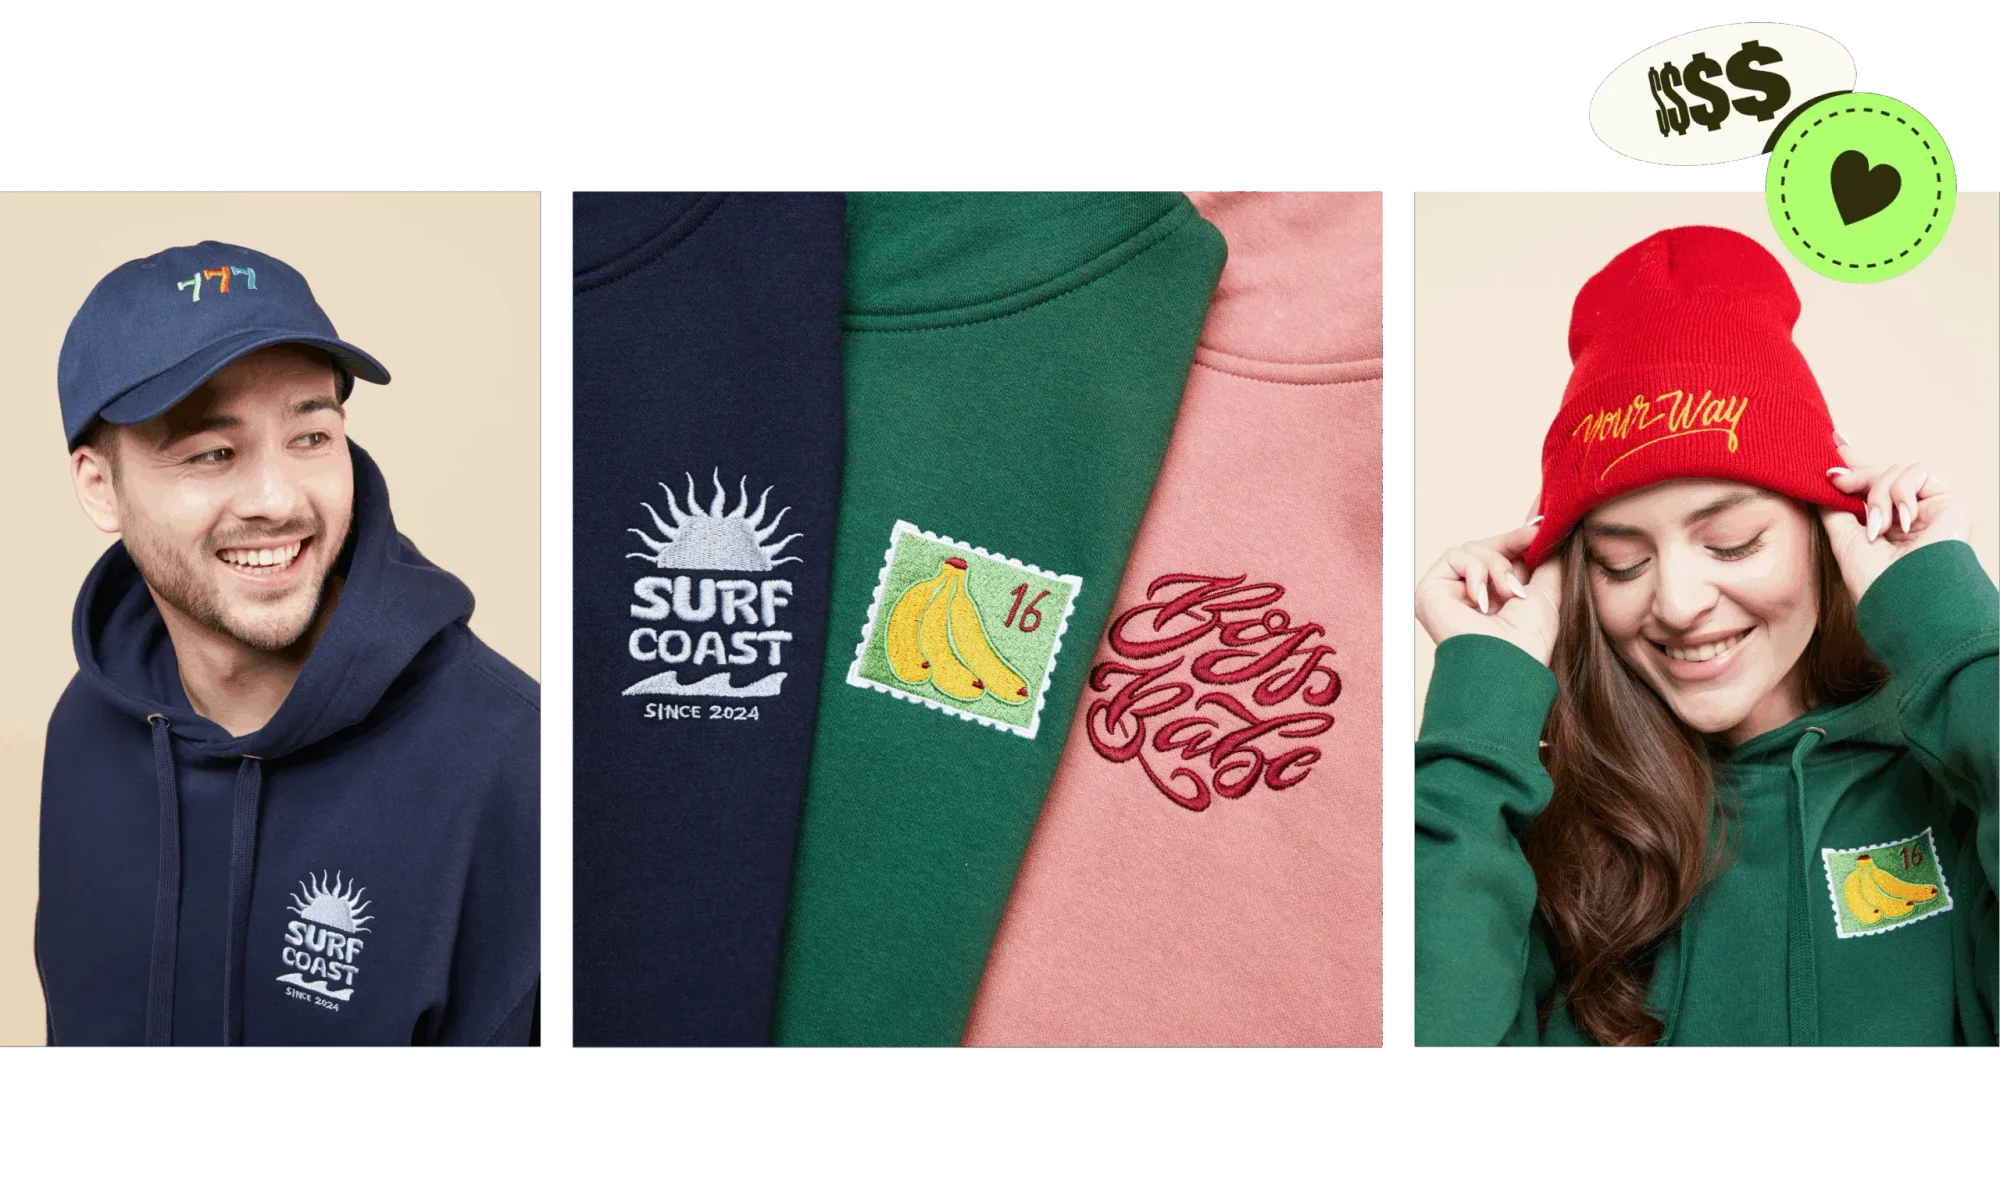
Embroidery is a popular choice for creating high-quality, signature items that elevate a brand’s storefront. It works best on thicker fabrics and lighter shades – think hats, jackets, polos, and button-down shirts.
One of embroidery’s biggest advantages is its durability. Polyester or rayon threads hold up well over time, making embroidery far more resilient than other decoration methods.
Since embroidery offers a premium, long-lasting finish, it’s generally more expensive. It also works best for simple designs with few colors, rather than complex or multicolored graphics.
Personalized embroidery is a fantastic option for both corporate and consumer-facing brands. By letting customers add names, initials, or special dates to products, you can create one-of-a-kind items with high emotional and brand value.
Pro tip
Embroidery remains the best choice for a high-end, durable product. However, for projects with intricate details or that prioritize affordability, options like screen printing or direct-to-garment (DTG) printing are more suitable.
Embroidery design requirements

Creating the perfect embroidery design requires attention to detail and an understanding of the method’s limitations.
Follow these important guidelines so your designs translate well onto garments. From thread color choices to design simplicity, keeping these key points in mind will help you achieve high-quality, professional results.
Quick tip
Check out our article on how to make embroidery designs for Print on Demand and our Help Center guide on embroidery design requirements.
Embroidery design do’s
- Choose from available thread colors
Currently, Printify embroidery offers 15 thread colors. Select the closest match for your design if exact shades are unavailable. Note that you can only use six colors per design.
Embroidery thread colors
Needle | Color | HEX Code | Madeira Color Code |
|---|---|---|---|
1 | White | #FFFFFF | 1801 |
2 | Black | #000000 | 6800 |
3 | Grey | #96A1A8 | 1718 |
4 | Navy | #333366 | 1966 |
5 | Aqua/Teal | #3399FF | 1695 |
6 | Purple | #6B5294 | 1832 |
7 | Maroon | #660000 | 1784 |
8 | Red | #CC3333 | 1839 |
9 | Flamingo | #CC3366 | 1910 |
10 | Orange | #E25C27 | 1987 |
11 | Gold | #FFCC00 | 1951 |
12 | Old Gold | #A67843 | 1672 |
13 | Kiwi Green | #7BA35A | 1848 |
14 | Kelly Green | #01784E | 1751 |
15 | Royal | #005397 | 1842 |
- Use high-resolution images
- Upload a PNG (with a transparent background) or a JPEG file with a resolution of at least 1200 × 720 pixels (for standard hat areas) or 1200 × 1200 pixels (for most standard apparel placements). Larger embroidery areas may benefit from higher-resolution files.
- Keep your design simple
- Simple designs work best to maintain detail and clarity. Overly complex graphics can lose their sharpness during embroidery.
- Use the correct text size
- Lowercase text should start at 0.25” (6.4 mm or 18pt) and uppercase at 0.3” (7.6 mm). If your text has varying thickness, measure at its thinnest point to meet Printify embroidery guidelines. Avoid using small letters – we will resize or remove text smaller than 0.18” (4.57 mm).
- Consider the embroidery area
- The embroidery area varies by product, so make sure your design fits within these boundaries for optimal results.
Embroidery design don’ts
- Avoid small details and thin lines
Don’t use thin lines in your artwork – the minimum line thickness should be 0.05” (1.27 mm) for optimal clarity. Shapes should have a thickness between 0.05” (1.3 mm) and 0.5” (12.7 mm) to maintain detail and consistency.

- Don’t use gradients
Gradients don’t translate well in embroidery. Stick to bold, solid colors with clear lines between elements.

- Skip the photos
Photographs do not convert well during digitization and often result in unclear designs. Stick to clean graphics with no gradients.

- Be aware of small gaps and negative spaces
The digitization process may fill small gaps in your design, which is important to consider when adding text. To prevent unwanted filling, use a transparent background or fill any small gaps yourself with a color that complements your design for a clean result.

When to use an outline or border
Some embroidery designs may require an outline or border for a clean final result. It helps stabilize the design and maintain crisp edges during embroidery.
This is especially true for designs with solidbackgrounds, flags (like the American flag), or bold shapes that might otherwise produce unwanted gaps or fuzzy edges during stitching.
While not required for every design, our Digitizing Team may recommend it on a case-by-case basis. If you skip this step, the order may be delayed or canceled, especially if visual changes like adding borders aren’t approved by the merchant in advance.
To avoid surprises or production issues, we recommend reviewing your design carefully and adding a clear outline where needed.

Personalized embroidery
Personalized embroidery allows your customers to add their own text to selected products, creating one-of-a-kind items such as gifts, uniforms, or limited-edition merchandise.
Currently, Printify offers Automated Personalization for text only. While image uploads aren’t yet available with this feature, it still offers a significant opportunity for higher-margin sales.
How it works
- Each personalized order requires digitization to convert the text into a stitch file. Digitization is free of charge but can take up to 36 hours.
- You must review and approve personalized orders before they’re sent to digitization and production. If an order is not approved, we will cancel and refund it.
- Merchants can set character limits and provide buyer instructions during setup to prevent issues.
Two ways to set up personalized embroidery
- Automated Personalization (Etsy, Pop-Up Store, TikTok Shop): Add a personalizable text layer in the Product Creator. Some templates include pre-digitized fonts, reducing delays and ensuring a clean stitch. Your customers’ orders are automatically paused for review before production.
- Manual Personalization (other sales channels): Add a placeholder text to your design and enable personalization in your listing. When an order comes in, edit the design with the customer’s text, approve it, and submit it for production.
Best practices
- Use simple, legible fonts and avoid overly complex letter shapes.
- Keep text at a readable size that aligns with Printify’s embroidery guidelines.
- Test your chosen font with a sample order to confirm it passes digitization and meets your standards.
Embroidery design areas
It’s important to consider the size and placement of your artwork, as different products have specific embroidery areas.
Below are the most common embroidery dimensions across product types.
Apparel (standard chest placements)

- Left or center chest: 4 × 4 inches (101.6 × 101.6 mm)
Ideal for small logos, icons, or minimalist designs. - Wrist and sleeve embroidery: 2 × 3 inches (50.8 × 76.2 mm)
Best for initials, small badges, or vertical motifs. - Top-left chest (e.g., denim jackets): 3 × 3 inches (76.2 × 76.2 mm)
Smaller area – be mindful of detail density in this zone.
For standard embroidery areas, a resolution of 1200 × 1200 pixels at 300 dpi works best.
Caps

Caps have a front embroidery area of4 × 2.25 inches (101.6 × 57.15 mm).
For optimal quality, use a resolution of 1200 × 720 pixels at 300 dpi. These dimensions work well for centered logos or short text.
Unstructured hats like dad caps may have size or placement limitations due to curvature.
Beanies

- Front embroidery area: 5 × 1.75 inches (127 × 44.45 mm)
Wider but shorter height – best suited for bold text or horizontal logos.
Bucket hats

- Front embroidery area: 5.5 × 2 inches (139.7 × 50.8 mm)
Slightly larger with a horizontal space for clean, simple graphics.
New: Large embroidery area (select products)

- Embroidery area: 10 × 6 inches (254 × 152.4 mm)
This larger area is available on select apparel items (some jackets, hoodies, and sweatshirts).
It will appear as an additional option in the Product Creator. Merchants can choose between this or the standard 4 × 4 inches during product setup.
Quick tip
Make sure to preview your design mockups on each item’s embroidery zone. The position and scale may differ based on garment style, so always double-check alignment and spacing.
The digitization process

Digitization is the process of converting your artwork into a stitch file that the embroidery machine can read. It’s an essential step in embroidery before any design can be applied to a garment.
It’s important to note that digitization is a separate step in the order process. Only after digitizing the artwork can your order be sent to the Print Provider for production.
The digitization process begins after you place an order and takes up to 36 hours. It’s a detailed, manual task that requires optimizing the design – ensuring it meets embroidery specifications to stitch perfectly onto the fabric.
If you upload a new graphic that’s visually similar to a previous design, the stitch direction and overall look may differ. This is because digitization is a manual process, and different specialists may interpret the same design in slightly different ways.
Embroidery ready fonts (pre-digitized fonts)

Pre-digitized fonts, also known as Embroidery Ready Fonts, are text styles that have already been converted into optimized stitch patterns. They’re ready to be embroidered instantly – no digitization required.
How to use them
When designing embroidery products, simply select one of the multiple Embroidery Ready Fonts in the Product Creator, add your text, and position it. Because these fonts are pre-digitized, your design goes straight to production once approved.
Why use pre-digitized fonts?
- Save time: Skip the 36-hour digitization process and start production instantly.
- Reduce risk: Avoid failed digitization, cancellations, or refunds.
- Simplify embroidery: A smoother experience for both newcomers and experienced merchants.
When digitization is needed
Designs with uploaded images, logos, or curved texts still require a one-time digitization before production.
Printify is the only POD platform offering pre-digitized embroidery fonts. Expand your catalog with ease, shorten fulfillment times, and turn premium embroidery into a profitable opportunity.
Must-have quality check
Always order samples to see how the design holds up on the garment – look for clean stitching, accurate colors, and precise details. Embroidery is more intricate than printing, so small tweaks can make a big difference.
Make sure the final result is high-quality and meets your standards before selling embroidered products to customers.
Embroidery specifics – in short

Embroidery works differently from print-based methods like DTG or DTF. Instead of applying ink to the fabric, it stitches thread directly into the material – creating a raised, textured finish.
Here’s what makes embroidery unique.
- Thread limitations: You can use up to six thread colors per design from a fixed palette of 15 colors – custom color codes aren’t currently available.
- No gradients or ultra-fine detail: Embroidery can’t recreate shading, photo effects, or small gaps. All elements need to be bold, solid, and clearly separated.
- Digitization is required: Each design must be manually converted into a stitch path. We'll handle this process after an order is placed (can take up to 36 hours).
- Large embroidery areas now available: Select jackets, hoodies, and sweatshirts support embroidery areas up to 10 × 6 inches, offering a more flexible design space.
- Built-in text editor: You can now create text-based embroidery designs directly inside the Product Creator – no need to upload a separate design file.
Keep these aspects in mind when creating or adapting designs for embroidery. What works for print might need adjustments for a clean and professional stitch.


